
You want to build a single page interface. To fit all the controls on one page, you need to add a frame to the page and then create a button that will enable the interface user to go the new frame from the main part of the page.
This article explains how to create a button that enables the user to swap to a different interface overlay.
Before following the process below, make sure to create your frame and multiple overlays.
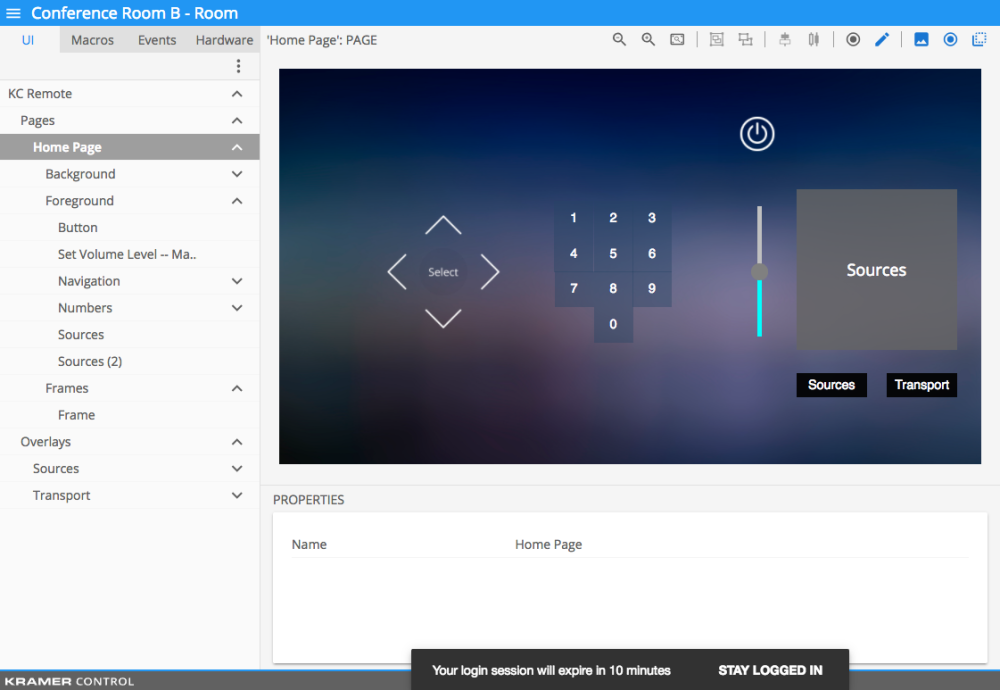
- Add the buttons that are needed to change the overlay that is loaded in your frame.
![]()
- Double-click one of the buttons to open the edit screen for that button.
- Click the + icon and select the Update property option.
Adding an Update property gives you the option to edit anything within the target widget of the update property. By default the target widget is the currently selected widget. - To define the target overlay (the widget or overlay that the button will send the user to), do one of the following:
- Drag the relevant widget from the left pane to the target widget section of the Properties window.
- Drag the button image (in the image below, drag “New Overlay”) from your page to the target widget section of the Properties window.
![]()
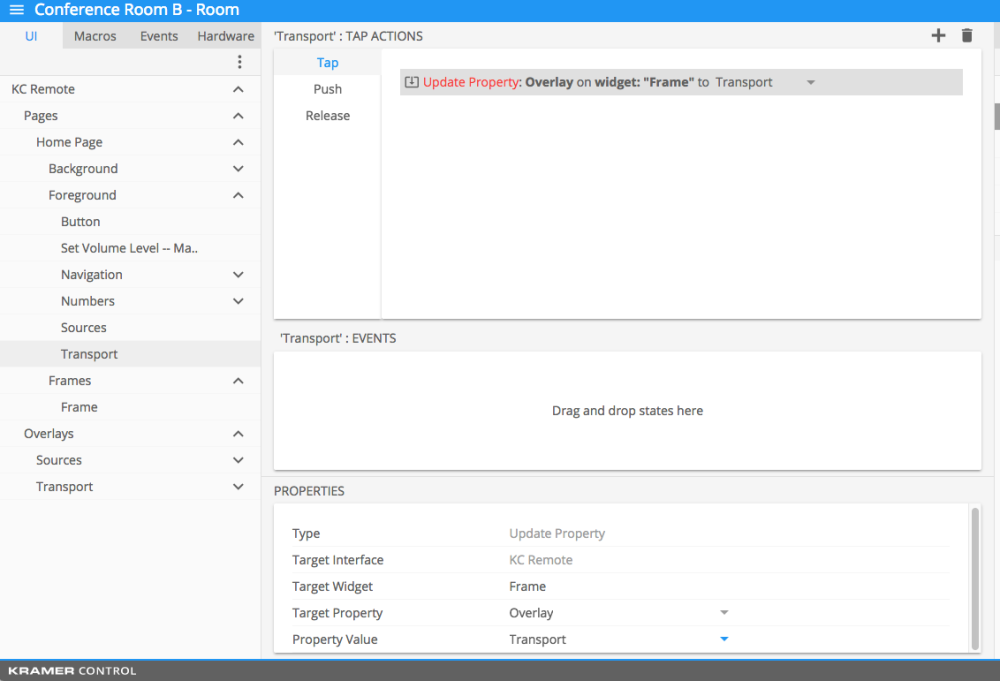
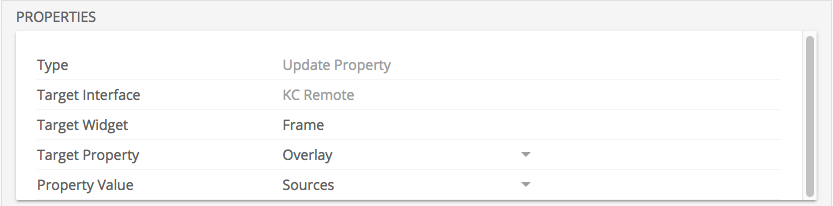
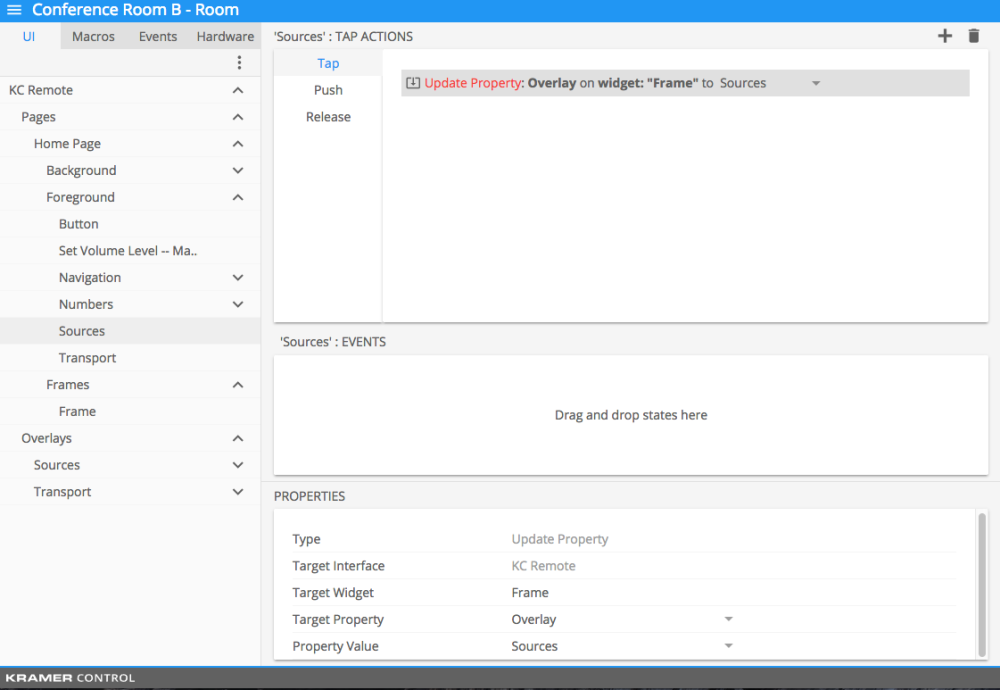
- Change the Target property to Overlay.
- Select the name of the relevant Overlay from the Property Value section of the Properties window.
![]()
Repeat the above steps for each button and new overlay you would like to use.
Revision:
8
Last modified:
25 May 2017
Feedback
Copyright © 2024 Kramer
—
Powered by 
Post your comment on this topic.