
Overview
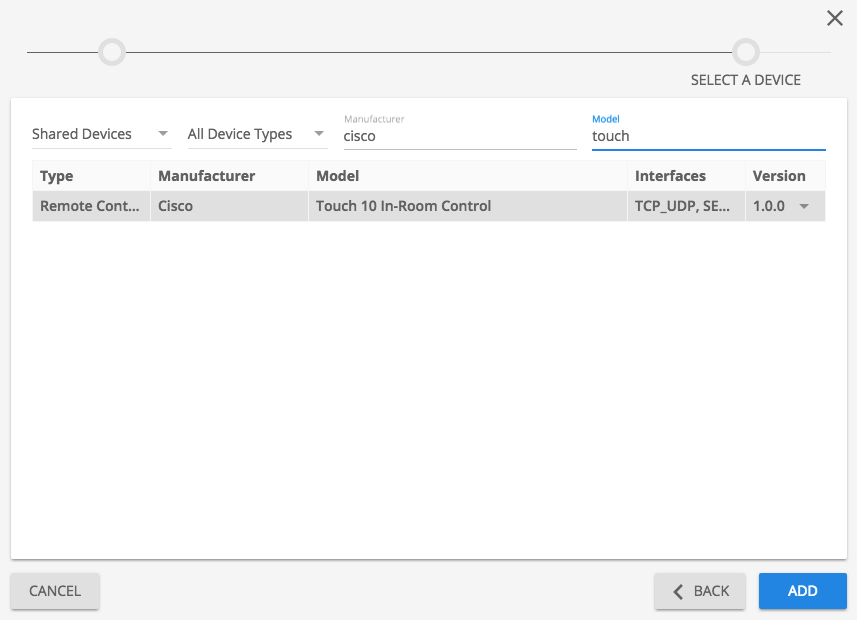
The Cisco Touch 10 can be configured, within the Cisco software, for integration with 3rd party device control; such as Kramer Control. Once the Touch 10 has been configured in such a way, Kramer Control can use the feedback from the Touch 10 to execute commands to controlled devices. The steps below explain the Kramer Control setup requirements to setup Events that will execute commands to the controlled equipment.
NOTE The Cisco Touch 10 Manual includes the API commands for activating Touch 10 widget feedback and how to integrate with Kramer Control. These items can be found on pages 19-27 of the Cisco Manual
Process
Create Aliases for the Touch 10 widgets

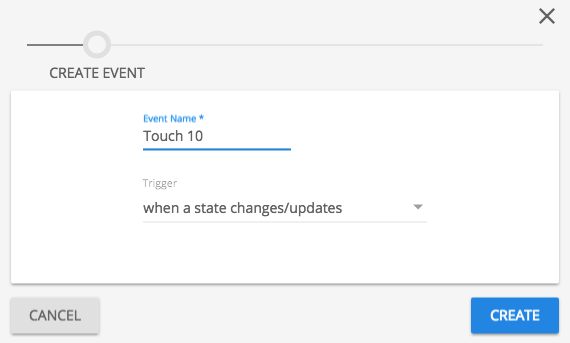
Events
The Touch 10 is the Interface that is controlling equipment. The Kramer Control brain (SL-240, SL-240c or SL-280) translates the widget interaction from the Touch 10 into controlled commands for equipment. In order to execute commands to controlled devices, you will need to create events based on the various states of the Touch 10 device.

Add a State Based event
Drag State from the Touch 10 device to the Event trigger section of the center pane and select the widget to be watched. NOTE The image below is an example of the Aliases that will be viewed based on the prior steps.
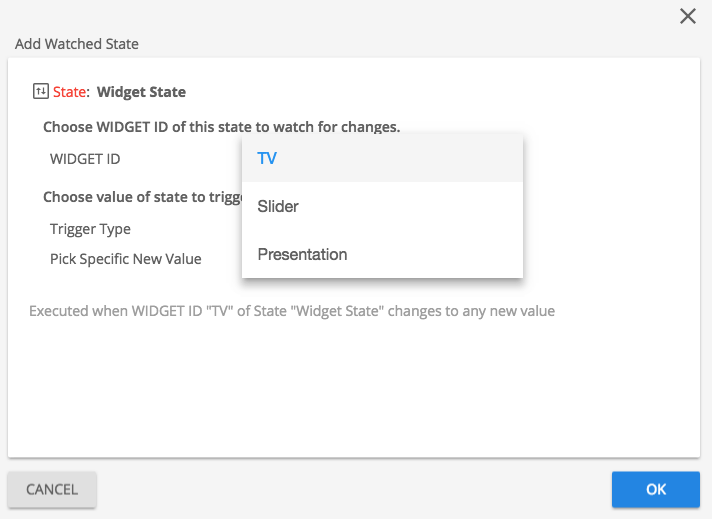
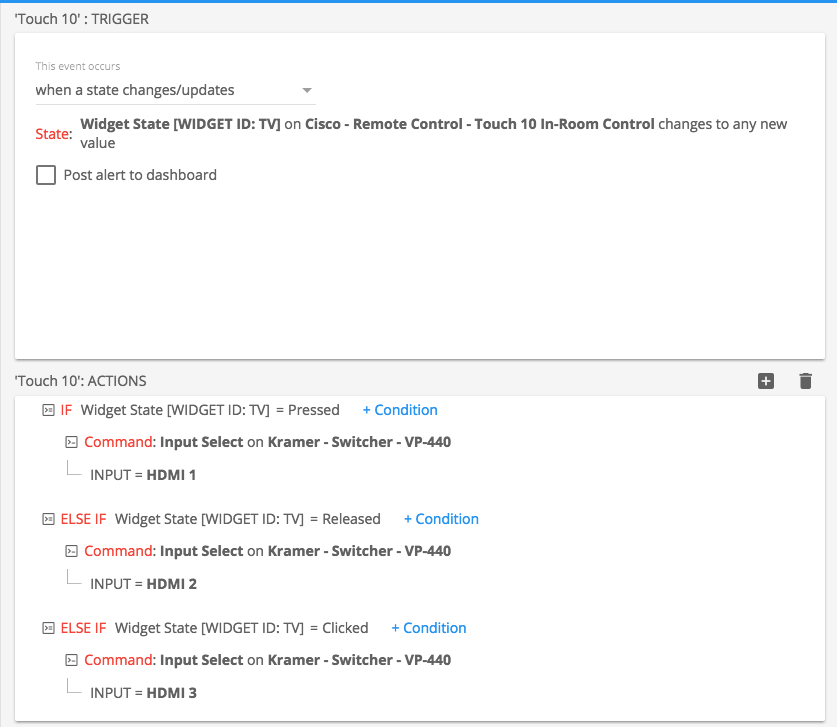
Note Touch 10 widgets can be programmed to send up to four different states. If you want to execute different commands or macros varying on a specific state, you will want to create a state based event for each state or use a conditional statement within the Event. This example use the second example of Conditional logic
Repeat the above steps for all widgets, sliders and/or buttons that have been configured within the Cisco program
Provisioning
Since the Touch 10 will be the User Interface for the Kramer Control installation, you will need to initially configure the Brain using a different client device. The initial Provisioning will require one of the client applications from iOS or Android to access and Provision the Brain. After the initial provisioning the Brain can be published to include new changes from the Builder. Note Publishing to a Brain does require Internet access to the Brain.
Gateway Setup
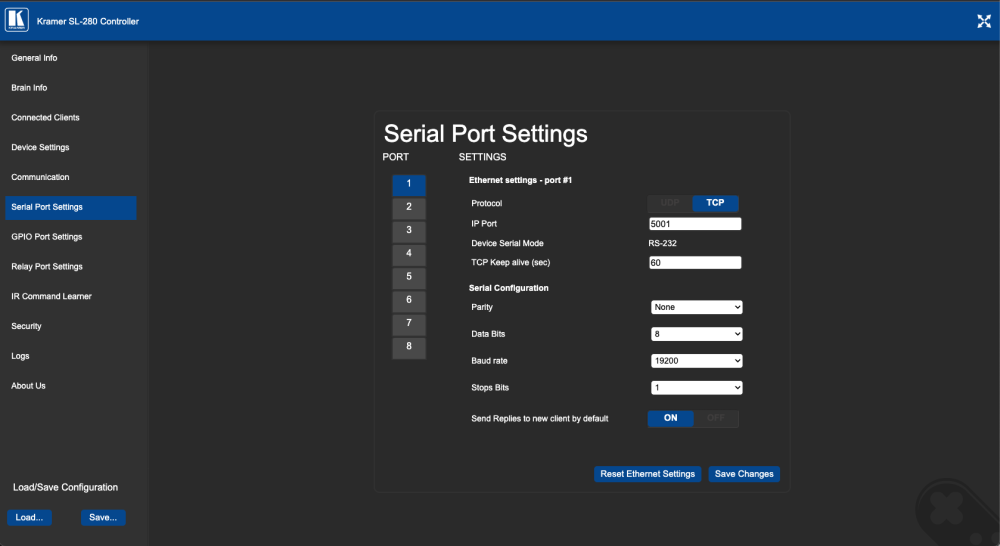
Also make sure that you configure the baud rate setting correctly. The Cisco can support multiple baud rates, so make sure that the programmed rate is also set correctly within the configuration page of the Kramer hardware.
Go to the IP address of the Kramer hardware and select the Serial Settings option in the left hand options
Post your comment on this topic.