
BeatBridge creates links between the component and individual layer controls.
Each link is called a bridge and is displayed in the BeatBridge component and can be saved and recalled as a layer or mix preset.
Creating a bridge
Start the BeatBridge component and add it to the Pinboard.
See Starting and Stopping Components for more information.
Device
This menu will display all recognised audio input devices present in windows.
Mode
There are two modes:
- Analyze
- This mode analyzes the incoming audio and generates a BPM.
- Generate/Tap
- This activates the lower buttons Set BPM and TAP allowing custom BPM configuration defined by the user
Enable Show Speaker Buttons
Click on the Show Speaker Buttons switch to toggle the visibility of BeatBridge Icons
Mute
This toggle stops parameters being controlled by BeatBridge, freezing on the last recieved value.
Beat Shift
This rotary control allows the user to offset the Beats while maintaining the BPM.
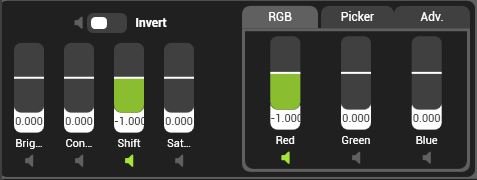
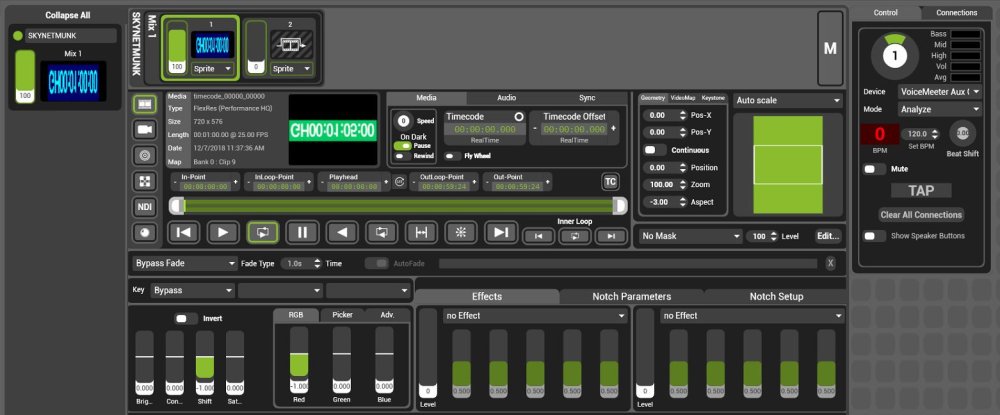
Right Click on the speaker icon of the desired control to edit it’s attributes
Left Click the speaker icon to bridge that control.
Left clicking the speaker icon will toggle the bridge. Enabled bridges are displayed in the connections tab of the BeatBridge Component
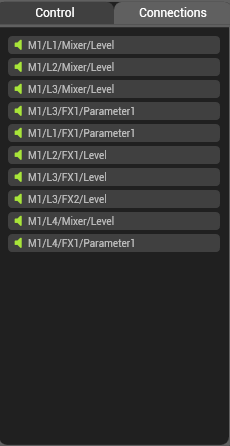
Connections
This tab shows all of the BeatBridge connections currently active. You can remove any connection by right clicking a listing and selecting Delete
Save the Bridge into a Layer or Mix Preset.
Ensure the BeatBridge Filter is active when saving a layer preset.
Post your comment on this topic.