
The purpose of this section is to illustrate how to hide or display items within Inventory. You can do this through the Adding, Taking or Managing of Inventory.
Hiding or Displaying Inventory
STEP 1: From your Dashboard view, mouse over the Store tab and click Product.
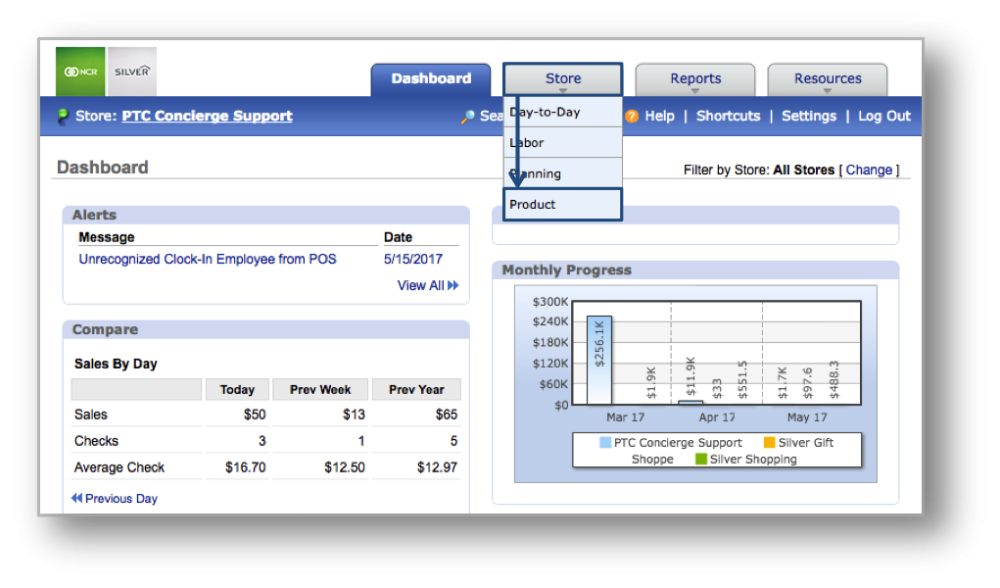
*Hint: You can also access Inventory by clicking on the Store tab and then on Product from the Store Management screen.
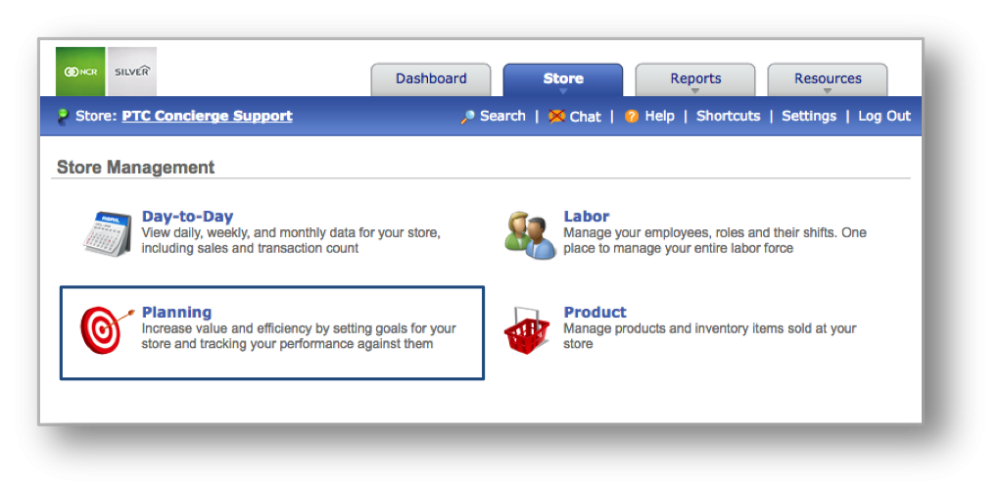
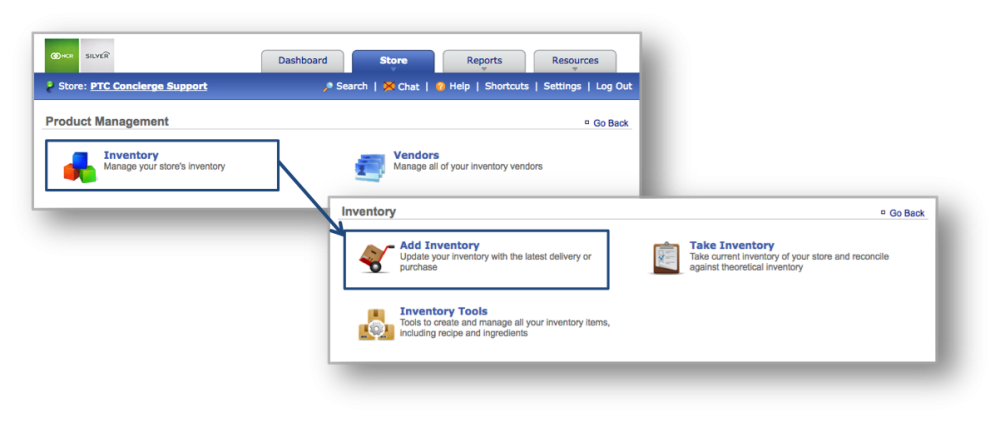
STEP 2: From the Product Management screen, click Inventory. Select either Take Inventory or Add Inventory.
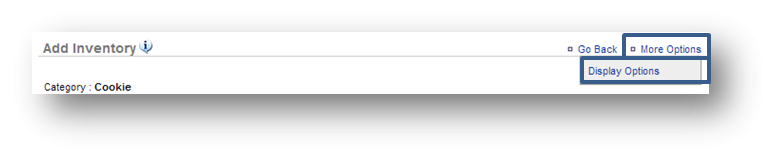
*If you choose to hide inventory via the Managing Inventory section, click More Options, and then View Entire Inventory. From this screen, click More Options, and then Display Options.

STEP 3: Click the Hide link to the left of the item in the Inventory.
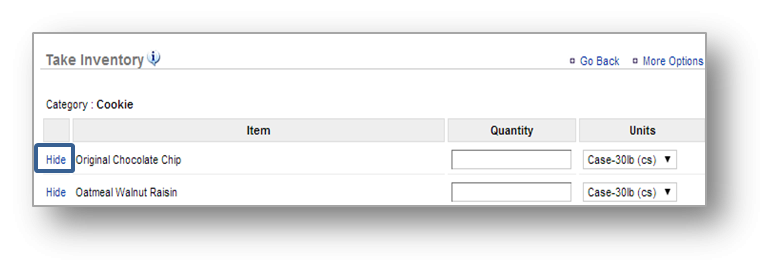
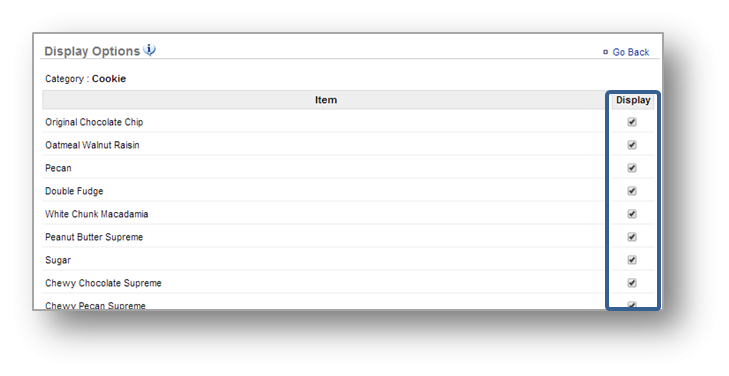
*Hint: You can also click More Options and then Display Options to deselect items so they no longer appear in your list.
If you choose to hide items from the Display Options screen, click the box to uncheck those items you wish to hide.
Related Topics:
Add Inventory
Take Inventory
Manage Inventory
How to Add a Custom a Unit of Measure
How to Export Inventory: How to export your inventory database.