
The purpose of this section is to illustrate how to manage inventory items in the system.
Managing Inventory
STEP 1: From your Dashboard view, mouse over the Store tab and click Product.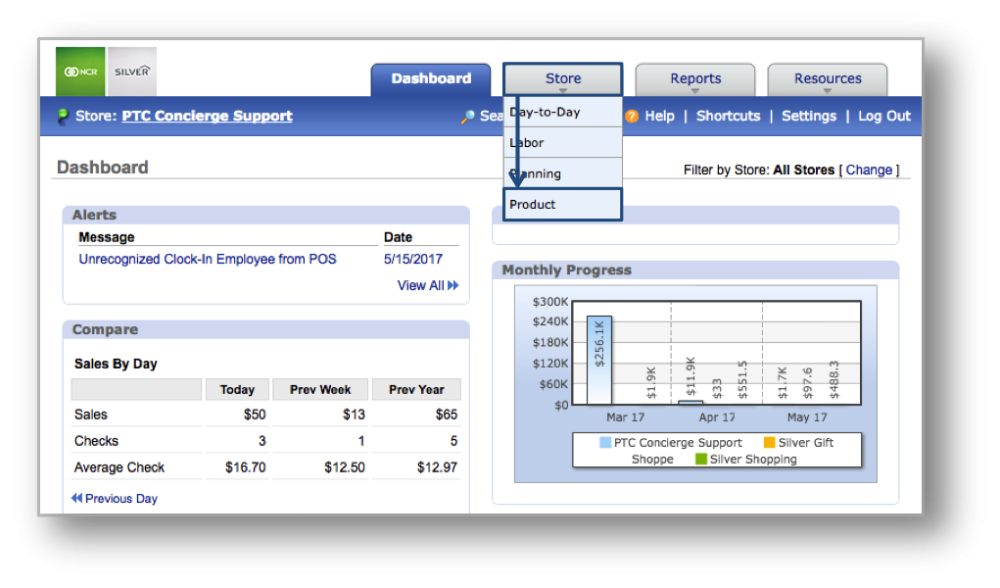
*Hint: You can also access Inventory by clicking on the Store tab and then on Product from the Store Management screen.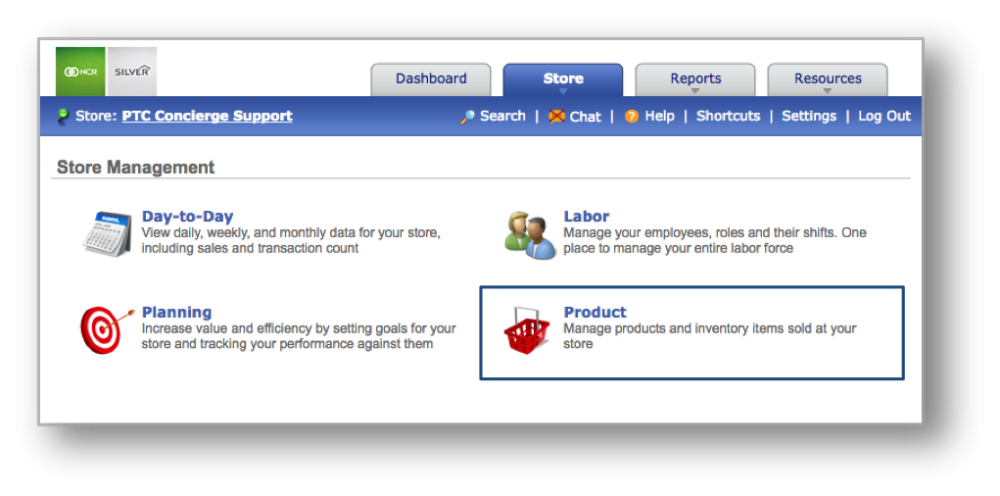
STEP 2: From the Product Management screen, click Inventory and then Manage Inventory.
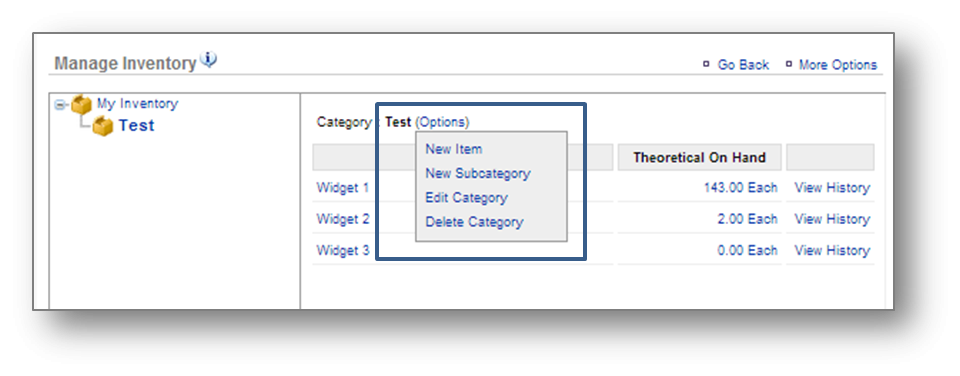
INVENTORY MANAGEMENT SCREEN
To create a new category: Click New Category at the top right corner. Enter category name and click Save.
Within a category, you have the option to:
- Create a new item within that category.
- Create a subcategory within that category.
- Edit the current category name.
- Delete the category.
![]()
Create a New Item
STEP 1: Click New Item. Item Name and Unit Type are required. Fill in additional information as desired.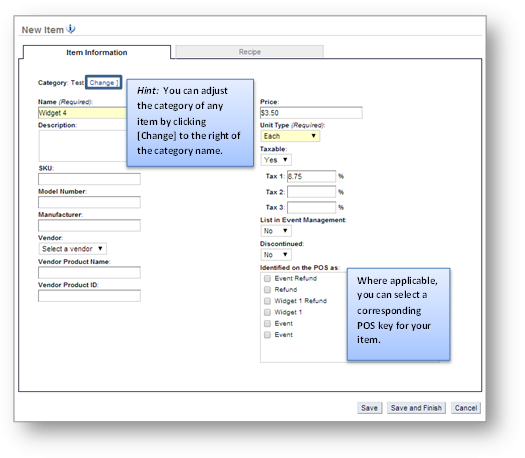
STEP 2: To add recipe information for an item, click the Recipe tab at the top right. If an item is tied to a recipe, click Select Recipe Items. 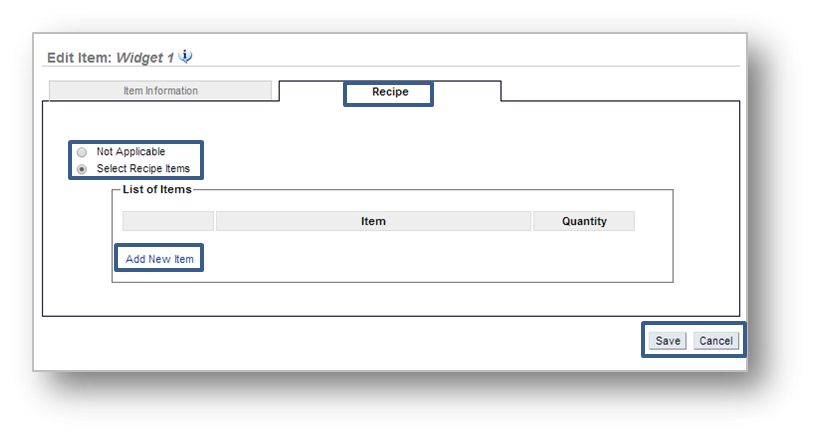
STEP 3: Click Add New Item to begin adding items that correlate to the recipe. Click Save for each item you add.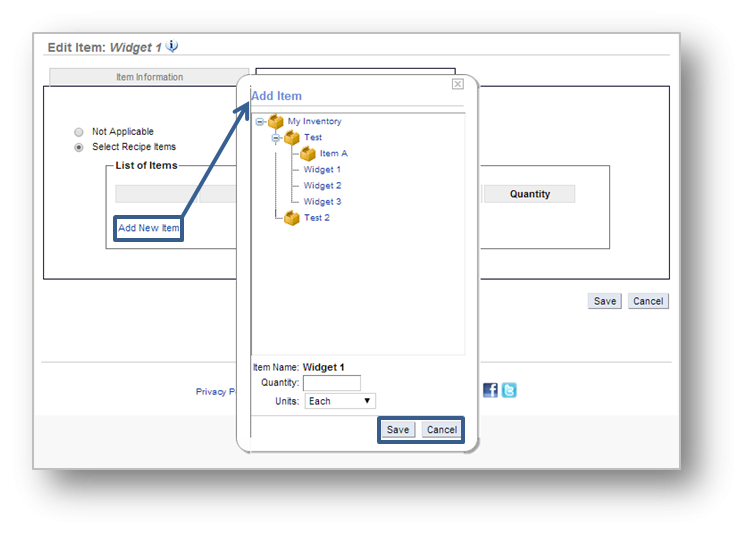
STEP 4: Click Save or Save and Finish to save and publish the new item. Click Cancel to cancel your changes and go the previous screen.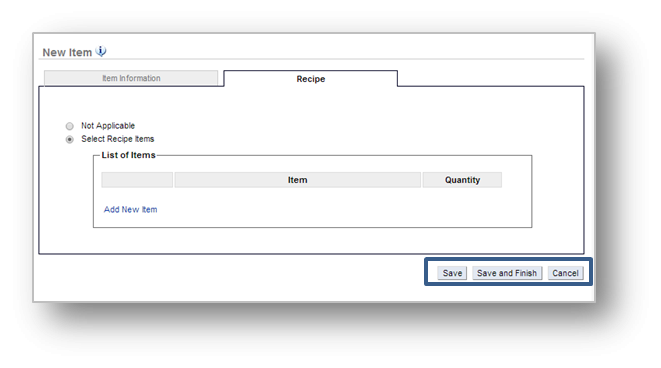
Create a Subcategory
Click New Subcategory. Type the category name and click Save.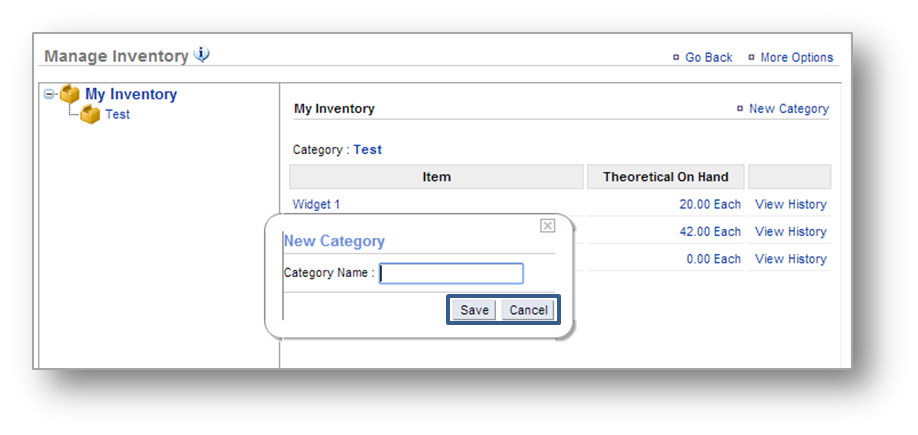
Edit Category Name
Click Edit Category. Type new category name and click Save.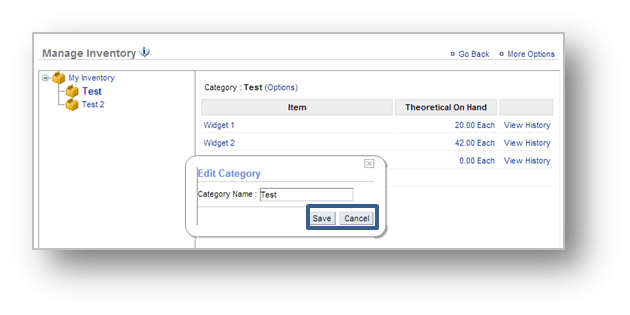
Delete Category Name
Click Delete Category. You will be asked to confirm your choice. Click OK. This will remove that category from your inventory.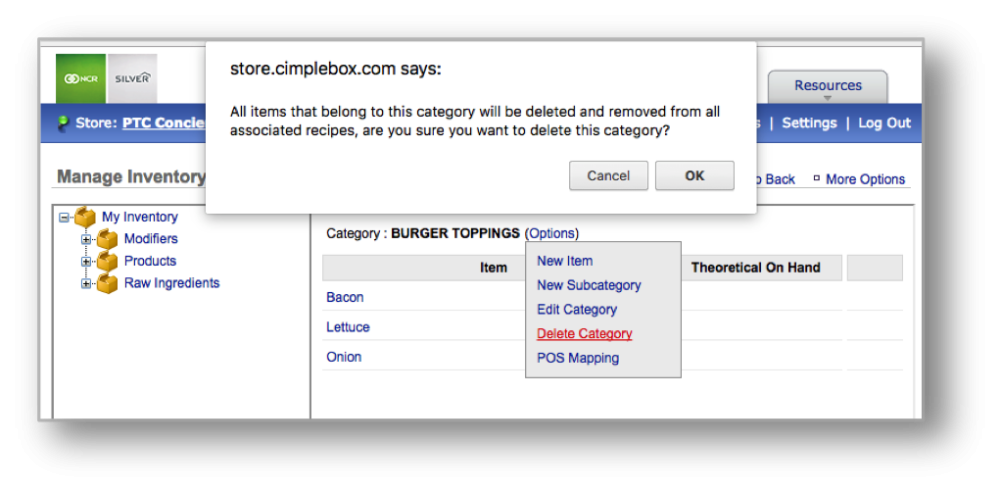
Edit an Existing Item
STEP 1: Click on the item within the category that you wish to edit. From here, click Edit Item Information at the bottom right. You can also click More Options, and then Edit Item. Make your desired changes and click Save when done.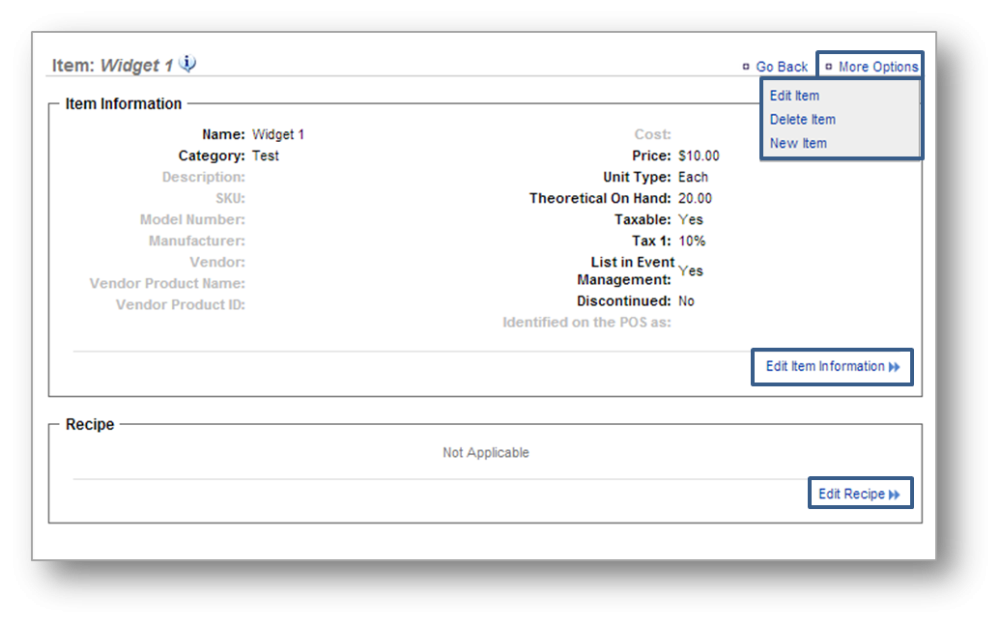
Related Topics:
Add Inventory
Take Inventory
How to Hide or Display Items
How to Add a Custom a Unit of Measure
How to Export Inventory: How to export your inventory database.