
ENTER Edit Mode in desired layer, in order to move, delete add or align vertices.
Before edit mode.
CLICK ![]() to enter edit mode.
to enter edit mode.
In edit mode the parcel turns a darker gray.
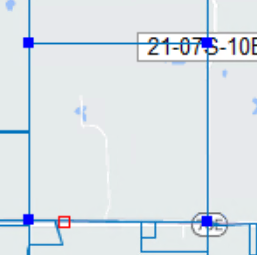
SELECT the parcel you wish to edit.
Move a vertex
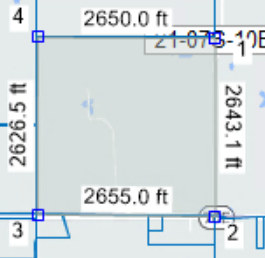
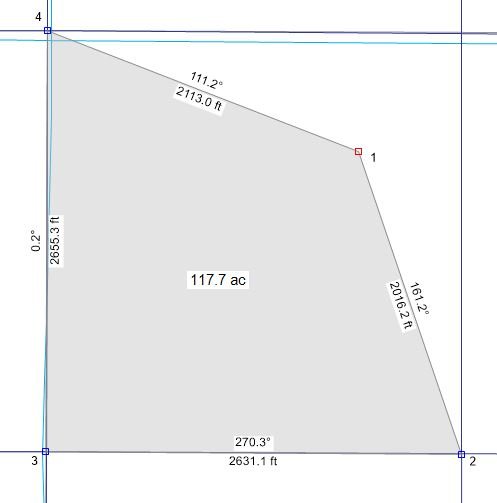
CLICK on the vertex to edit
When the user clicks on the vertex it changes from blue to red.
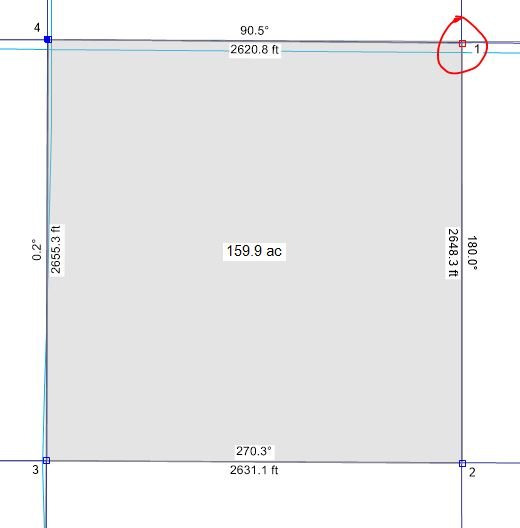
CLICK and DRAG the vertex to move
Delete the Vertex
CLICK the vertex
When the vertex is red CLICK delete button on the keyboard
This will delete the vertex selected and highlight the next vertex.
To undo the deleted vertex the user can select the  icon in the toolbar.
Snap to Vertex will snap the line to the closest point. The higher the number, the more precise the snap to the point is. Users can change this during editing to adjust the snap on the polygons to keep the vertices from snapping too far or not far enough. Recommended snap tolerances: *ag land*—10, *residential*—5, *residential with alleyway*—2.
Add a vertex to a polygon
DOUBLE CLICK on the line between the two vertices
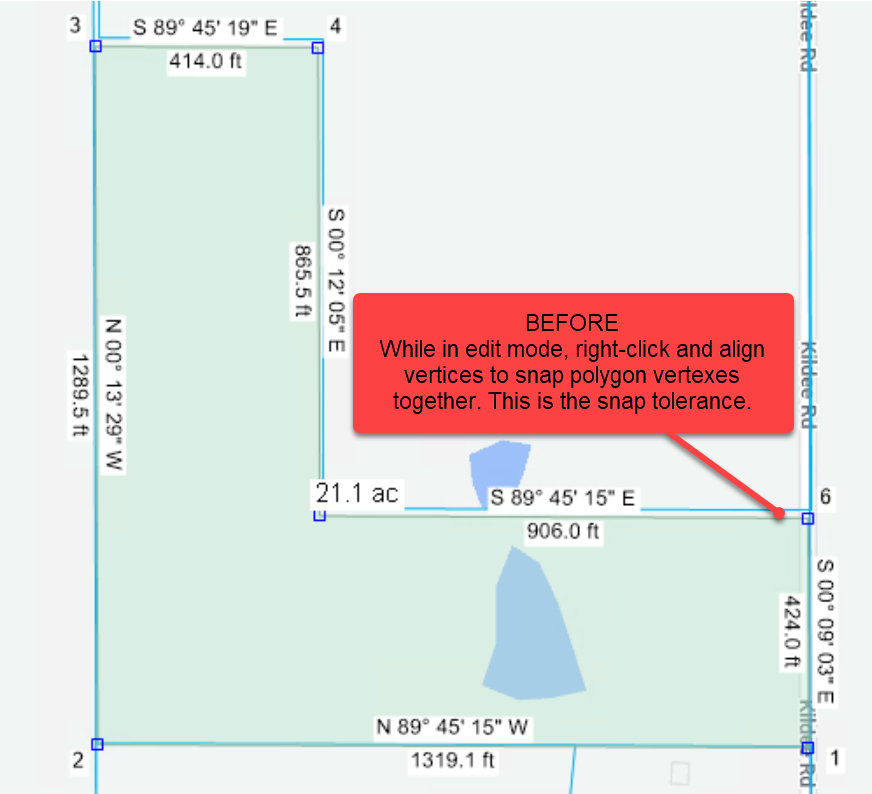
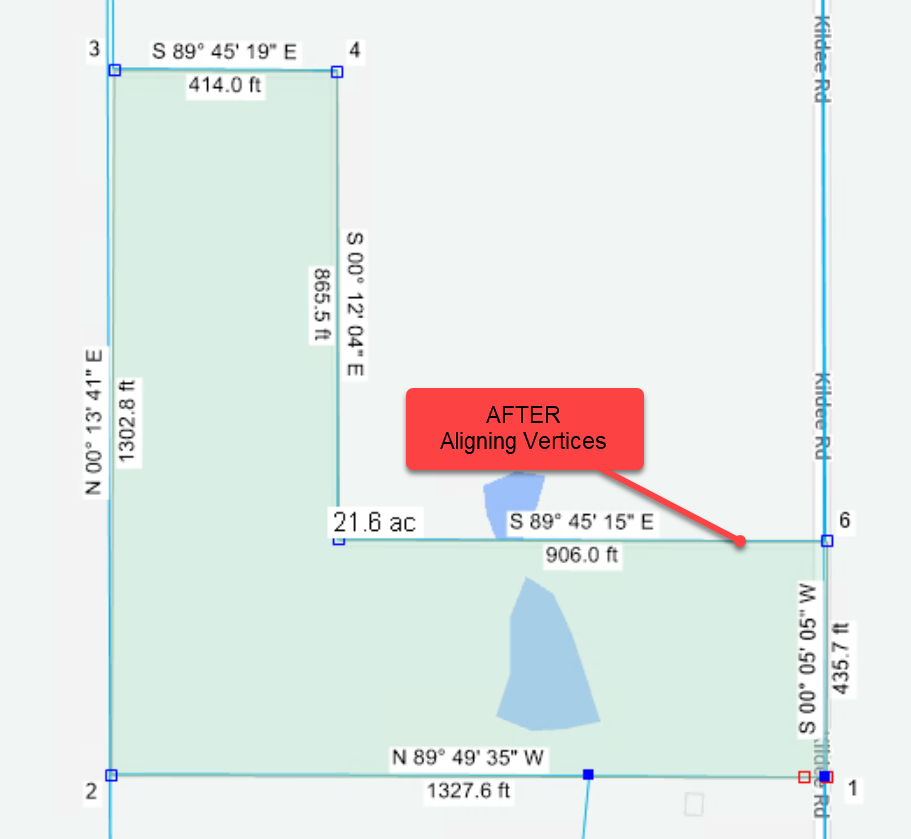
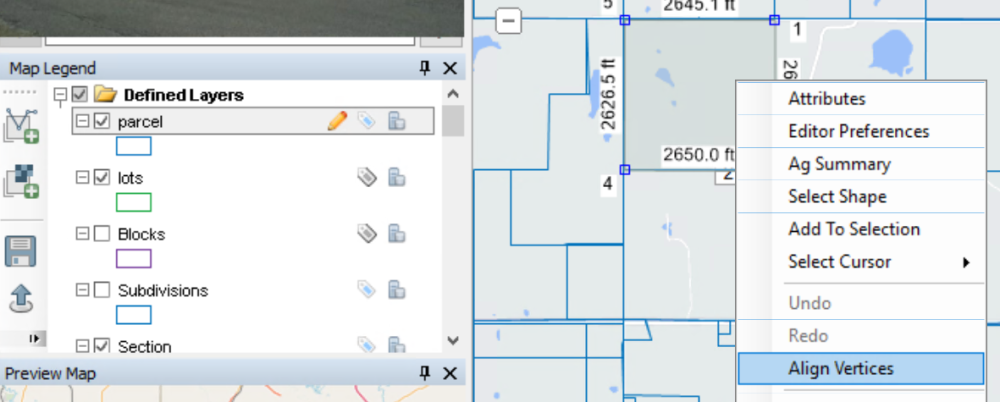
Align vertices in a polygon
 Aligning vertices is a very important step, after editing and before clicking the apply button
  . It snaps the vertices to nearby points, dissolves extra points, and keeps parcels from coming across as invalid.
RIGHT-CLICK on the parcel
CHOOSE Align Vertices
If LandMark randomly closes out when aligning the vertices on a parcel, there is an issue with the first and last point.
To fix: SELECT the shape, DELETE the point one and ALINE the vertices. This will solve that error.
Post your comment on this topic.