Overview
Previously, in prior version of Kramer Control in order to track a Virtual state you needed to import the Kramer – Virtual Device driver and create aliases for tracking. With the release of v1.2.0 we have added this same capability within the System Device that is imported to each space. In the steps below we explain how to create a custom state and how to track these states within your Interface.
Process
- Launch Builder
- Navigate to the Devices tab within the Right Pane
Single Click on the System Device and within the category list, select Custom States

Click on the “+” Sign to create a new Custom State. This opens a pop-up window where we begin the creation process

Add a name to your State. This will be referenced when adding states to Events within the User Interface.

Select State Type
There are three state types to choose From:
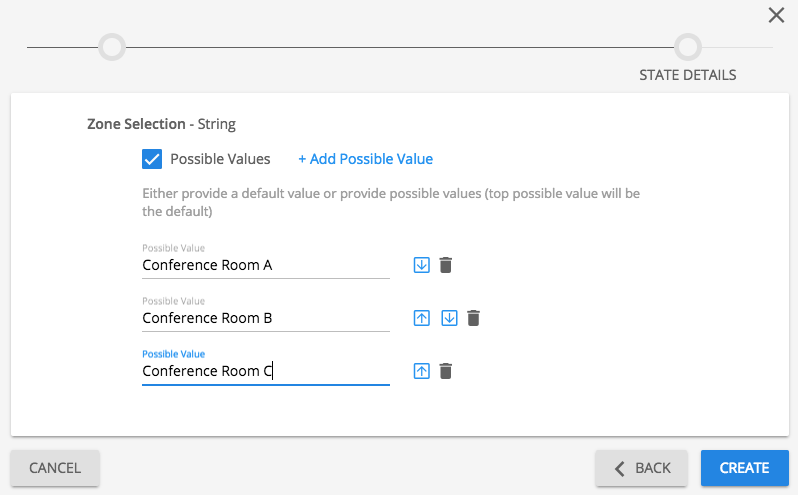
- String
A string state is a sequence of characters. Examples of such would be: Media Player, Office, Huddle Space and so on.
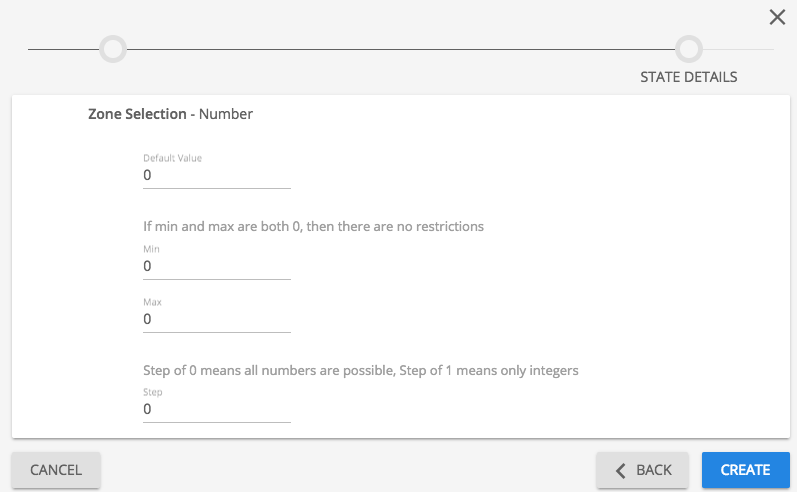
- Number
A number state is a numerical value that exists within a defined range. Examples would be 0 – 100.
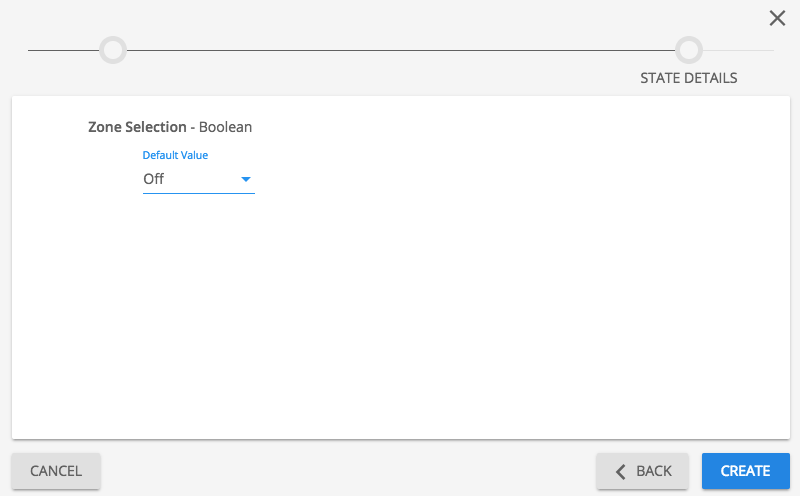
- Boolean
A boolean state is an On of Off scenario. Examples of this would be a Power State of On or Off.
Array
- An array represents a scenario where you have multiple Keys that will reference your generated states. These Keys could include Room names, Lighting Values and more.
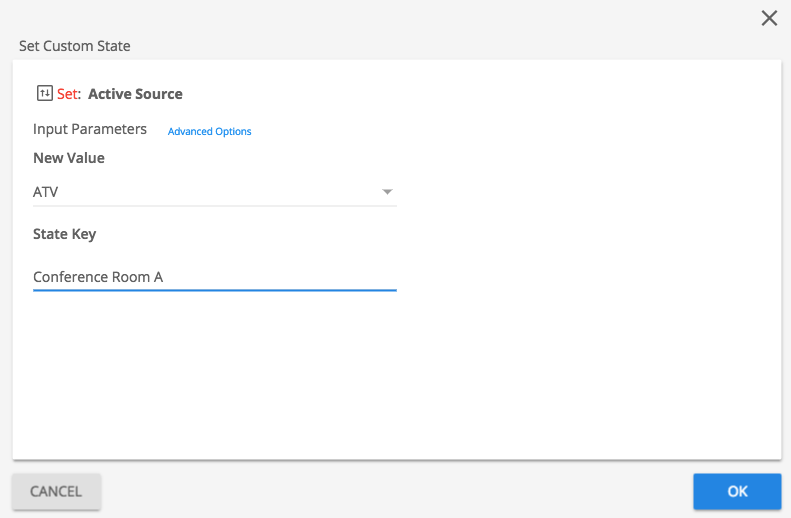
- Arrays are assigned when the Custom state is added to a button or tracked via a state. This appears within the pop-up as the State Key field
- This state key allows the programmer to reference the string, numbers or booleans that were created within the Custom state across multiple Rooms or Zones
- This state key allows the programmer to reference the string, numbers or booleans that were created within the Custom state across multiple Rooms or Zones
After selecting the Create option, the Category will show the newly created Custom State

Using Custom State in Event
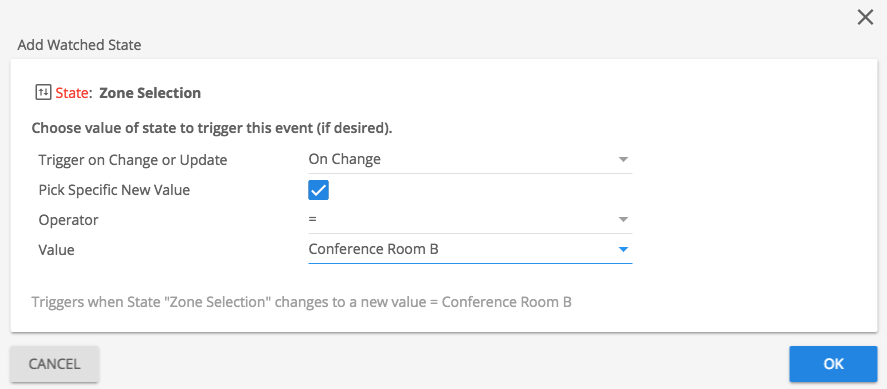
Within the Events section of the Left pane, or the Event within a Button widget, you will drag and drop the Custom State you designed then make your selections within the popup window



Post your comment on this topic.