
Adding by Keyboard is used if the polygon does not have metes and bounds, but rather the direction and distance.
This works for all layers in Landmark, also works to split parcels.
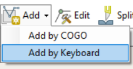
There are two ways to Add by Keyboard
1. Using the Mouse
2. Using the Keyboard Arrows
Adding by Keyboard with the Mouse
HIGHLIGHT the desired layer
CLICK the pencil ![]() to enter Edit Mode
to enter Edit Mode
CLICK Add —Add by Keyboard.
CLICK mouse to drop the first point as the Point Of Beginning (POB)
The user will see a point is dropped with a number 1.
If the vertex or number display isn’t visible go to:
Options —Editor Preference, be sure the boxes are checked under the Display options.
CONTINUE LEFT-CLICKING to add calls
As the user moves the mouse, the bearing and feet change.
ZOOM IN OR OUT to get a more precise footage and bearing.

CLOSE the polygon by HOLDING the “Ctrl” key on the keyboard and LEFT-CLICK on the POB.
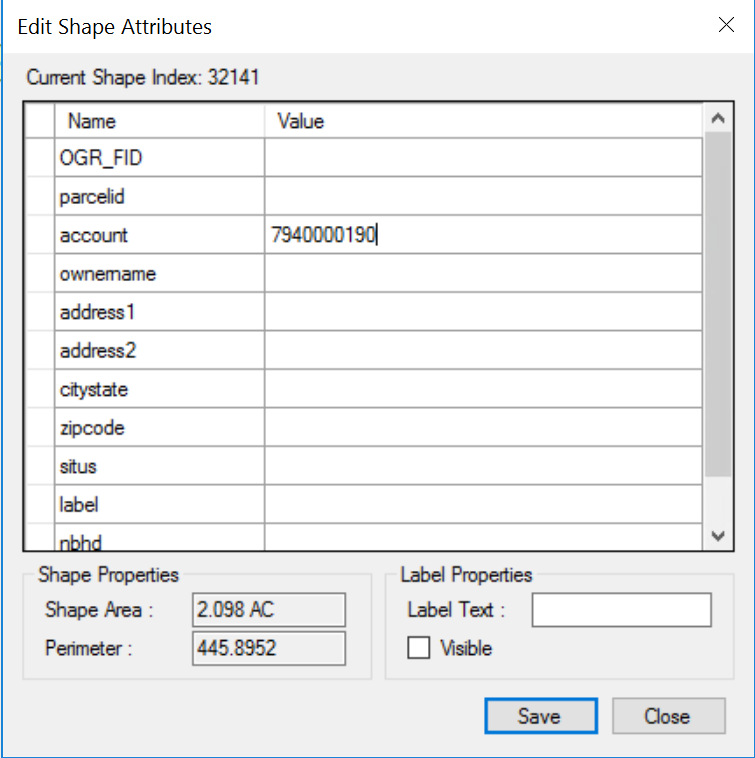
The attributes box will appear.
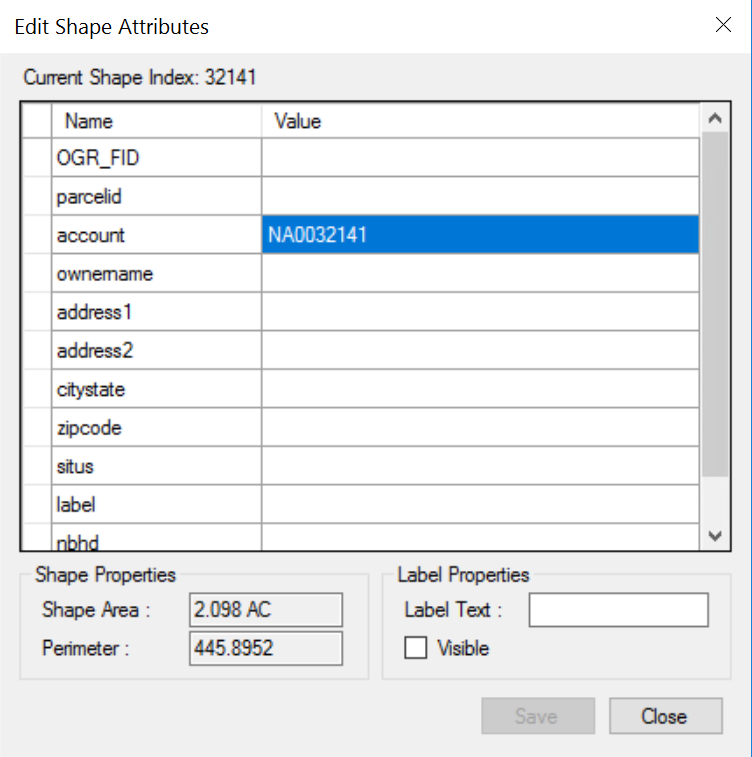
ADD the nine-digit account number
CLICK Save
CLICK the ![]() in the tool bar.
in the tool bar.
Adding by Keyboard using the Arrow Keys on the Keyboard.
This is ideal for parcels that go directly N, S, E, & W.
The keyboard arrows each represent a direction. N (arrow up), S (arrow down), E (arrow right), W (arrow left).
HIGHLIGHT the desired layer
CLICK the pencil ![]() to enter Edit Mode
to enter Edit Mode
CLICK Add —Add by Keyboard.
CLICK with mouse to drop the beginning point of the polygon.
SELECT “Insert” on the keyboard
The bearing will display in the bottom right-hand corner of the map.
When using the insert function, it only allows for the distance that is SHOWN on the map. Example: If user is zoomed in too much and wants to go 300 feet, but the map only shows 100 feet, user must zoom out to where at least 300 feet shows on the map.
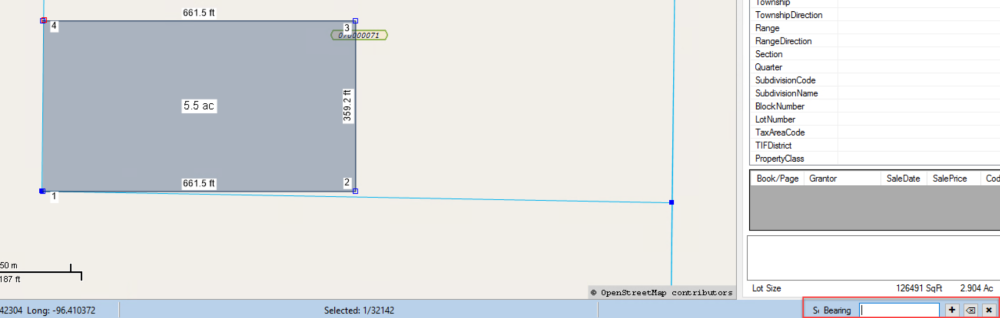
If the user is going directly East 660ft we would type “660” in the bearing box and hit the -> (arrow right) on the keyboard.

Calls made below: 660 arrow right, 360 arrow up, 660 arrow left
Note: 660 arrow right shows 661.5 because of the curvature of the earth.
Once the direction is selected, it draws the direction and clears out the bearing for the next call.
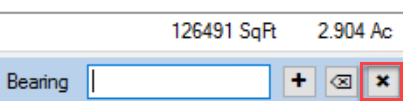
To draw points without the bearing simply click on the “X” and the user can continue drawing the polygon with the mouse.
CLOSE the polygon by HOLDING the “Ctrl” key on the keyboard and LEFT-CLICK on the POB.
OR
IF the bearing box is still displayed, SELECT the home button on the keyboard.
The polygon is closed when the bearing box in the bottom right-hand corner is no longer displayed and the attributes box appears.
ADD the nine-digit account number
CLICK Save
CLICK the ![]() in the tool bar.
in the tool bar.
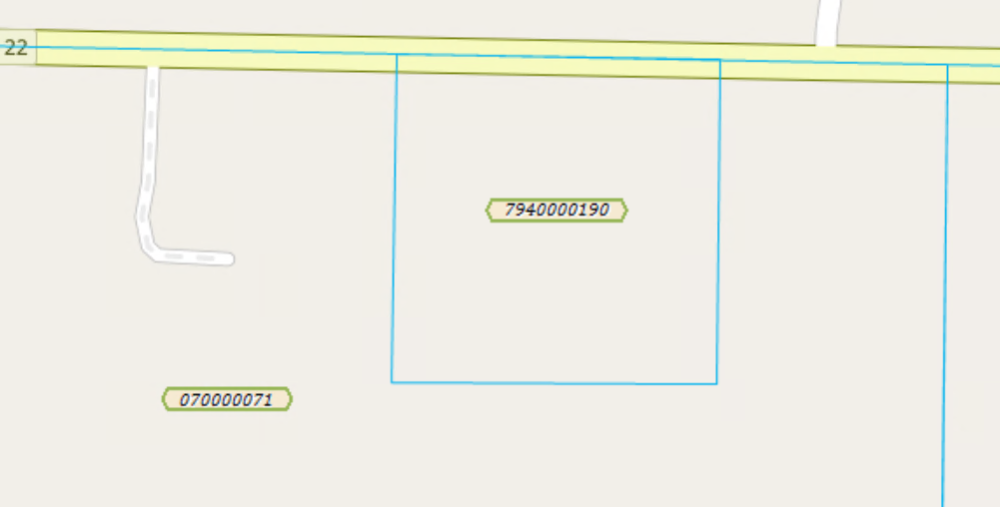
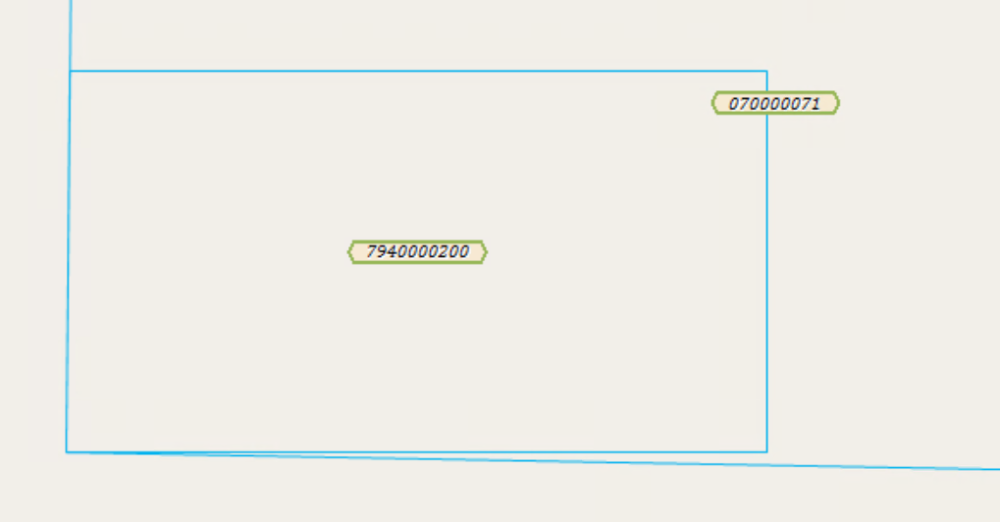
Once the polygon has been applied and the account number has been added to the attributes, the parcel info panel will populate from Landmark.
Post your comment on this topic.