
Indicator
Introduction:
Indicators quantitatively represent the development of a company through goals and results. An indicator evaluates both the company’s performance and the performance of its employees.
Procedures:
Attention: Before creating an indicator, it is necessary to have previously registered some information such as: areas, employees, units of measurement, and traffic light range.
1.To insert an indicator, access the menu Manage > Indicators:

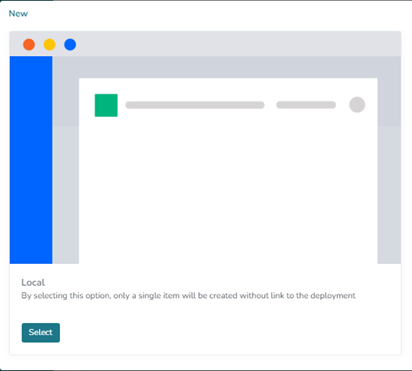
2.Click on the button  and in Location, click on Select:
3.Fill in the indicator information and save. Fields marked with an asterisk (*) are mandatory.
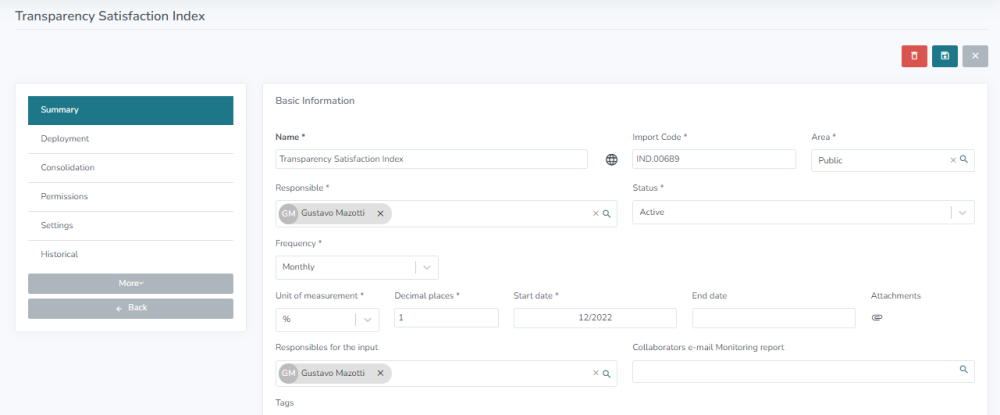
Fields:
Name: Enter the name of the indicator.
Import Code: This can be automatically generated or manually entered, depending on the system’s pre-configured settings.
Area: Select the area to which the indicator belongs, indicating which area’s performance it will affect.
Responsible: Define who will be responsible for the indicator, meaning who can make changes to it, such as entering values.
Status: Indicates the current status of the indicator, which can be Planning, Active, Suspended, Completed, or Canceled. Note: Suspended/completed/canceled indicators do not generate notifications.
Frequency: Determines how often the indicator results should be filled out. For example, if the indicator is monthly, its result should be filled out once a month.
Unit of Measurement: Specifies the unit of measurement for the indicator, such as Currency, Unit, Percentage, etc.
Number of Decimal Places: Determines the number of decimal places that the indicator values will have. For example, 2 decimal places (10.27), 1 decimal place (10.3). This setting applies to any type of indicator value.
Attachment: It is possible to attach a document related to the indicator.
Start Date and End Date: Specify the period during which the indicator is valid. It is not possible to enter values before the start date of the indicator. Once an indicator is completed (i.e., it has an end date specified), no more values can be entered for it.
Traffic Light Range: Determines the indicator’s traffic light based on its performance or result.
Example: if the indicator’s performance is equal to or greater than 100%, the traffic light should be green. If the indicator’s performance is less than 100%, the traffic light should be red.
The traffic light range also depends on the indicator’s polarity. Example: for a revenue indicator, the polarity is better upwards, meaning higher results are better. For an expense indicator, the polarity is better downwards, meaning lower results are better.
4.Upon saving, certain tabs will become enabled. Below is the meaning of each one:

Summary: Displays the registration details of the indicator, such as name, area, responsible party, etc.
Breakdown: Displays the breakdown tree of the indicator if the “Breakdown” functionality is enabled.
Consolidation: This is where you register the calculation formula for the indicator. To do this, select the Consolidation Type “Formula” and click on + to insert the formula. Don’t forget to save afterward.

Permissions: Here you can grant or block access to this indicator for specific users. This permission overrides both the profile and area permissions.
Settings: Here you configure specific settings for the indicator itself, such as chart layout, notification blocking, etc.
History: Here you can view all changes made to the indicator’s registration, such as changes to the name, area, responsible party, etc. Additionally, you can see when and which user made the change.
More: In this option, you can access further details of the indicator such as values, charts, relationships (by formula and indirect), action plan, etc.

Conclusion:
This topic demonstrated how to register an Indicator.