
General Settings
Introduction:
In order for the system to fit your company’s reality, it is necessary to configure the general settings before entering the data.
Procedures:
To configure the system’s general settings, access the side menu Settings > General Settings.
System Tab
Appearance
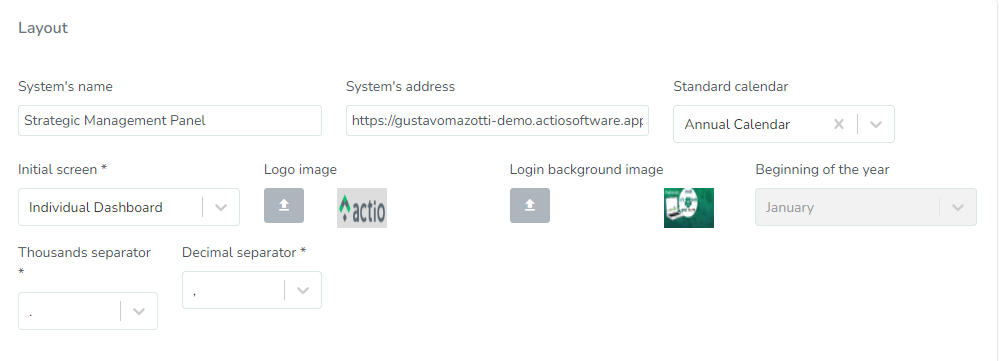
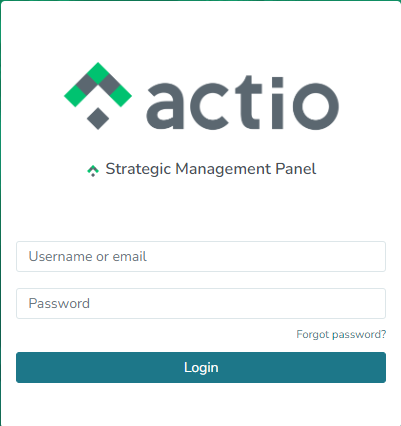
System Name: Here you can give any name you want to the system. This name will appear on the software login screen.
Default Calendar: can be chosen from the calendars registered in Settings > Calendars. This calendar is used in the calculation of actions, for example.
Home Screen: this is where you define which screen will be the initial screen for users, i.e., the first screen they will see when accessing the system.
Logo Image: here you can insert your company’s logo to personalize the system =D. The recommended dimensions are 200 × 65 px.
Login Background Image: also to customize the system to your company’s branding, you can change the background image of the login screen. The recommended dimensions are 1920 × 1080 px.
Start of Year: some companies have a fiscal year different from the standard (January to December). If this is the case for your company, you should define it here. Note: This setting must be done before data entry; once data is entered, it cannot be changed.
Thousand/Decimal Separator: the system default is “dot” for thousand separator and “comma” for decimal separator, but this can be changed depending on the company’s language.
Splitting
Use: by selecting this option, you enable the “Splitting” functionality. See Splitting section.
Features
By selecting these options, you enable the corresponding functionality.
Security
Automatically log off after X minutes of inactivity: the system will automatically log off after a specified period of inactivity.
Login attempts limit: limits the number of unsuccessful login attempts to the system. If the user reaches this limit, they will be locked out and must request unlocking from the system administrator.
Password expiration days: here you can force users to change their password after a certain number of days. Example: if you enter 30, users will be required to change their password every 30 days.
Employees
Password: here you can set a default password for new users. In other words, every new user registered will have this password as default, but they can change it later.
Note: This password must meet the following strong password requirements:
- Be between 9 and 64 characters long.
- Include at least one number.
- Include at least one special character.
- Include at least one uppercase letter.
- Include at least one lowercase letter.
Integration
If the company chooses to integrate employee users with AD/LDAP, simply check the option “Integrate with AD/LDAP”. By doing so, to access Actio’s software, users should use the same username and password they use to access the company’s network. See AD Integration for details.
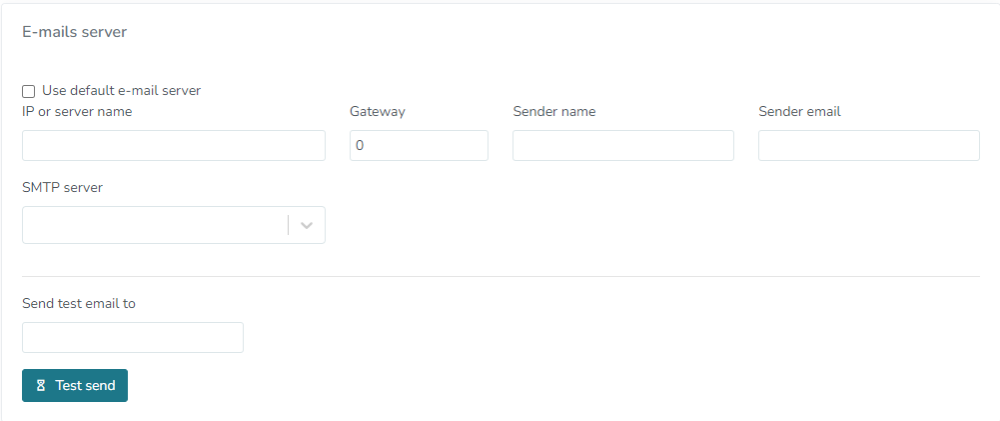
Email Server
For the system emails to function correctly, it is necessary to correctly fill out this configuration with the company’s email server details (consult these details with your company’s IT department).
Actio provides an email server for use. If the company chooses to use Actio’s email server, simply check the option “Use default email server”.
Headlights
Headlight range default: this range will be used when registering a new indicator. Attention: it must be previously registered under Settings > Indicators > Registration Tab > Headlight Range.
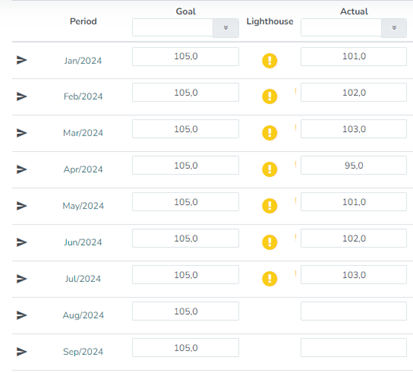
This is also where you define the meanings/legends of the indicator follow-up headlights. Which one will generate Troubleshooting/Progress Report and from how many occurrences of this headlight the Troubleshooting will be generated.

In the above case, it was defined that the yellow headlight will generate a report from the 2nd occurrence. If there is a different color headlight (such as green) between these occurrences, the count will reset. For example:
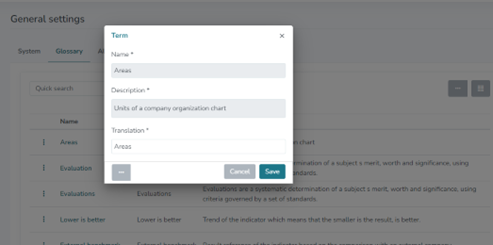
Tab Terms
It’s possible to change the terms that the system uses to terms that better fit your company’s reality. To change a term, click on the three dots > Edit. In “Translation,” enter the term that your company usually uses:
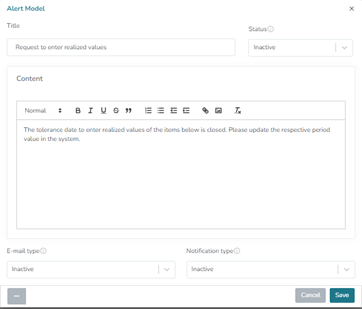
Tab Alerts
Here you can configure which types of alerts/emails will be sent to users to remind them of any pending issues. It’s possible to change the title and content of an alert. To do this, click on the three dots > Edit, make the changes, and save. Attention: for an alert to work, it needs to be activated and the email server previously set up needs to be configured.
Conclusion:
In this section, it has been demonstrated how to perform the initial setup of the software.