
This tab allows users to define the communication strategy associated with the plan.

- Communication Strategy: A rich text field for outlining the overall communication approach, including communication methods, protocols, and any relevant tools or systems.
- Emergency Contacts: This section allows users to manage emergency contacts associated with the plan.
- Step 1: Assign Responsibility
- Use the Emergency Contacts Responsible dropdown to select the person or role responsible for managing these contacts.
- This field dynamically loads active users and roles in the system.
- Use the Emergency Contacts Responsible dropdown to select the person or role responsible for managing these contacts.
- Step 2: Assign Contacts by Disaster Type & Location
- For each active disaster type and location combination, use the Emergency Contacts grid to enter the following details:
- When to Contact: Specify the conditions when this contact should be reached (e.g., immediately upon disaster occurrence).
- Contact: Select the primary contact from the dropdown. (This field dynamically loads active users.)
- The following fields populate automatically after selecting and saving a contact:
- Full Name: Displays the full name of the selected contact.
- Phone Number: Displays the contact’s primary phone number.
- Email: Displays the contact’s email address.
- Address: Displays the contact’s physical address.
- The following fields populate automatically after selecting and saving a contact:
- Alternative Contact: Select a backup contact from the dropdown. (This field dynamically loads active users.)
- Secondary Email: Enter an additional email address, if needed.
- Office: Enter the office location of the contact.
- Type: Select the contact type (i.e., Business, IT). (This field uses a predefined, fixed list.)
- For each active disaster type and location combination, use the Emergency Contacts grid to enter the following details:
- Step 1: Assign Responsibility
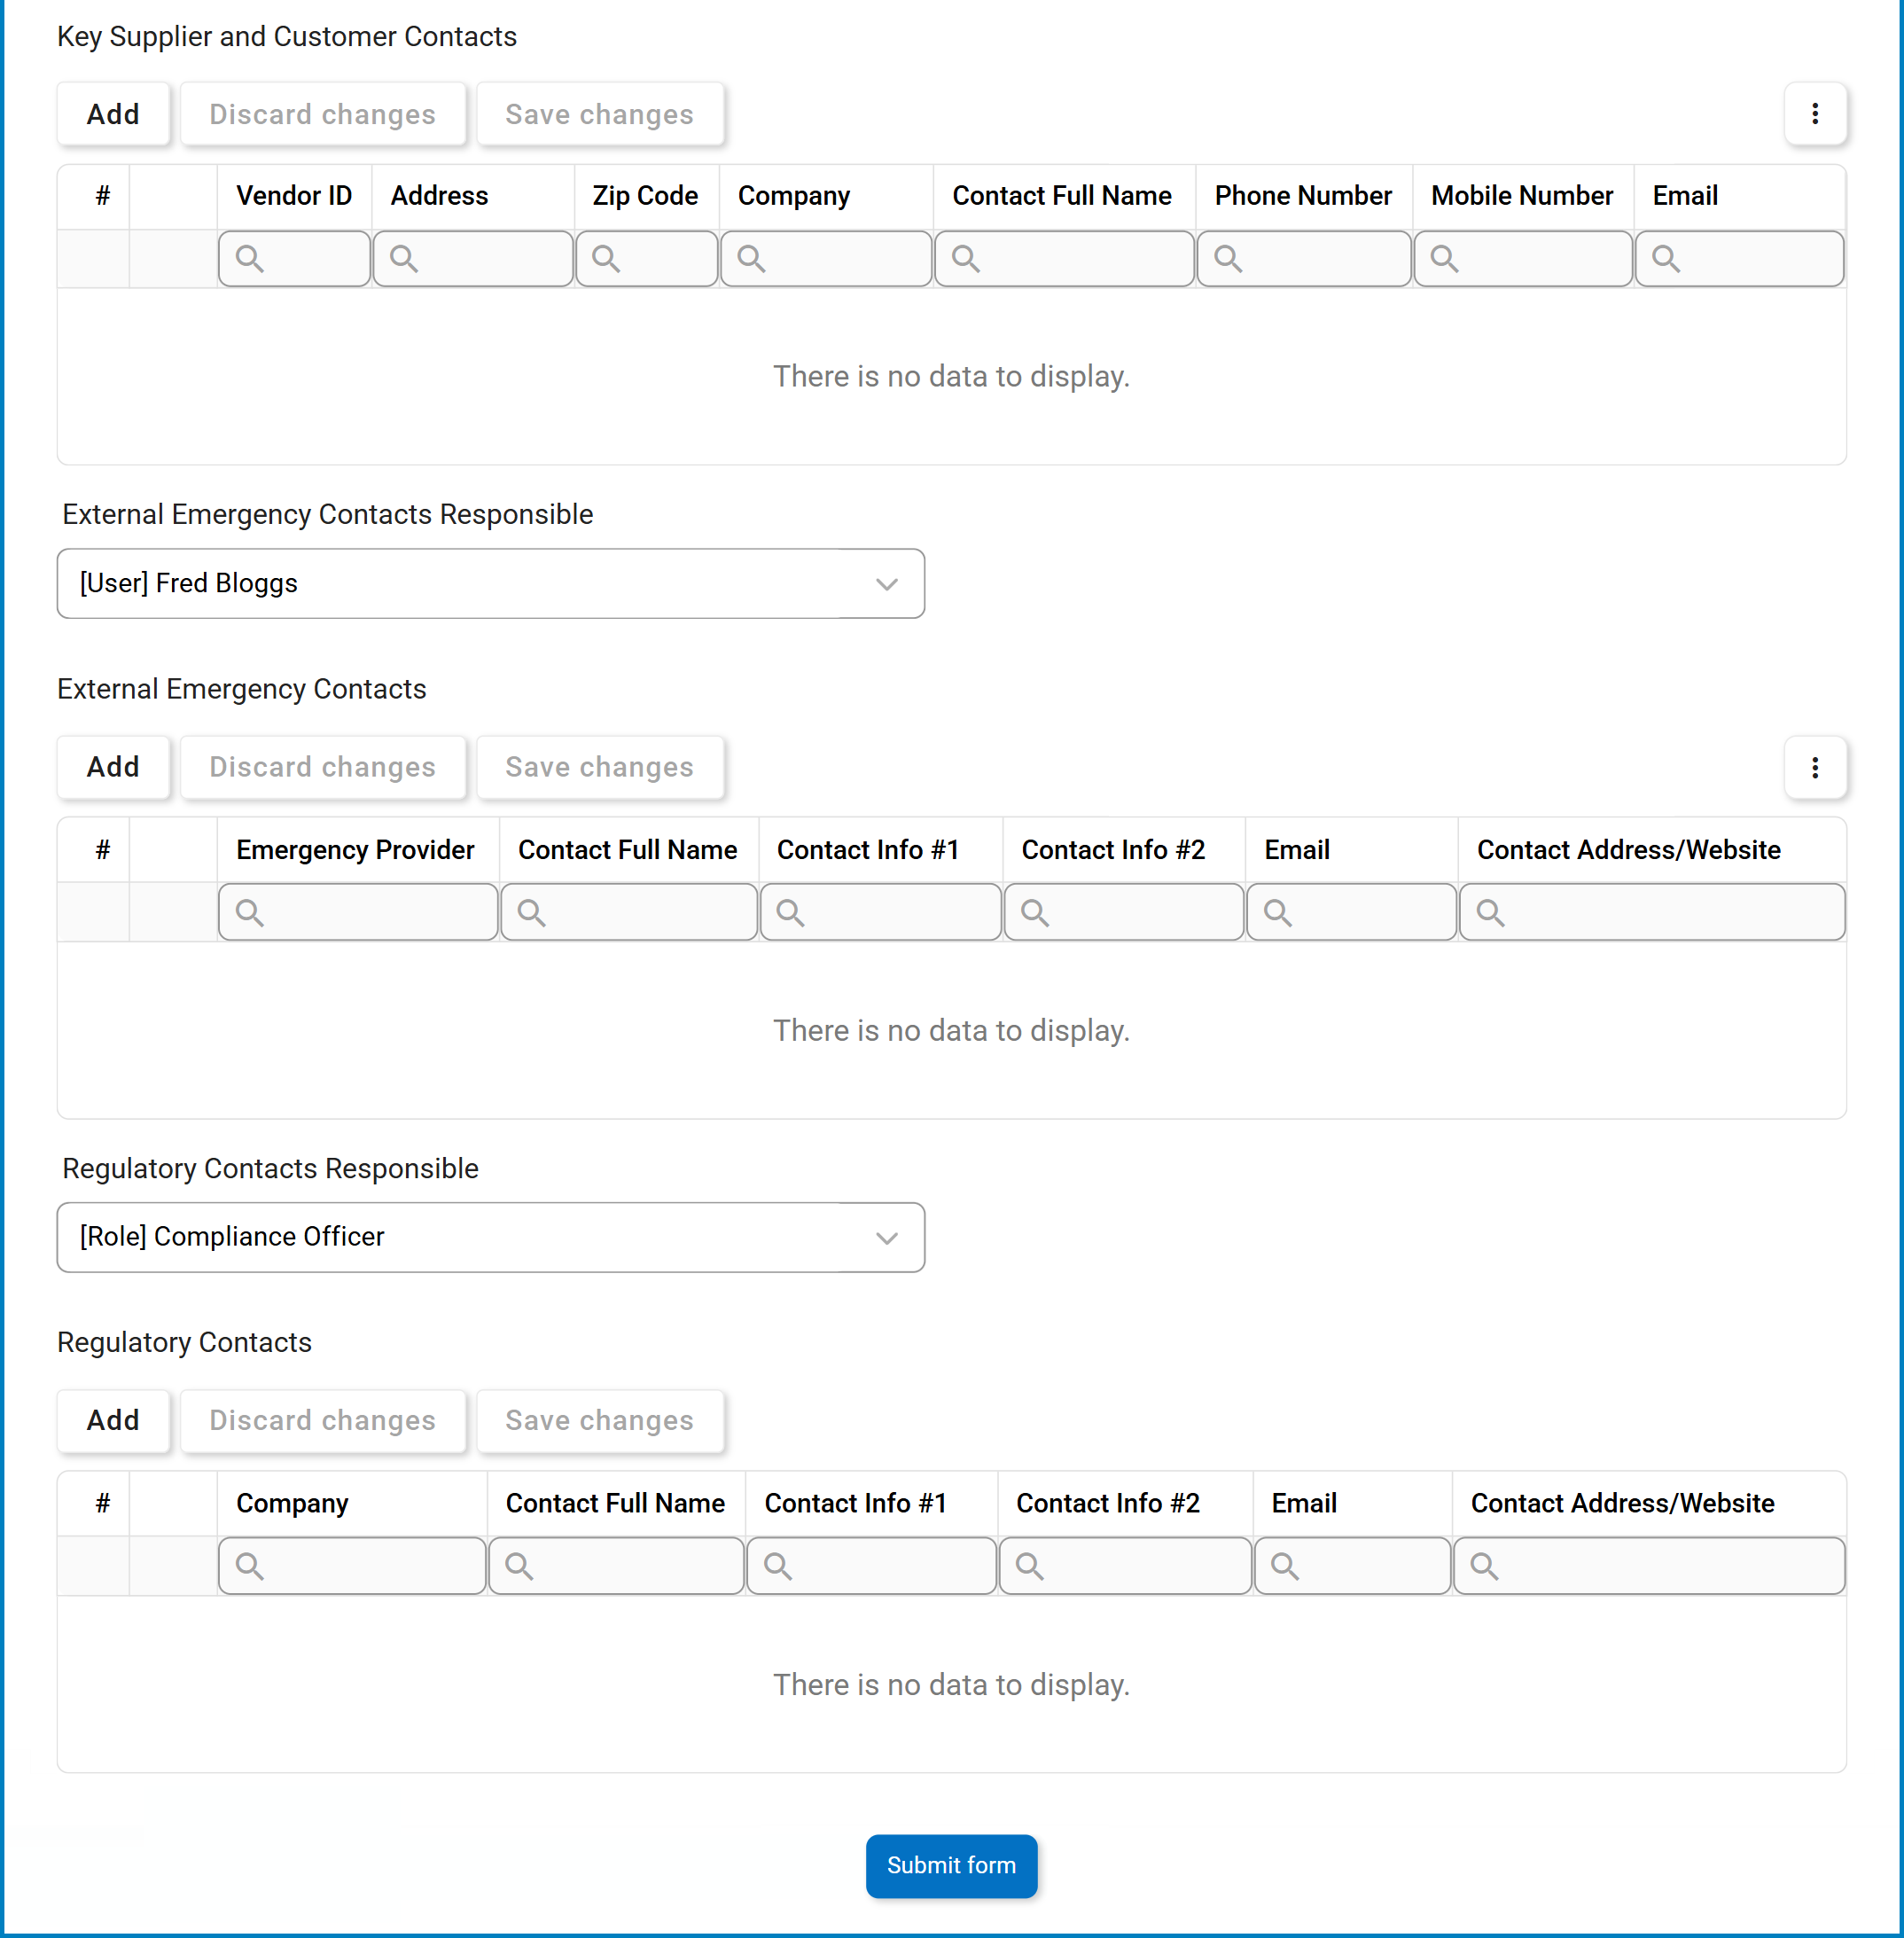
- Key Supplier and Customer Contacts: This section allows users to manage contacts for key suppliers and customers.
- Step 1: Assign Responsibility
- Use the Key Supplier and Customer Contacts Responsible dropdown to select the person or role responsible for managing these contacts.
- This field dynamically loads active users and roles in the system.
- Use the Key Supplier and Customer Contacts Responsible dropdown to select the person or role responsible for managing these contacts.
- Step 2: Add New Contacts
- Click the Add button. A new row will appear in the contacts grid.
- Step 3: Enter Contact Details
- For each key supplier or customer contact, provide the following information:
- Vendor ID: Enter the unique identification number of the supplier or customer.
- Address: Enter the supplier’s or customer’s physical address.
- Zip Code: Enter the postal code associated with the address.
- Company: Specify the name of the supplier or customer’s company.
- Contact Full Name: Enter the full name of the primary contact person.
- Phone Number: Enter the primary contact’s phone number.
- Mobile Number: Enter the contact’s mobile phone number.
- Email: Enter the contact’s email address.
- When to Contact: Specify the conditions when this contact should be reached (e.g., in case of supply chain disruption).
- Functional Responsibility: Select the functional responsibility of the contact. (This field dynamically loads active departments.)
- Type of Contact: Select the contact type (i.e., Key Customer, Key Supplier). (This field uses a predefined, fixed list.)
- For each key supplier or customer contact, provide the following information:
- Step 1: Assign Responsibility
- External Emergency Contacts: This section allows users to manage contacts with external emergency services or agencies.
- Step 1: Assign Responsibility
- Use the External Emergency Contacts Responsible dropdown to select the person or role responsible for managing these contacts.
- This field dynamically loads active users and roles in the system.
- Use the External Emergency Contacts Responsible dropdown to select the person or role responsible for managing these contacts.
- Step 2: Add New Contacts
- Click the Add button. A new row will appear in the contacts grid.
- Step 3: Enter Contact Details
- For each external emergency contact, provide the following information:
- Emergency Provider: Enter the name of the emergency service provider (e.g., Fire Department, Medical Service).
- Contact Full Name: Enter the full name of the primary contact person.
- Contact Info #1: Enter the primary contact information (e.g., phone number or email address).
- Contact Info #2: Enter an additional contact method (e.g., secondary phone number or alternative email).
- Contact Address / Website: Provide the physical address or website URL of the emergency provider.
- Location: Select the location associated with this contact. (This field dynamically loads active sites.)
- When to Contact: Specify the conditions when this contact should be reached (e.g., fire emergency, medical incident).
- For each external emergency contact, provide the following information:
- Step 1: Assign Responsibility
- Regulatory Contacts: This section allows users to manage contacts with regulatory bodies or authorities.
- Step 1: Assign Responsibility
- Use the Regulatory Contacts Responsible dropdown to select the person or role responsible for managing these contacts.
- This field dynamically loads active users and roles in the system.
- Use the Regulatory Contacts Responsible dropdown to select the person or role responsible for managing these contacts.
- Step 2: Add New Contacts
- Click the Add button. A new row will appear in the contacts grid.
- Step 3: Enter Contact Details
- For each regulatory contact, provide the following information:
- Company: Enter the name of the regulatory agency or authority (e.g., Environmental Protection Agency, Financial Services Commission).
- Contact Full Name: Enter the full name of the primary contact person.
- Contact Info #1: Enter the primary contact information (e.g., phone number or email address).
- Contact Info #2: Enter an additional contact method (e.g., secondary phone number or alternative email).
- Contact Address / Website: Provide the physical address or website URL of the regulatory agency.
- Location: Select the location associated with this contact. (This field dynamically loads active sites.)
- When to Contact: Specify the conditions when this contact should be reached (e.g., legal requirements, compliance checks).
- For each regulatory contact, provide the following information:
- Step 1: Assign Responsibility
- Submit Form: A button for submitting the completed form.
- Upon submission, this form will trigger the Plan Review & Approval workflow. The assigned reviewer will be tasked with reviewing the plan.
- Upon submission, this form will trigger the Plan Review & Approval workflow. The assigned reviewer will be tasked with reviewing the plan.
Post your comment on this topic.