
Using the ‘Wall’ button:
- Setup Flexijet 3D, connect, and Auto-level Flexijet (anytime setting up, after moving, or starting a new project).
![]()
- If measuring only a wall: In the ‘Measurement’ ribbon, click on Wall.
![Measure Wall button Flexijet Stone]()
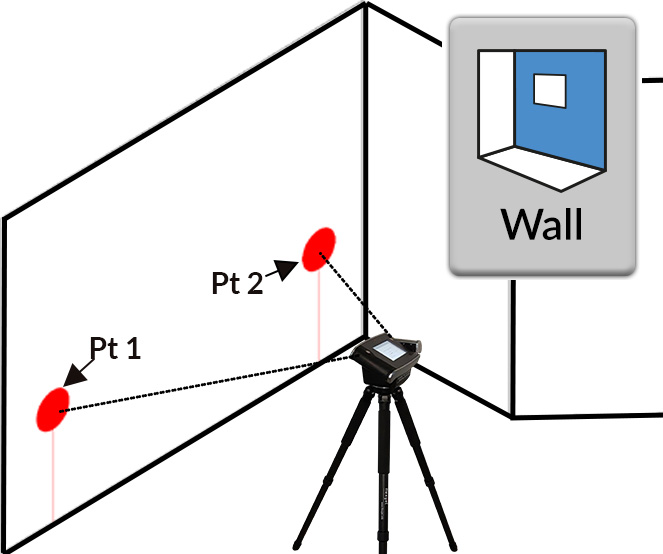
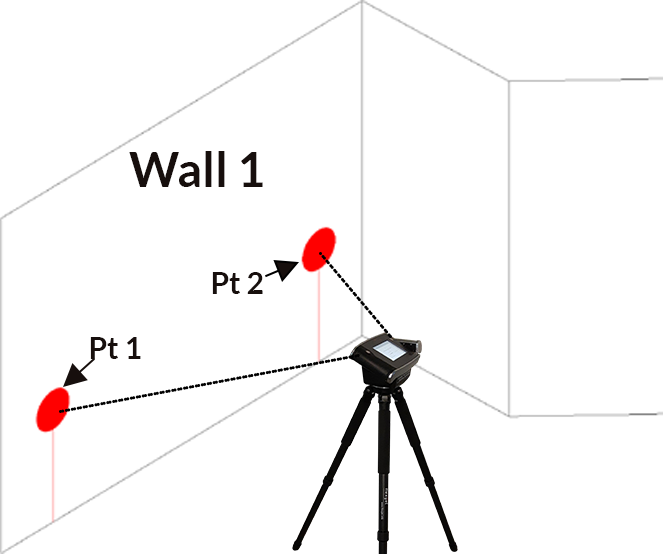
- Set the plane on the wall, measuring on the wall towards the left and then on the wall towards the right. If you have not used ‘Align to object’, the plane of the first wall will also be used to set the x-axis alignment automatically.
![Vertical plane - where to set points image]()
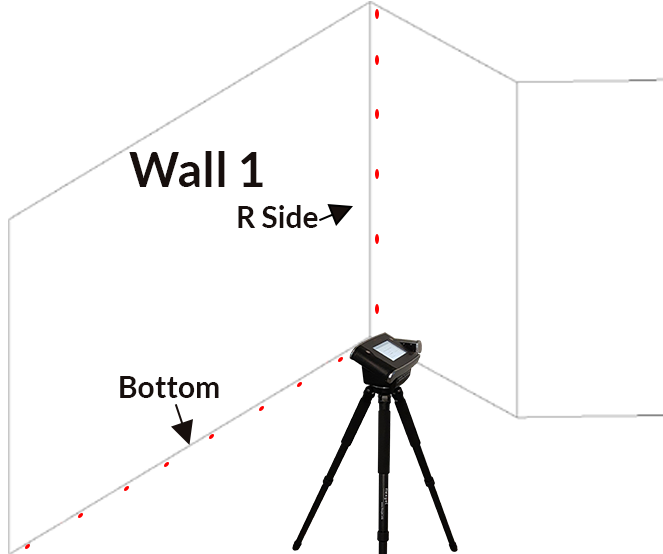
- Now, measure the geometry of this wall using Multiple Lines and Polylines. Similar to how a countertop is measured but on a vertical plane, measure the surfaces that intersect with the wall to capture the outside shape of the wall with Multiple Lines for straight sections and Polylines/Lines for scribed sections. Each measured point will be flattened perpendicularly to the vertical plane.
![Wall where to measure with Flexijet]()
- To measure additional walls: Click the ‘Wall’ button again, and follow the prompts to define the plane of the new folder.

Verification
- Step 1 of Verification: Connect corners as needed, and use Show Corners and Show CAD-Point to aim Flexijet at the corners for visual verification.
- Step 2 of Verification: Use the Dimension tools to place measurements on the page and verify with a tape measure.
- To verify the plum of the wall, it can be used to do it manually using Distance point to plane or to create a hath and digitalize it so the Flexijet does it automatically.
Feedback
Copyright © 2025 Flexijet GmbH
—
Powered by 
Post your comment on this topic.