
The GAP Tool is designed to create precise gaps in your pieces easily and accurately. Using a reference line, you can specify the exact distance of the gap you want to create, giving you full control over the spacing.
This tool does not modify the overall length of the piece or move it itself.
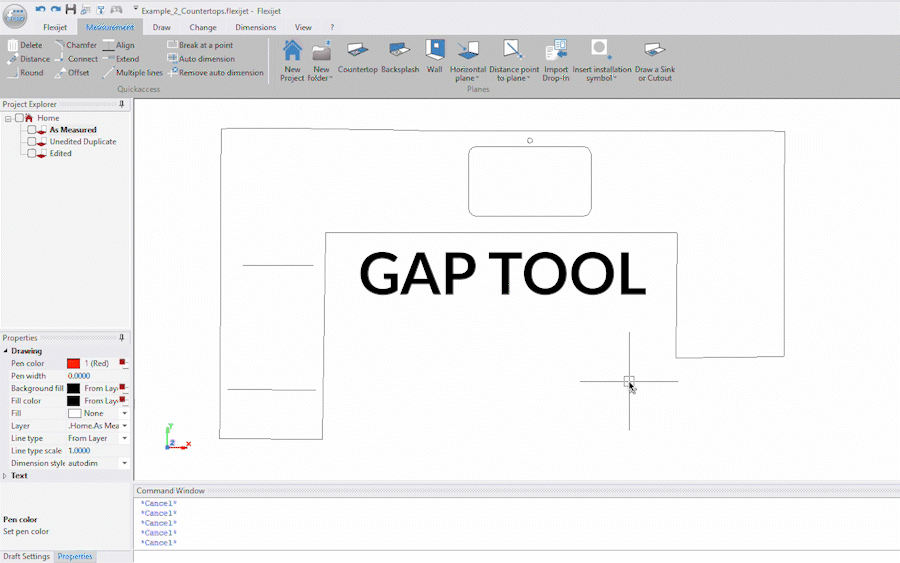
To use the Gap tool
- Select the ‘Gap’ tool from the drop-down menu of the seam tool.
![]()
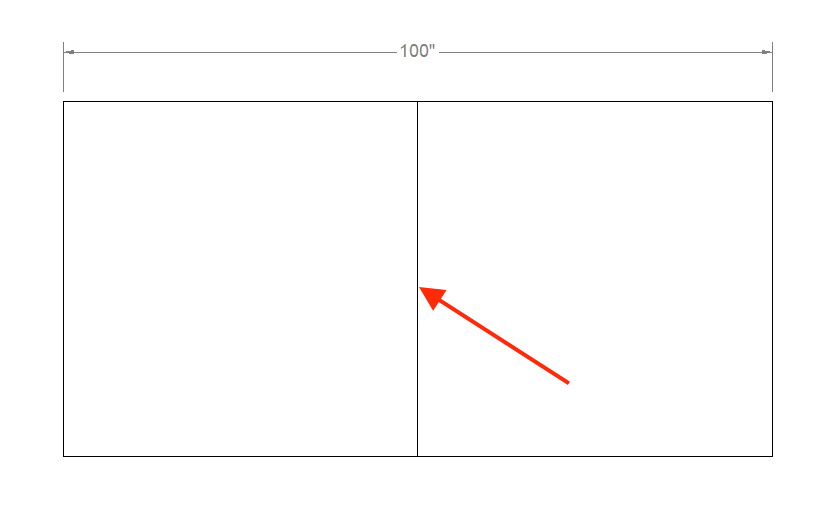
- Click on the line where you want the gap to be added.
![]()
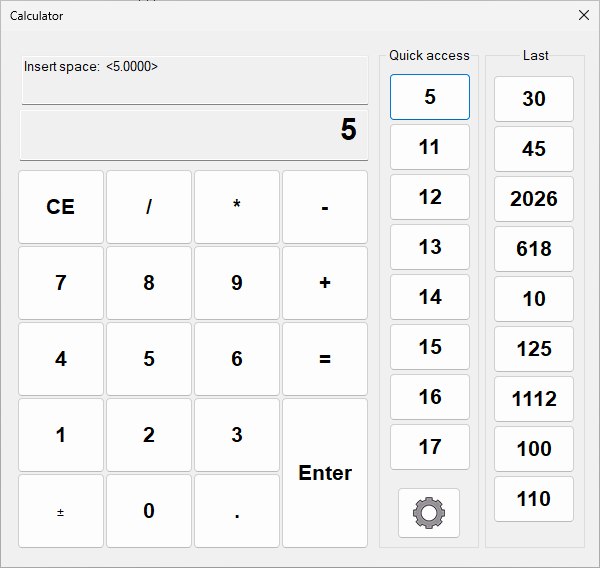
- Now enter the gap distance. Note: This will not change the length or move the piece.
![]()
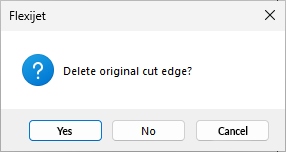
- Select if you want to delete the reference line or not.
![]()
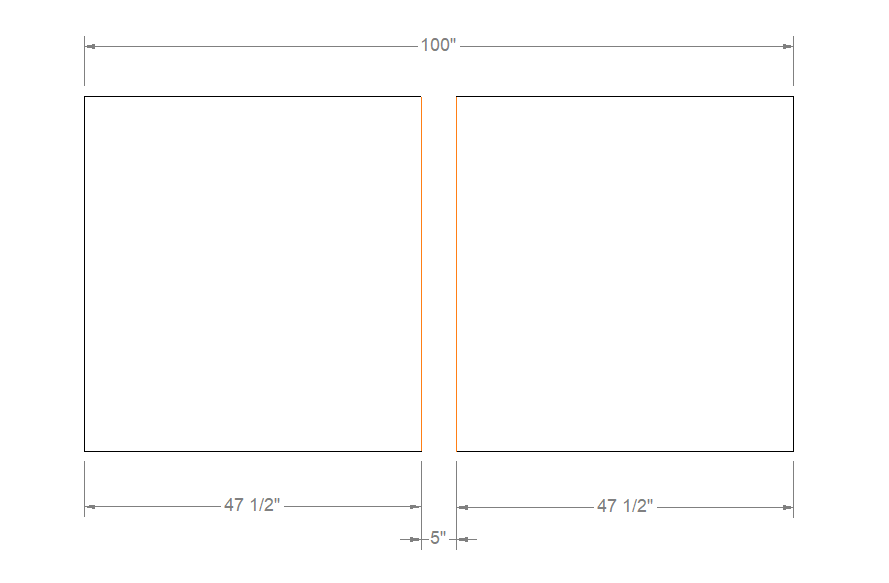
- The Gap tool creates a gap in the piece and changes the color of the gap lines to orange to indicate that a gap was added.
![]()
- This function remains in a loop so that you can add more gaps.

Stove opening example:
![]()
Note: The colors of the lines created can be changed from the general preferences window/CAD preferences/Seam/Color.
Feedback
Copyright © 2025 Flexijet GmbH
—
Powered by 
Post your comment on this topic.