
Drawing a hatch.
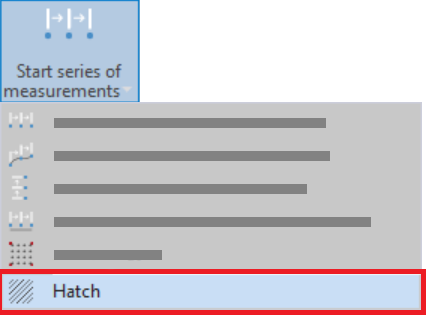
- Select Hatch from the drop-down section of ‘Start Series of Measurements’ on the ‘Flexijet’ ribbon.
![]()
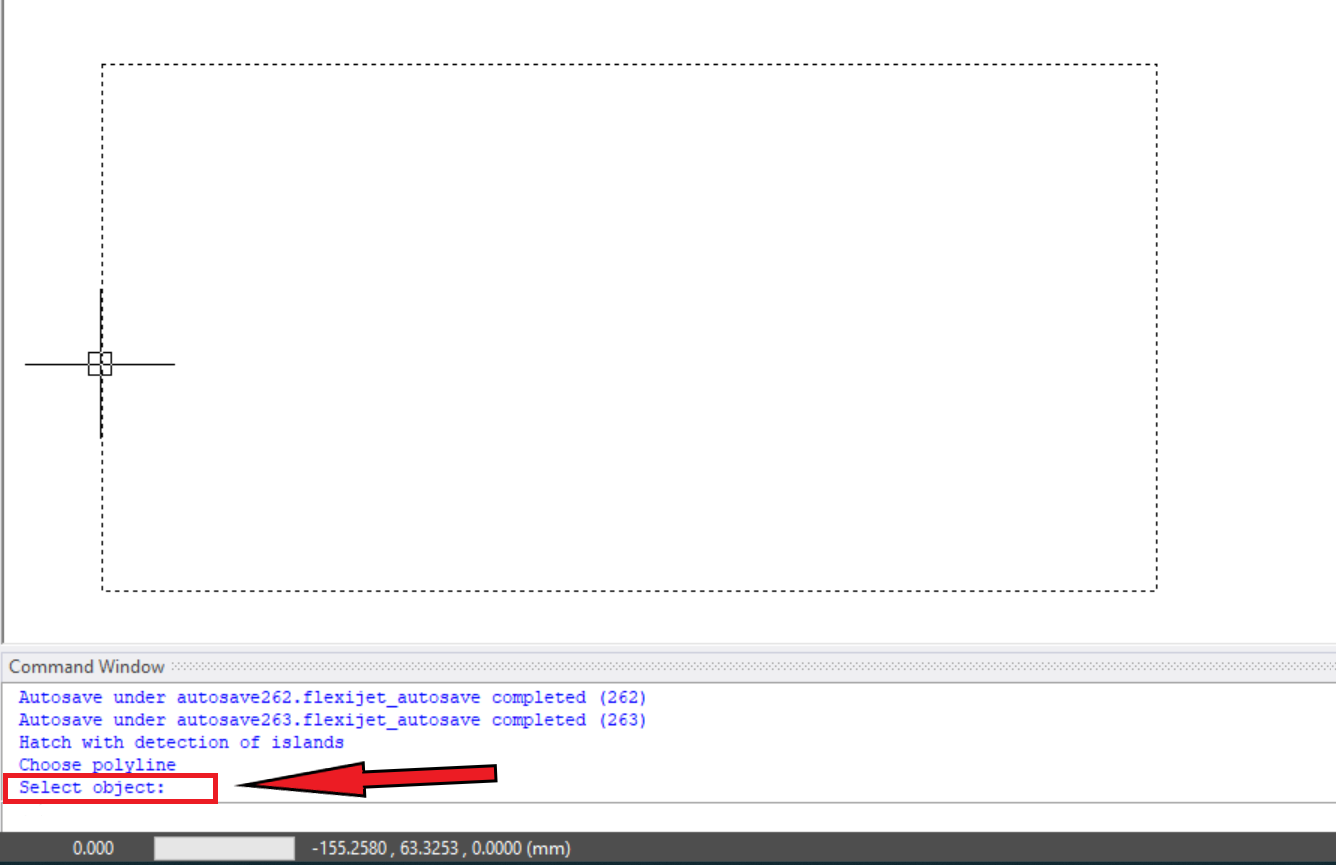
- As prompted in the Command Window, select the object to be hatched. In versions 3.3 and later, the object only needs to be a complete shape – it does not need to be joined into a Polyline. After selecting the bounding object, You may also select closed objects (polylines or rectangles) within the original hatched area to be ignored, such as a cutout.
![]()
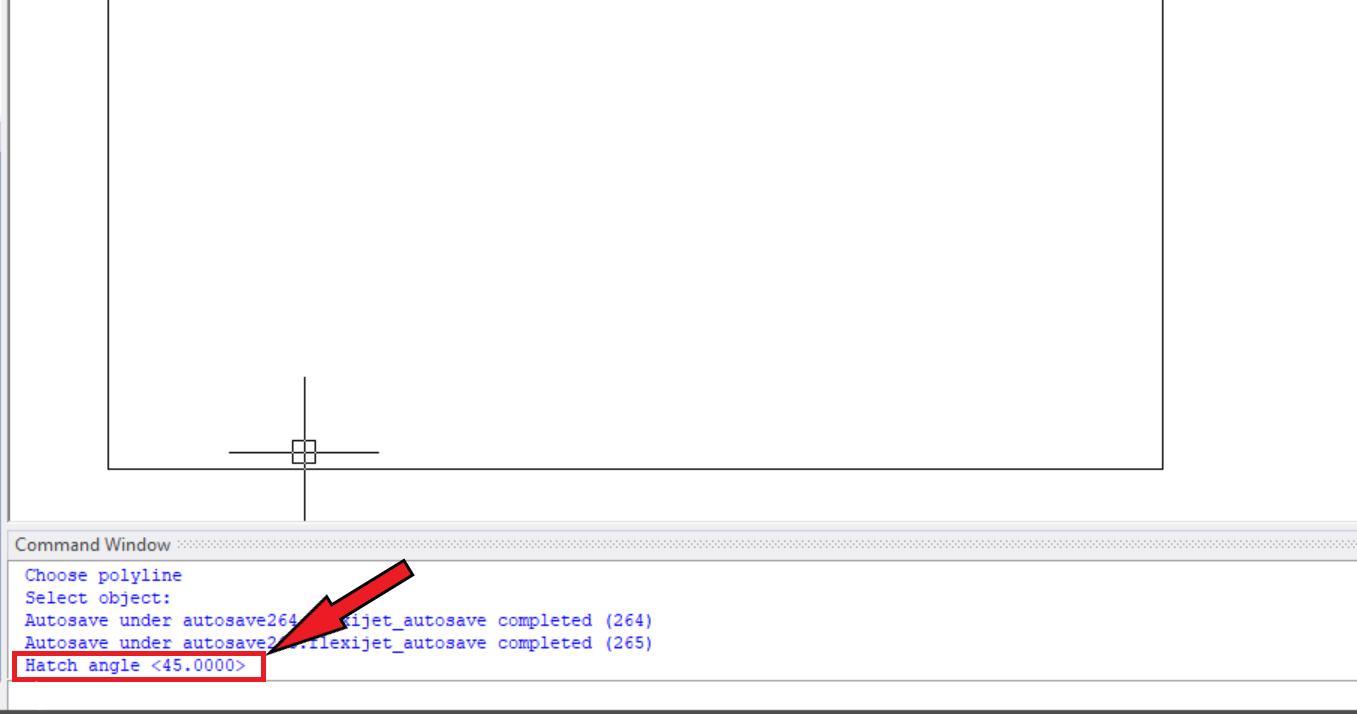
- Follow the Command Window prompts to set the Angle of the hatch (45deg by default).
![]()
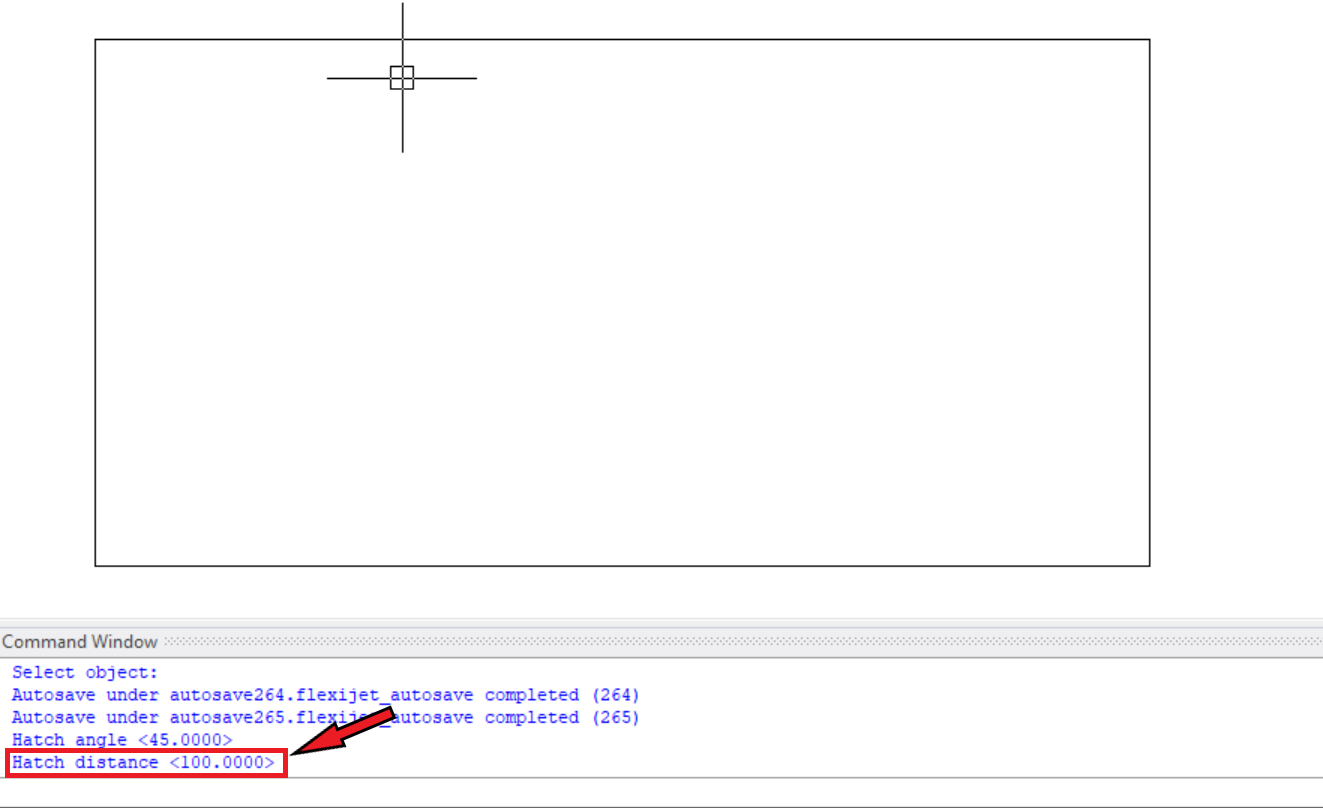
- Then, set the distance of the hatch. The ‘Digitize Hatch’ command will measure at these intersections.
![]()
![]()

Digitizing a hatch.
The Digitize Hatch command measures the distance of all the intersecting points within a hatched area. For example, a hatch in a rectangular area on a wall can be measured to determine high and low points so that glass or stone can be effectively clad.
Follow these instructions to digitize a hatch.
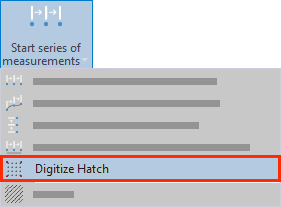
- From the ‘Flexijet’ Ribbon, select Digitize Hatch from the ‘Series of measurements’ drop-down menu.
![]()
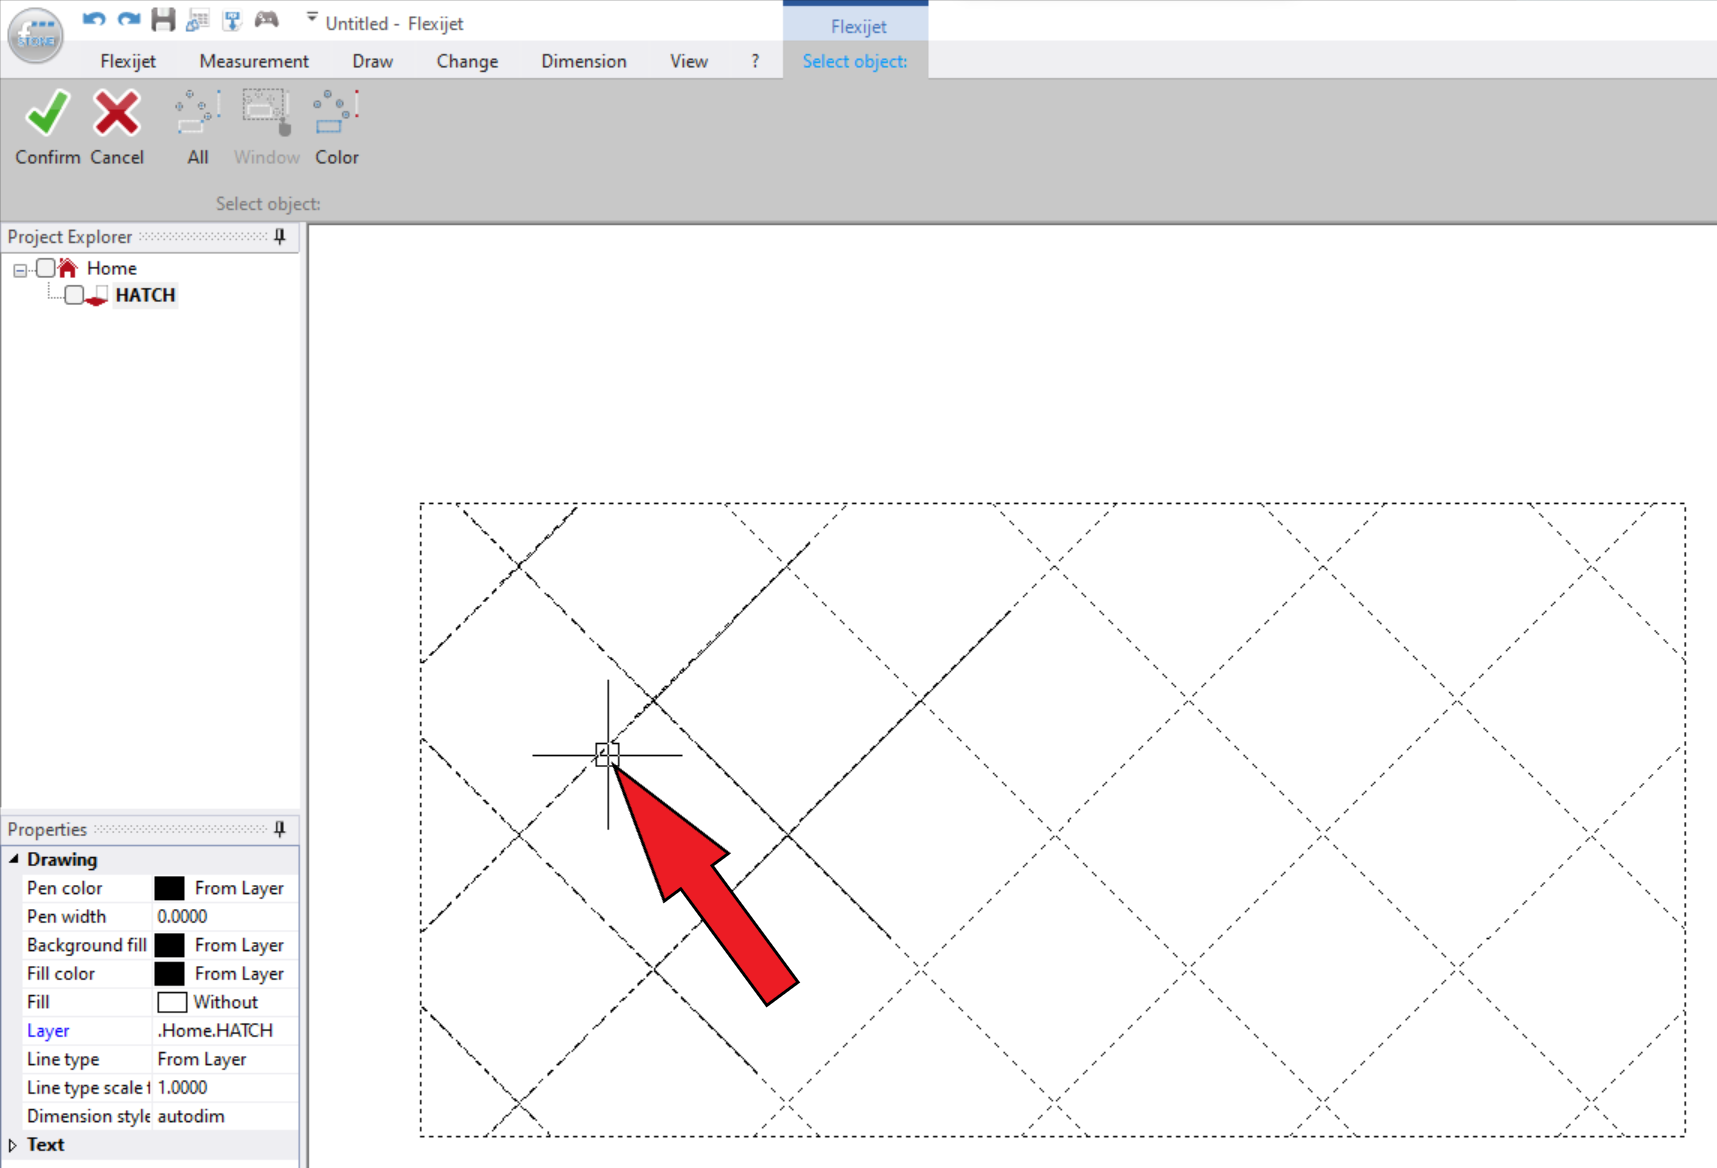
- Select the hatch that you want to digitize.
![]()
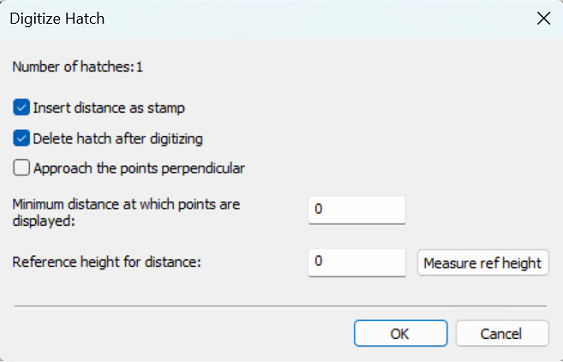
- From this menu, you can select multiple options.
![]()
- The Flexijet will now measure all the points on the grid, moving through the points sequentially until it has completed all the measurements.
- When completed, FlexiCAD will display ‘Finished’, followed by the minimum and maximum distances measured.
Feedback
Copyright © 2025 Flexijet GmbH
—
Powered by 
Post your comment on this topic.