
The backsplash button allows users to create a plant-on backsplash and a vertical layer for a Full-height Backsplash.
To use the backsplash function.
To add a backsplash with a specific height:
- Select the ‘Backsplash” button from the measurement ribbon.
![]()
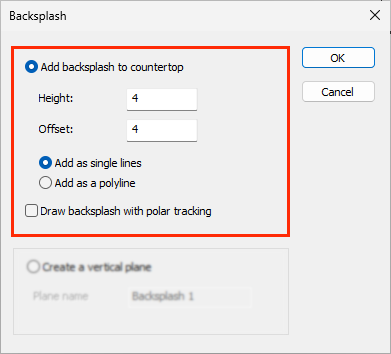
- From the backsplash dialog window, enter the ‘Height’ of the backsplash and the ‘Offset’ (how far from the countertop the backsplash will be drawn). You may also choose if the backsplash is drawn as Single Elements (4 lines) or a Polyline.
![]()
- Tap or click to select the left point where you would like your backsplash to begin, then tap the point on the right.
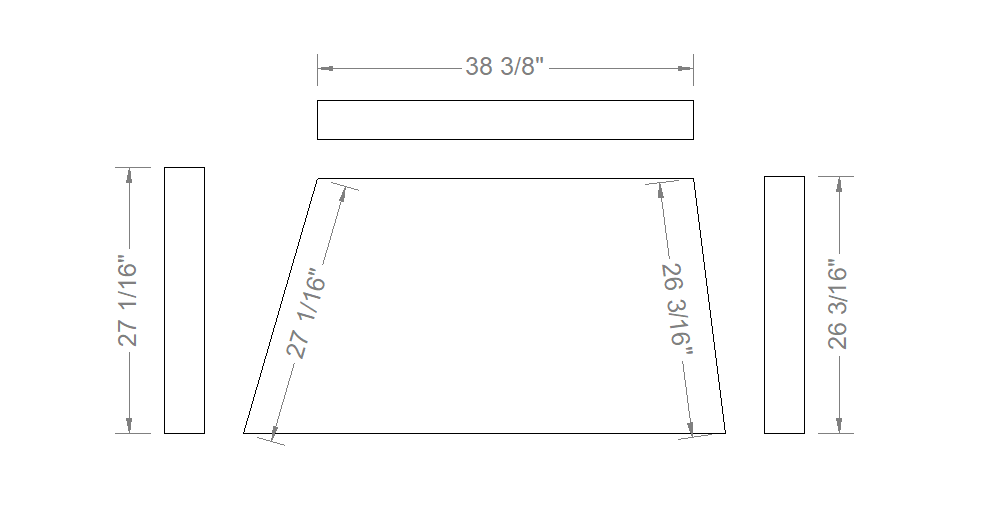
- Your backsplash will now be created in the area! Additional backsplashes can be drawn by clicking a new left and right point. When complete, end the function with ‘Confirm’, ‘Cancel’, or ‘Esc’.
![Backsplash drawn on a countertop]()


Measure a backsplash with polar tracking.
The backsplash with a polar tracking function allows users to create kitchen backsplashes at specific angles and orientations.
![]()
To measure a Full Height Backsplash:
- Click on the ‘Backsplash’ button on the measurement ribbon
![]()
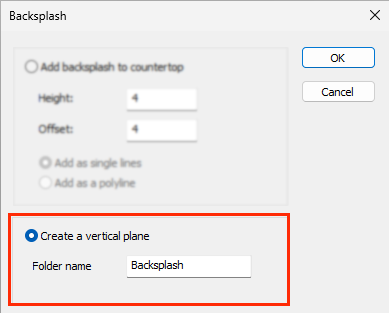
- Select the ‘Create a Vertical Layer’ section. Also, name your backsplash.
![]()
Feedback
Copyright © 2025 Flexijet GmbH
—
Powered by 
Post your comment on this topic.