
Actions ➤ Create email
In almost all parts of BaseNet there is the possibility to link a project and/or relation. This is also the case with Email. By linking the email you send to projects and relations you can easily find them, organize your work and keep an accurate history of a client or project. In addition, you can compose a new email from any screen from the top bar’s +New… button or from the page of a project or relation through the Actions button:
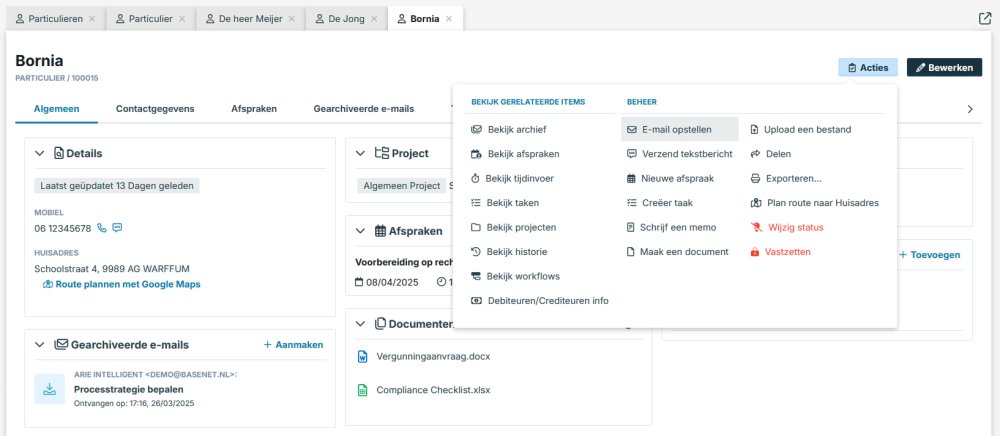
We recommend working from a relation or a project page because the corresponding fields in the email page will be auto-filled, saving you time.
Create email:
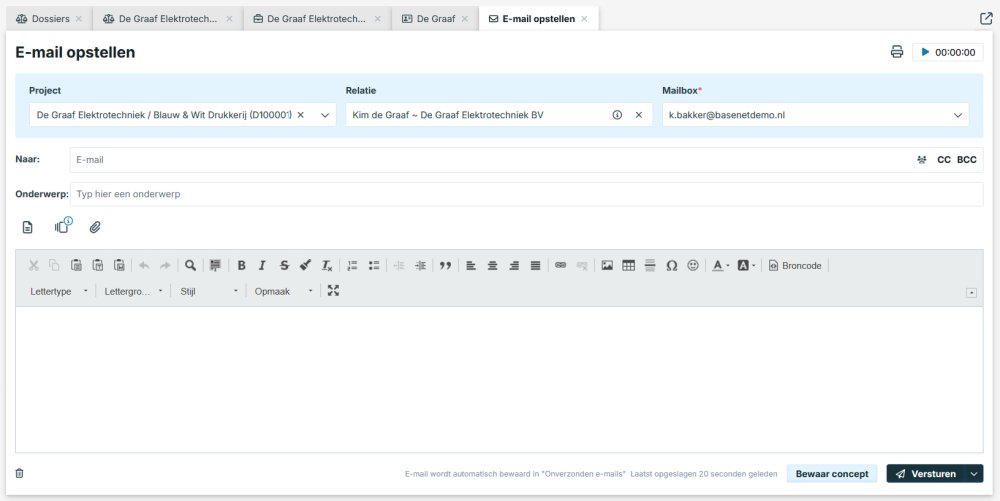
Explanation of fields:
Project
Link a project here. After sending the email, you can also find the email in the Archive and on the project’s page.
Relation
Link the relation to whom you are sending the email here. After sending the email, you can also find the email in the Archive and on the relation’s page.
Templates
We recommend that you use templates. Templates can retrieve data from the BaseNet system and thus greatly facilitate the creation of documents.
- the first button on the left will insert the Standard template
- the second button on the left will show a dropdown where you can select other templates
Other options
Save as draft
You can click on Save as draft to save the email as a draft in the mailbox of the employee you set in the field Mailbox. It could be yourself or somebody else you choose.
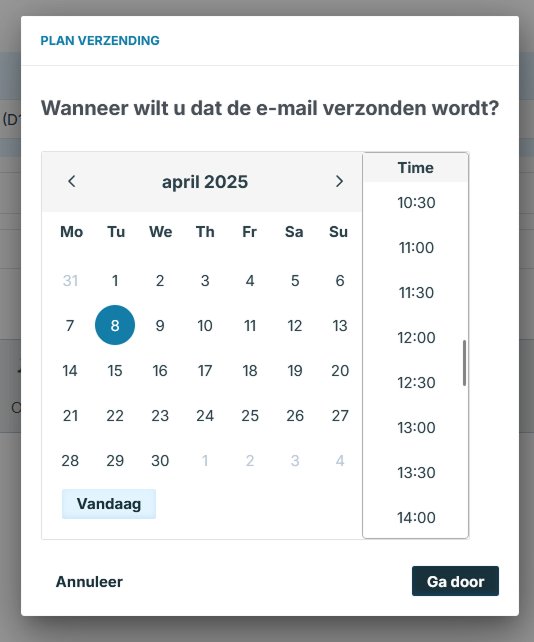
Send later
Clicking on the arrow next to Send will show another option for Send later. If you click it, you see the following scheduling options:
Sending preferences
After sending an email, you can still enter various sending preferences:
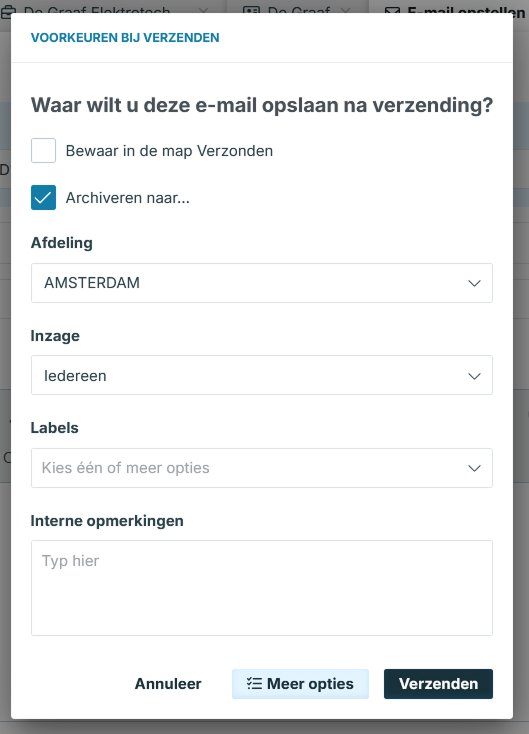
You can see more options if you click on the button “More options”.
Save in the Sent folder: ensures that the email is automatically saved in the Sent folder of your email account.
Archive: archives the email under the linked relation and/or a project. You can then easily find the email under the relation and/or the project.
Publish on customer intranet: this option only works if you use the customer intranet. By checking this option, you immediately release the e-mail to your customer intranet. Your relationship can then view the e-mail directly.
Confirmation: ensures that the recipient receives a request to send a read confirmation when opening it.
Print the sent e-mail afterwards: this component only works in combination with the setting “Print a sent e-mail afterwards”. You can read more about this on the page Personal settings