
Within BaseNet there are three ways to register hours
- Adding individual entries in the Time entry section
- Adding multiple time entries at once in the Time entry section
- Adding time entries using the stopwatch
Adding individual entries in the Time entry section
Go to Hours/Projects ➤ Hours ➤ click on +Write hours ➤ click on Write hours
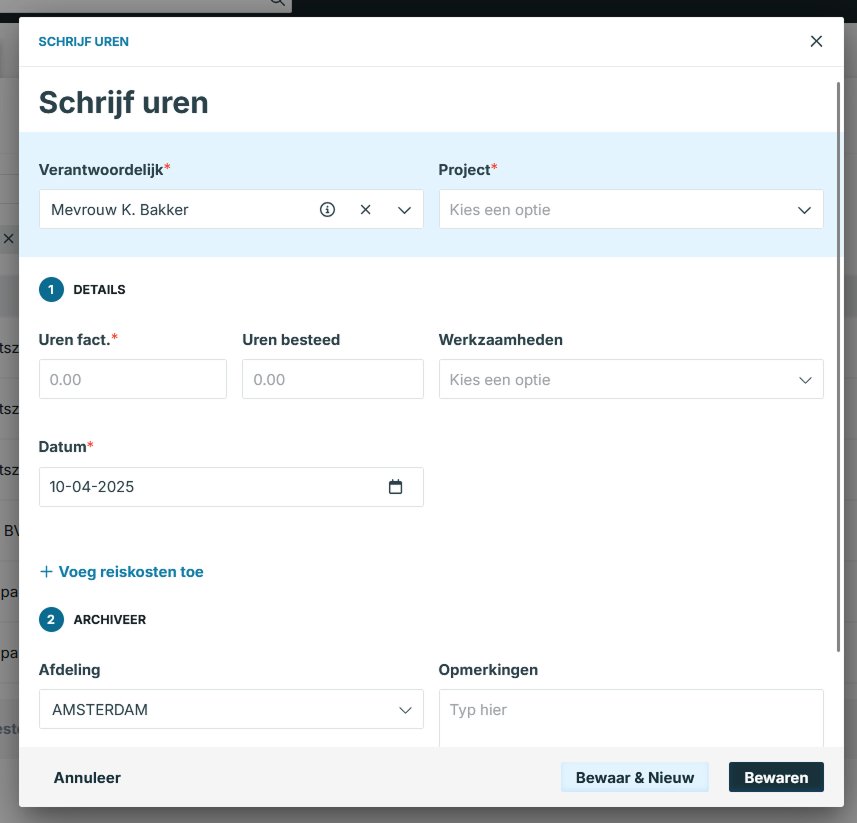
- Project: Link a project.
- The fields “Responsible employee” and “Date” are filled in by default. You can adjust these as desired, it is also possible to write hours in the future, but a warning will appear when this happens.
- Time writing group: you can group types of work into groups. This can be useful, for example, when you purchase different modules where different types of work apply, so you get a better overview.
- Work: here you can choose from different types of work. These hour types can be shown on the hour specification of your invoices. The list of activities can be adjusted yourself if you have administrator rights via the menu:
company settings ➤ hours ➤ type of activities
- Billable hours: enter your billable hours here.
- Hours spent: enter your hours spent here.
- Comments: here you can enter an explanation of the hours. By default, this comment is shown on the hours specification of your invoice layout.
- Add travel costs: If you want to record a visit or work with a price per kilometer, you can choose to do so here. Note that you should make sure you have default settings set here:
Company settings ➤ Invoicing ➤ Invoice settings
Adding multiple time entries at once in the Time entry section
Go to Hours/Projects ➤ Hours ➤ click on +Write hours ➤ click on Write multiple hours
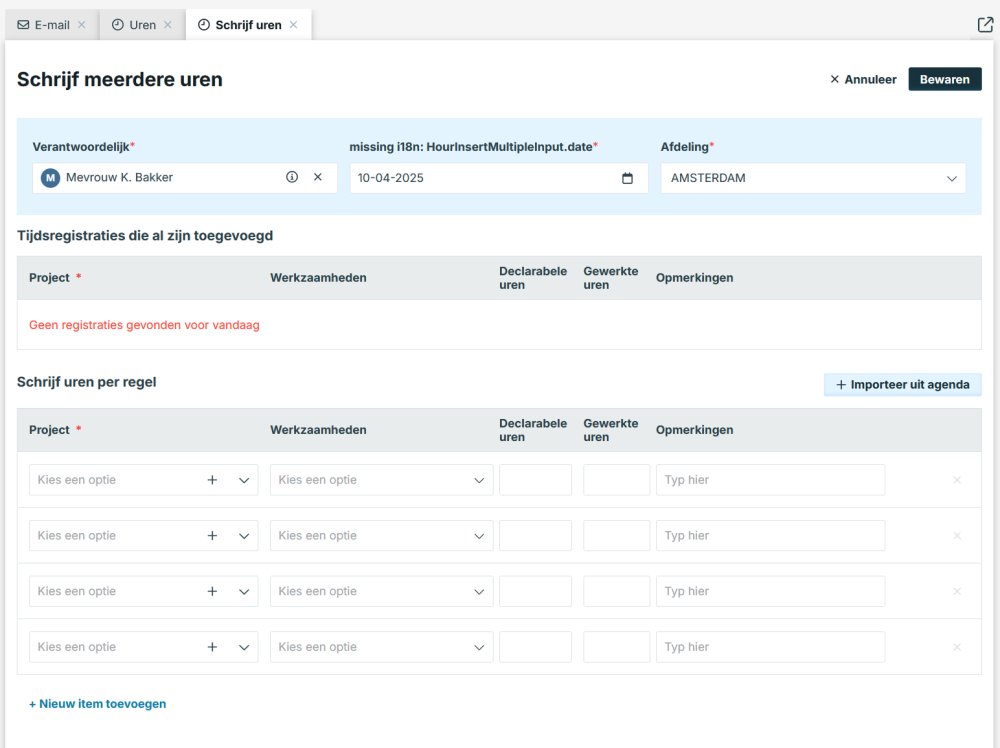
We call this the multi-hour input screen.
Now enter a project and the system will automatically link the invoice relationship of the linked project. Now enter the hour type, billable hours and hours spent and then a description. You can do this for multiple lines if necessary. Click on Save to save the hours. A message will appear for checking with the hours you entered. Then click on “Ok” and the screen will close (depending on your settings).
It is also possible to import agenda items as hours. You can do this directly from the “multi-hours” screen by clicking on Import from agenda. The appointments that are in your calendar on the selected day will then be read into the multi-hour screen.
Now enter a project and the system will automatically link the invoice relationship of the linked project. Now enter the hour type, billable hours and hours spent and then a description. You can do this for multiple lines if necessary. Click on Save to save the hours. A message will appear for checking with the hours you entered. Then click on “Ok” and the screen will close (depending on your settings).
It is also possible to import appointments as hours. You can do this directly from the “multi-hours” screen by clicking on Import from agenda. The appointments that are in your calendar on the selected day will then be added into the multi-hour screen.
For optimal use of the “multi-hour input screen”, we recommend that you check the following settings:
Company settings ➤ Hours ➤ Number of working hours per day
Company settings ➤ Hours ➤ Edit existing hours via the multi-hour screen
Number of working hours per day – This setting indicates the number of standard hours per day and determines the color of the input screen. The default setting of this setting is eight hours. In practice, this means that the day in question is displayed in orange in the hours screen. If it is more than eight hours, the day will be marked green.
Edit existing hours via the multi-hour input screen – With this option you can indicate whether you also want to be able to edit existing hours via the multi-hour input screen. The advantage is that you can easily adjust existing hours. The disadvantage is that you can only enter a maximum of fifteen hour lines per day via the “multi-hour” screen. If you write more than fifteen lines per day on average, we recommend that you disable the setting.