
Introduction
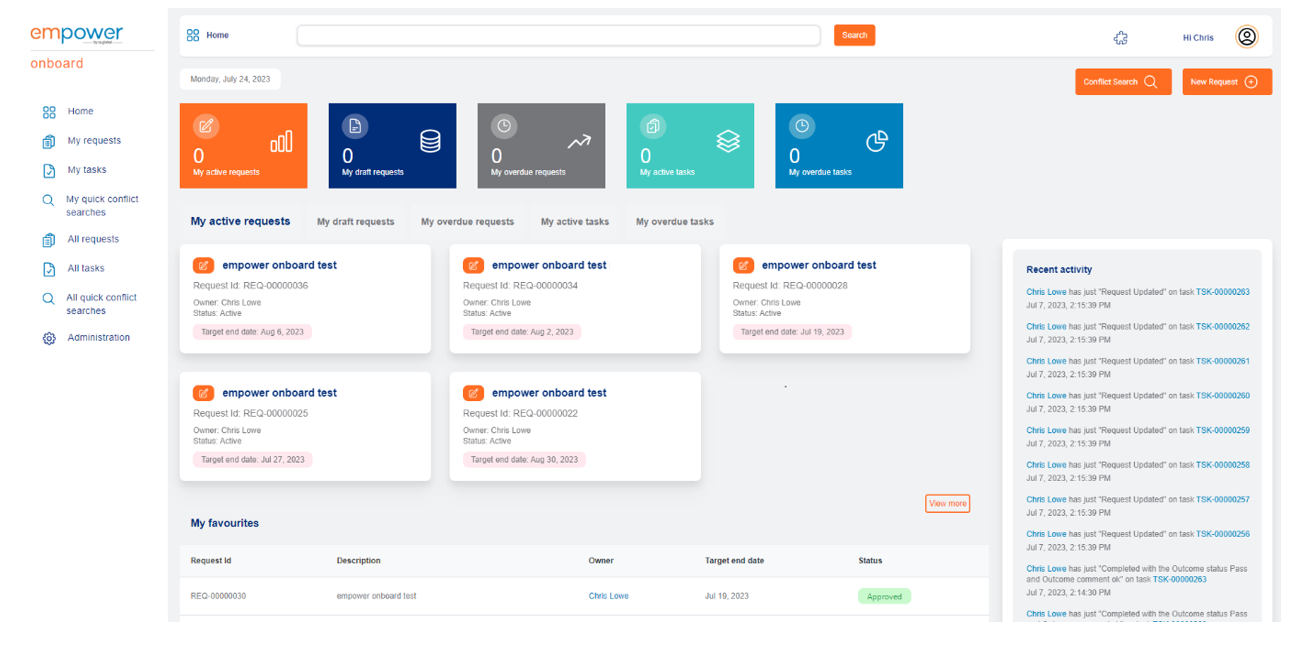
The first page that is opened when a user accesses empower onboard is the home page. The purpose of the home page is to provide an overview of the requests that they are the owner of and provide easy access to requests they need to work on. Several features to access onboard requests and tasks in as few clicks as possible have been added to the home page.
Below is a screenshot of a sample home page of empower onboard.
Search
At the top of the home page is the search bar. This search allows a user to search for onboard requests by entering a search term. The search uses Azure Cognitive Search indexing to allow the user to search data across the requests. The data it searches is configurable in the index settings of the Azure Cognitive Search. For example, you could search a request Id, request name, client name, client address details and many more fields in the request.
The search can be triggered by entering the data and clicking the search button or by hitting the enter key on the keyboard. The search results are then displayed to replace the content in the main area of the page. The search results are split into two areas. On the left-hand side is the facetable navigation. The facetable navigation provides counts of filters in the returned results so you can filter the requests by the following facets:
• Owner
• Request status
• Outcome by
• Outcome status
Clicking a facet will filter the results to only display the results relating to the selected facet.
On the main results table several columns are displayed, these are:
• Request Id
• Status
• Owner
• Description
• Target end date
Each column provides sorting functionality for that column, by clicking the sorting icon.

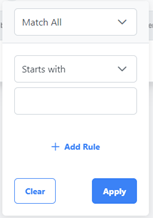
Also, on each column there is the ability to filter the search results by clicking on the filter icon.

Clicking on the filter icon provides a dialog where you can select the filter criteria. Several options are available to allow the user to filter the column for example starts with, contains, not contains etc.
Tiles
On the home page there are five count tiles, which provide the user with an indicative guide to what number of requests and tasks they need to work on. The first three tiles are related to requests and split them by the status and target end date:
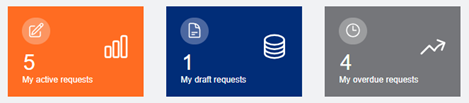
• My active requests – number of requests the user is the owner for which are at status active, and the target end date has not passed.
• My draft requests – number of requests the user is the owner for which are at draft status.
• My overdue requests – number of requests the user is the owner for which are at status active, and the target end date has passed.
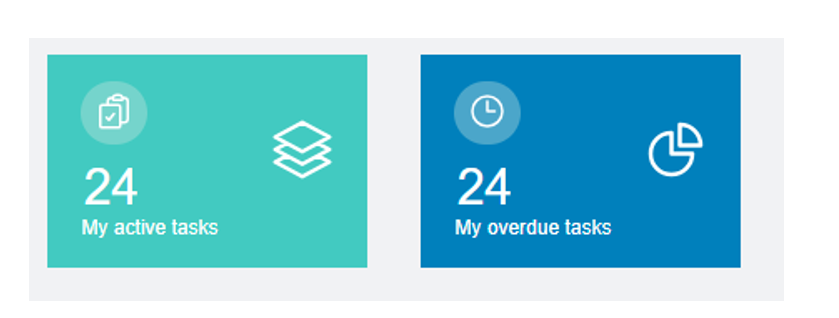
The remaining two tile display counts are related to tasks that have been assigned to the user. These two tiles are related to tasks and split them by the status and target end date:
My active tasks – number of tasks the user is assigned for which are at status active and the target end date has not passed.
My overdue tasks – number of tasks the user is assigned for which are at status active and the target end date +has +passed.
Clicking on any of the tiles will take you to the relevant view filtered to the criteria of the tile. Further information on views will be outlined in the section ‘Navigation menu’.
Tabs
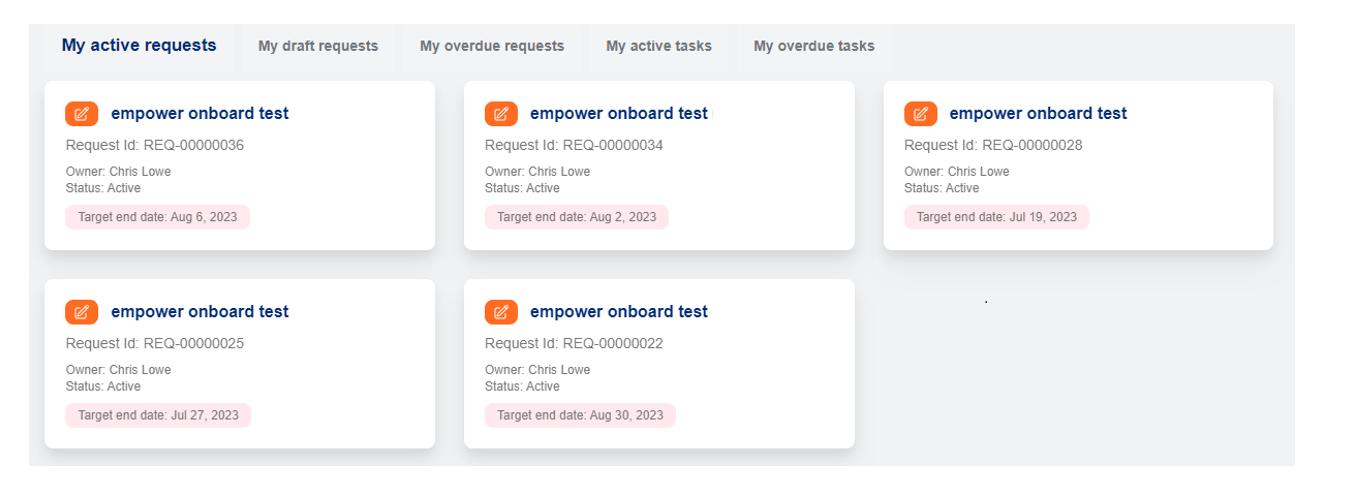
The tabs section on the home page provides a summary of requests and tasks that match the criteria of the selected tabs. The tabs display six items. A view more buttons is displayed to view all the items related to the selected tab. The tabs that are provided are:
• My active requests
• My draft requests
• My overdue requests
• My active tasks
• My overdue tasks
Selecting the tab will change the display in only the tab area. It will show the related items up to six items. For request cards the information that is displayed is:
• Client or matter name
• Request Id
• Request owner
• Requests status
• Request target end date
For task cards the information that is displayed is:
• Task name
• Request Id
• Client or matter name
• Request owner
• Request target end date
Below is an example of how the tabs look on the home page.
Favourites
The home page displays information on which requests you own, the favourites section allows a user to bookmark requests they own and requests they don’t own. It provides easy access to requests that the user might need to work on but are not the request owner. On the favourites grid it has the following columns:
• Request Id
• Description
• Owner
• Target end date
• Status
Clicking on a line in the favourites grid opens that request. A favourite can be set by navigating to a request. At the top of the request is a star icon, which by default does not have any fill in the star. Clicking the star will add the request to your favourites and fill the start to denote it has been added as a favourite. Clicking the star again will remove it from your favourites, which will therefore remove it from the home page.
Not selected as a favourite:

Selected as a favourite:

Recent activity
Recent activity displays what activity is happening on the requests that the user is the owner in a date descending sort order. For example, completing a task, starting requests etc. The activities provide two clickable items per activity. The user that has performed the action and the request or task the action is related to.
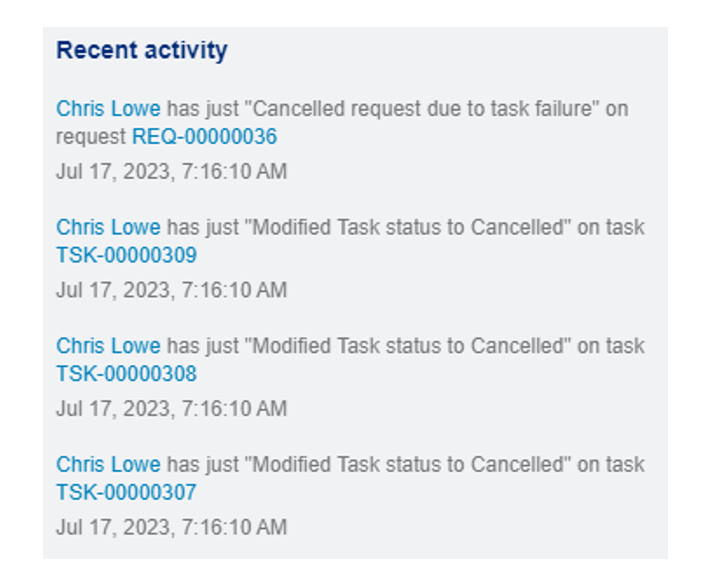
Hovering over the user’s name provides a menu which gives links to how to contact the user for example to start a team’s chat or call. This is a common feature throughout onboard that generally where there is a username, you will be able to hover over the name to display contact details.
Navigation menu
On the left-hand side of the home page and throughout the app is the left-hand navigation menu. The options available are:
• empower logo – clicking the logo takes the user back to the empower onboard home page.
• Home – clicking this link takes the user back to the empower onboard home page.
• My requests – clicking this link takes the user to a grid page of all the requests that the user is the owner of.
• My tasks – clicking this link takes the user to a grid page of all the tasks that the user is currently assigned.
• My quick conflict searches – clicking this link takes the user to a grid page of all the quick conflict searches the user has created.
• All requests – clicking this link takes the user to a grid page of all the requests in empower onboard.
• All tasks – clicking this link takes the user to a grid page of all the tasks in empower onboard.
• All quick conflict searches – clicking this link takes the user to a grid page of all the quick conflict searches in empower onboard.
• Administration – clicking this link takes the user to the administration page. The admin role is required to be able to see this link.
My requests page
Provides filtering by status at the top of the page. The following columns are displayed:
• Request Id – provides standard filtering column header options.
• Description – provides standard filtering column header options.
• Owner – provides user contact information on hover.
• Target end date
• Status – provides standard filtering column header options.
My tasks page
Provides filtering by status at the top of the page. The following columns are displayed:
• Task Id – provides standard filtering column header options.
• Description – provides standard filtering column header options.
• Request Id – provides standard filtering column header options.
• Request Owner – provides user contact information on hover.
• Outcome – provides standard filtering column header options.
• Status – provides standard filtering column header options.
My quick conflict searches page
Provides filtering by status at the top of the page. The following columns are displayed:
• Date
• Conflict Id – provides standard filtering column header options.
• Conflict type – provides standard filtering column header options.
• Conflict type – provides standard filtering column header options.
• Search terms – provides standard filtering column header options.
• Comments – provides standard filtering column header options.
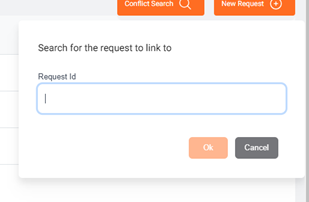
• Link to request – clicking this option provides a search box to search for the request by Id that you would like to link the quick conflict search to.
All requests page
Provides filtering by status at the top of the page. The following columns are displayed:
• Request Id – provides standard filtering column header options.
• Description – provides standard filtering column header options.
• Owner – provides user contact information on hover.
• Target end date
• Status – provides standard filtering column header options.
All tasks page
Provides filtering by status at the top of the page. The following columns are displayed:
• Task Id – provides standard filtering column header options.
• Description – provides standard filtering column header options.
• Request Id – provides standard filtering column header options.
• Request Owner – provides user contact information on hover.
• Outcome – provides standard filtering column header options.
• Status – provides standard filtering column header options.
All quick conflict searches page
Provides filtering by status at the top of the page. The following columns are displayed:
• Date
• Conflict Id – provides standard filtering column header options.
• Conflict type – provides standard filtering column header options.
• Conflict type – provides standard filtering column header options.
• Search terms – provides standard filtering column header options.
• Comments – provides standard filtering column header options.
• Link to request – clicking this option provides a search box to search for the request by Id that you would like to link the quick conflict search to.
Post your comment on this topic.