
3.2 Empower Pulse Available on Mobile Devices
3.2.1 Overview
The key feature in this release is the initial version of Empower Pulse on mobile. This initial version contains Expenses and Approvals. In future releases, additional functionality such as Leave will also be added.
3.2.2 Home
When the app opens on the mobile phone, the home page is displayed. It shows metric tiles for Expenses – providing a count of draft expense reports, in-review expense reports, and unattached expenses in draft status.
For Approvals, it provides a count of the number of pending approvals and also a count of the overdue approvals.

3.2.3 App icon
The icons for the empower mobile apps all have a similar look and feel to show that the empower apps are a family of products. The icon for the pulse mobile application is:

3.2.4 Android – Adding an Icon
To add the app as an icon on the user’s Android phone, follow these steps:
- Open the app via the browser on the phone.
- When the app opens, tap the button in the top right labeled ‘Install Pulse App’.
- Click this button to install the app and create a home screen icon for easier future access.
- Clicking the icon in the future will launch the app in full screen rather than in the browser.
3.2.5 iPhone – Adding an Icon
To add the app as an icon on the user’s iPhone, follow these steps:
- Open the app via the browser on the phone.
- Tap the share icon (a square with an arrow pointing upward).
- Scroll down the menu and select ‘Add to Home Screen’.
- This will install the app and create a home screen icon for easier future access.
- Clicking the icon in the future will launch the app in full screen rather than in the browser.
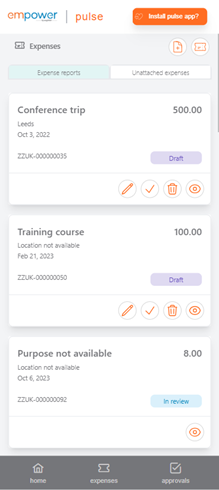
3.2.6 Expenses
In the Expenses section, there are two initial views available:
- Expense Reports – displays submitted or draft expense reports.
- Unattached Expenses – displays draft expenses that are not yet linked to a report.
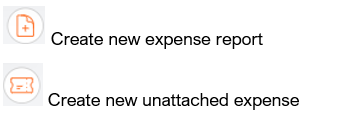
At the top right of the page, there are two icons that allow users to perform actions (details to be completed based on specific functionality).
On each expense report and expense line a number of actions are provided:
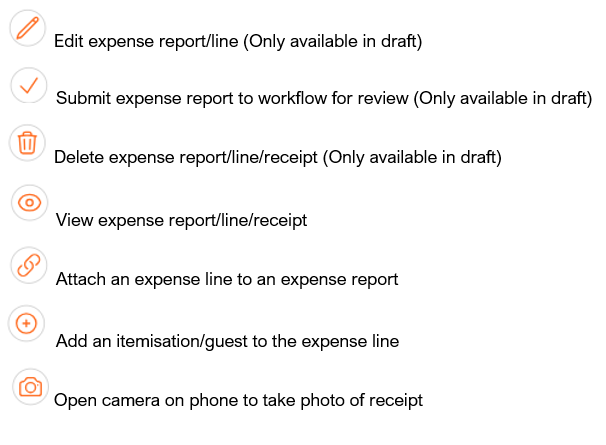
Uploading a receipt can be done using the phone’s camera or by selecting a file on the user’s phone.
1.1.1 Approvals
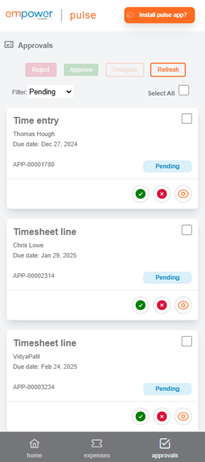
In the Approvals section, there is an initial view which displays your pending approvals. A filter dropdown is available to view approvals of other statuses.
Checkboxes are available on each approval. Selecting an individual approval or using the “Select All” option will enable the bulk action buttons at the top of the page.
Users can then Reject, Approve, or Delegate all selected approvals.
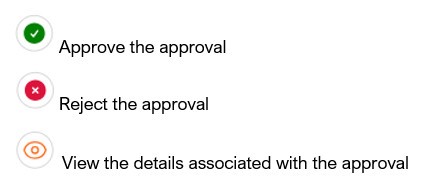
Each approval card includes a number of actions that apply only to the specific approval shown.
The available actions when an approval is in Pending status include:
Displayed below is a screenshot of how the initial view of the pending approvals is displayed.
Clicking on the ‘Eye’ icon displays further information about the approval. Displayed below is a screenshot how the information that is displayed for a timesheet line approval. The view is separated into two tabs. The first displays the general timesheet line information, and the second tab displays the hours and comments for the timesheet line.

Post your comment on this topic.