
Location packages allow you to create unique weblinks for producers and location scouts that will help them choose site suitable for their projects. Reel-Scout™ version 10 helps you create attractive projects that highlight the value that your film commission can bring to any production.
1. Creating a New Location Package
To create a location package, begin by finding the project that you wish to work on. For more information, see Browsing Projects and Searching for a Specific Project.
Once you have located the project that you wish to work on, double-click that project to open the Project Overview page.
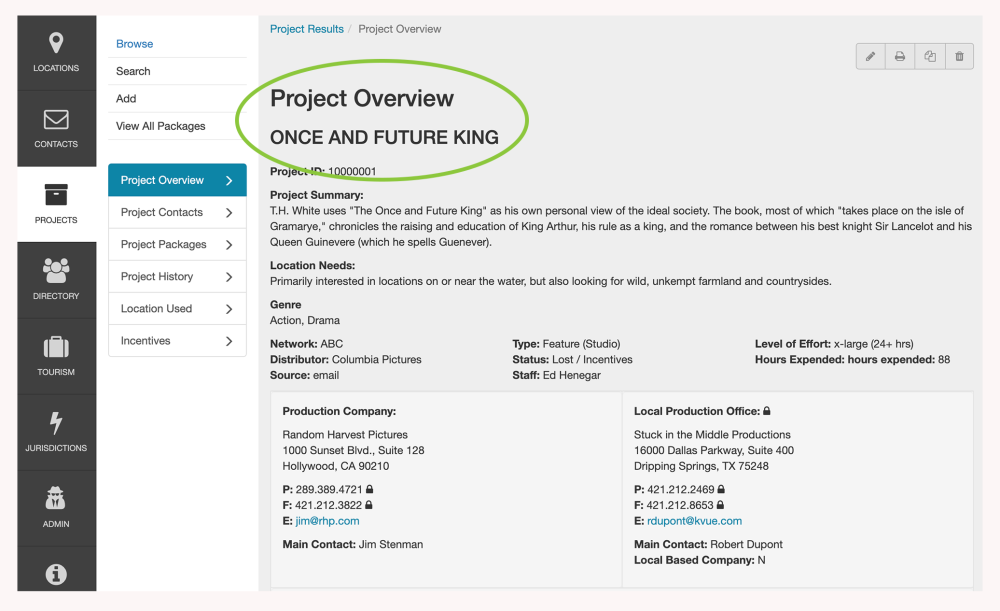
On the Project Overview page, select Project Packages from the sub-menu on the left-hand side of the screen.

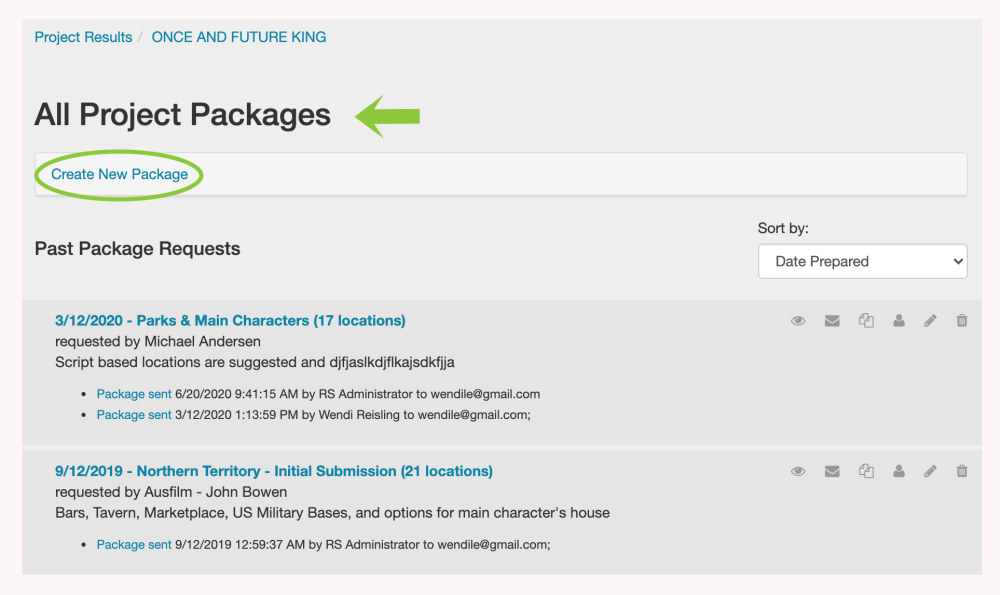
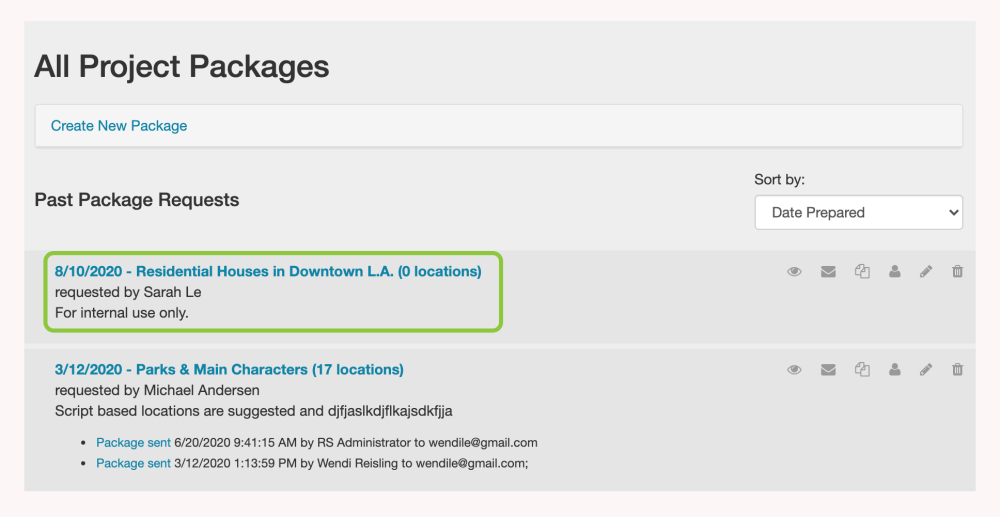
Clicking Project Packages will take you to the All Project Packages page. Here, any previously created location packages can be viewed. To create a new package, click the Create New Package link at the top of the page. This will open a drop-down form for you to complete.
2. Create New Package Fields
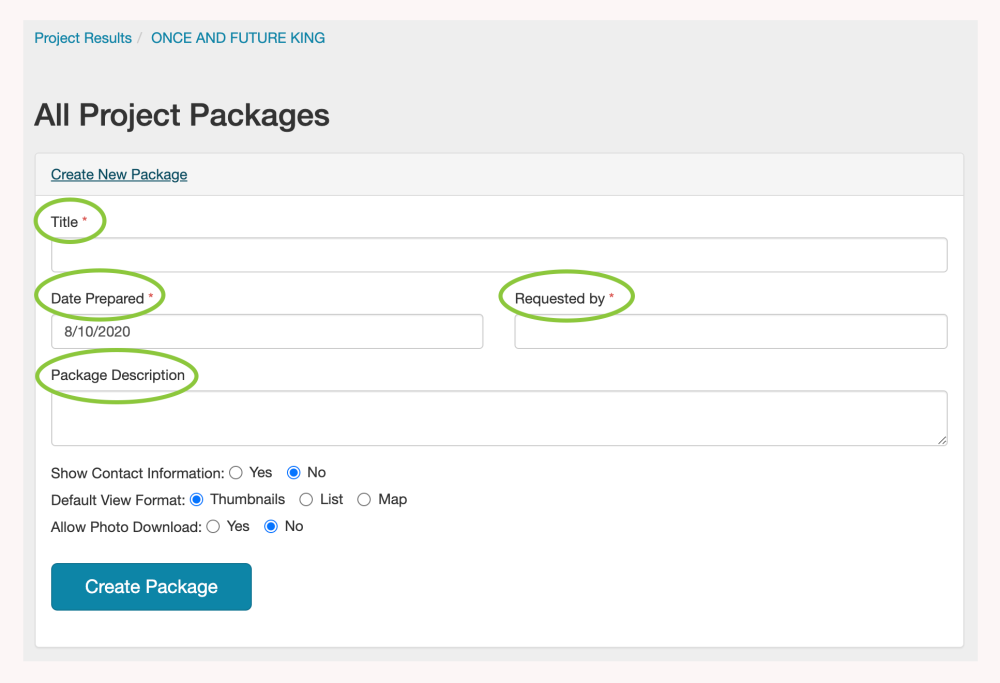
Several information fields can be completed when you create a new location package. Title, Date Prepared, and Requested By have red asterisks next to them, indicating that these are required fields. There is an optional Package Description field that allows you to enter free-text that describes the package contents.
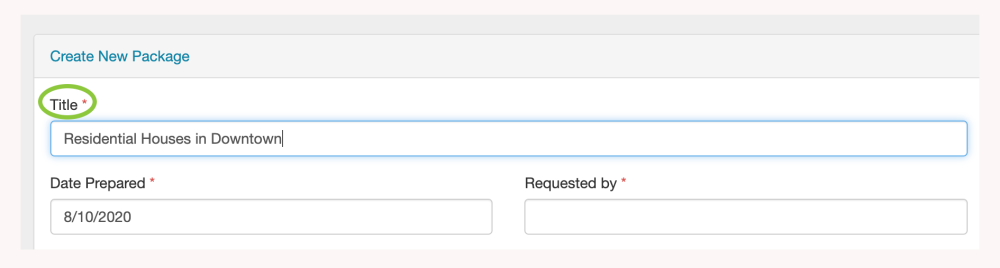
a. Title
This is a free text field that allows you to name your package. Be sure to select a name that accurately describes the contents of the location package being created. For example, instead of “your location package,” use “Residential Houses in Downtown.”
b. Date Prepared
This is a date-only field. Clicking on the Date Prepared window displays a calendar from which the date can be selected. The date can also be entered manually in MM/DD/YYYY format.

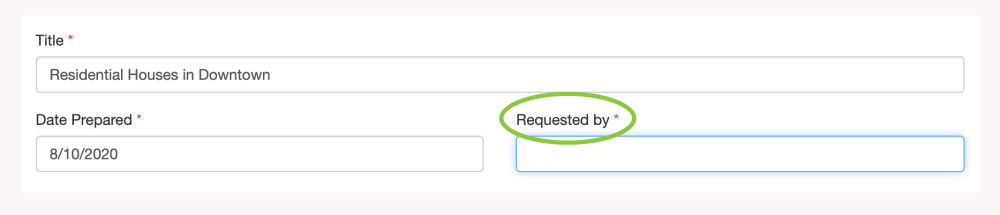
c. Requested By
This free-text field allows you to enter the name of the individual or organization that has requested the location information.
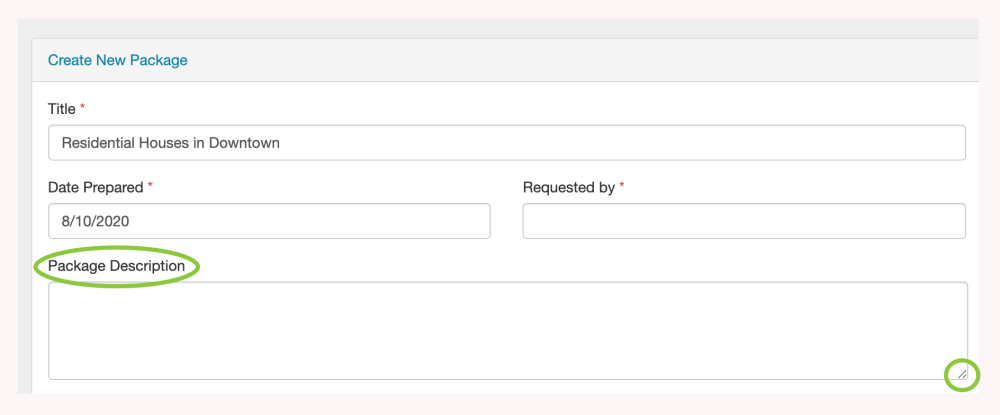
d. Package Description
Package Description is an optional field that allows you to provide details about the location package’s contents. To view all the text that is entered, the window can be resized. To change the size of the Package Description field, left-click on the lower right-hand corner of the window. Holding the left mouse button, drag the window to the desired size.
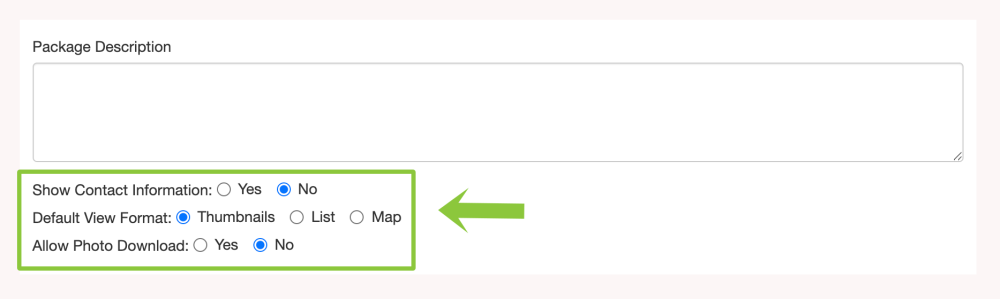
e. Package Options
Buttons are provided to allow you to select various options for the package you are creating.
- You can choose to Show Contact Information
- You can choose the Default View Format, which is how the package will look when it is first opened by the client. Options here include Thumbnail, List, and Map views.
- You choose whether you want to Allow Photo Download from your location package.
f. Create Package
When you have entered all of the relevant information, click Create Package.
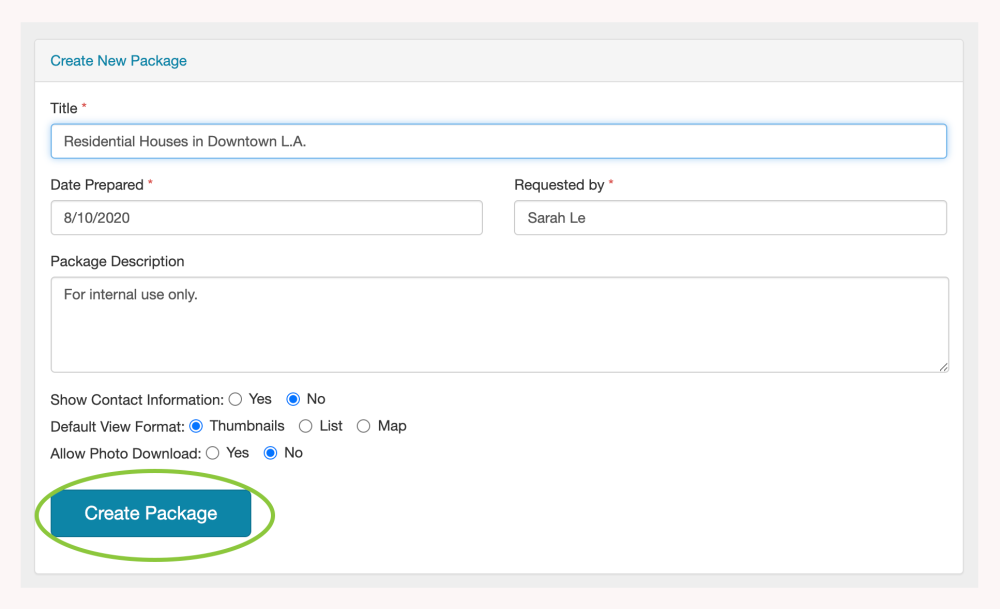
You will be taken to the All Project Packages page, where your new package will appear at the top of the list. You may now begin adding locations to your package.
3. Adding Locations to Your Package
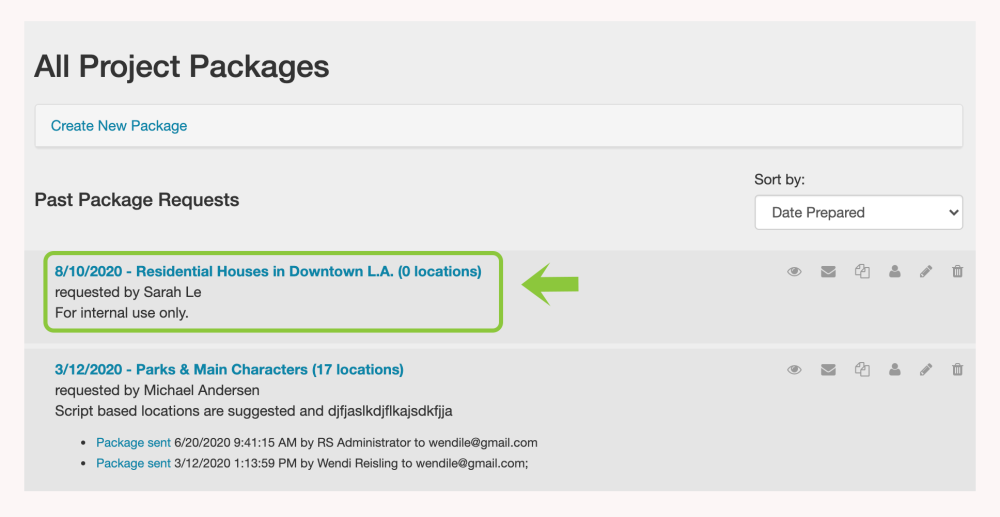
Begin by clicking on the package title on the All Project Packages screen.
To add a location to your package, click the Add Location box on the Project Package page
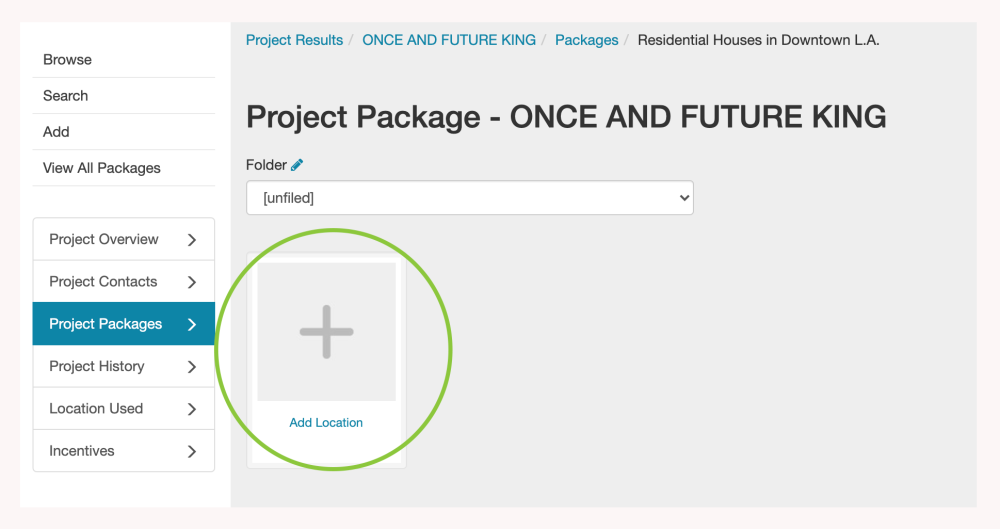
When you select the Add Location box, you will be taken to the Locations module. This is indicated by white highlighted Locations on the main menu bar. Here, you can search for sites that you would like to attach to your package. For more information, see Browsing Locations and Finding a Specific Location.
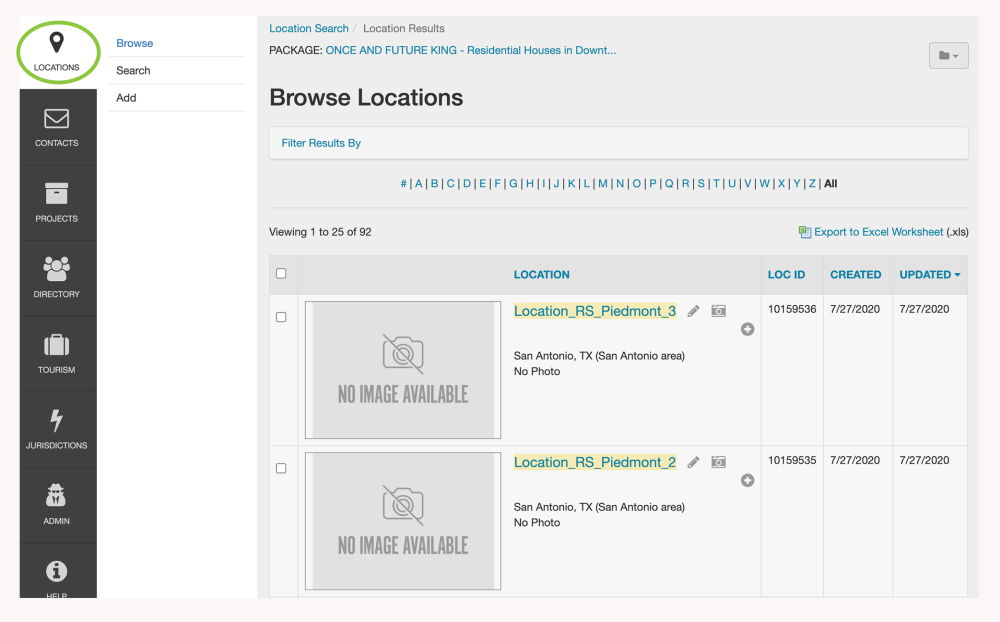
RS10 remembers that you are working on a project by creating a hotlink back to the Project Package page. When you hover over the file folder at the top left-hand corner of the screen, you can see the title of the project on which you are working.
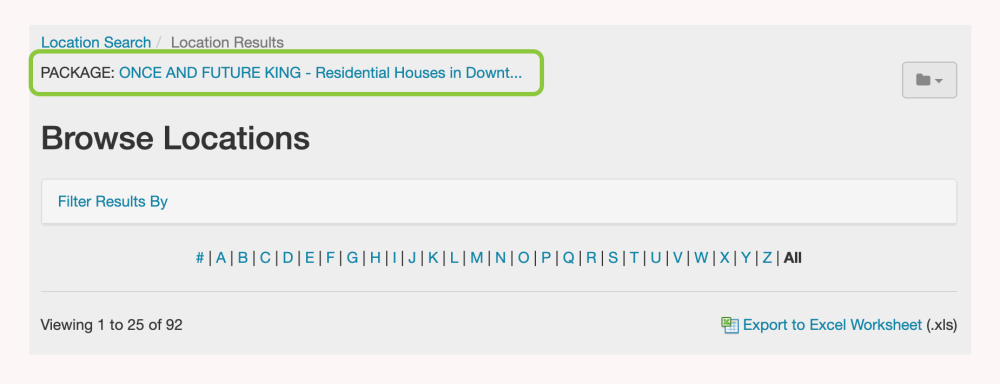
You will note that each location that is displayed on the Browse Locations screen now has a plus sign (+) next to it.
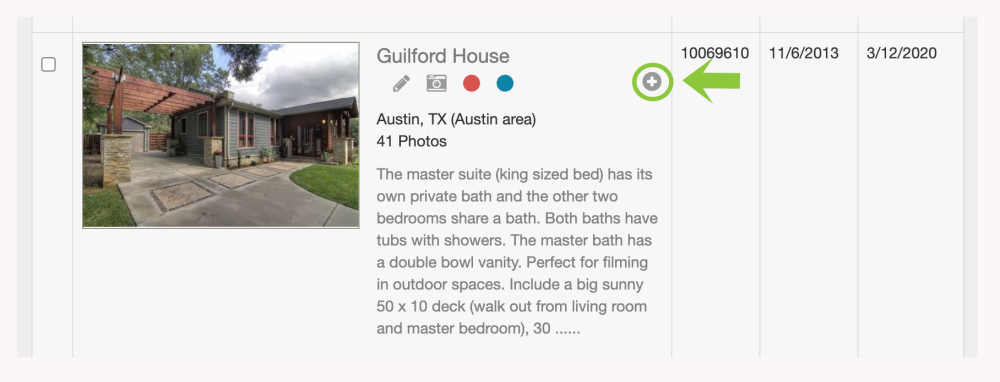
Clicking on the plus sign will open a context window where Notes can be added, Folders created, and you can choose the folder into which the location will be placed. For more information about folders, see Organizing Your Package with Folders.
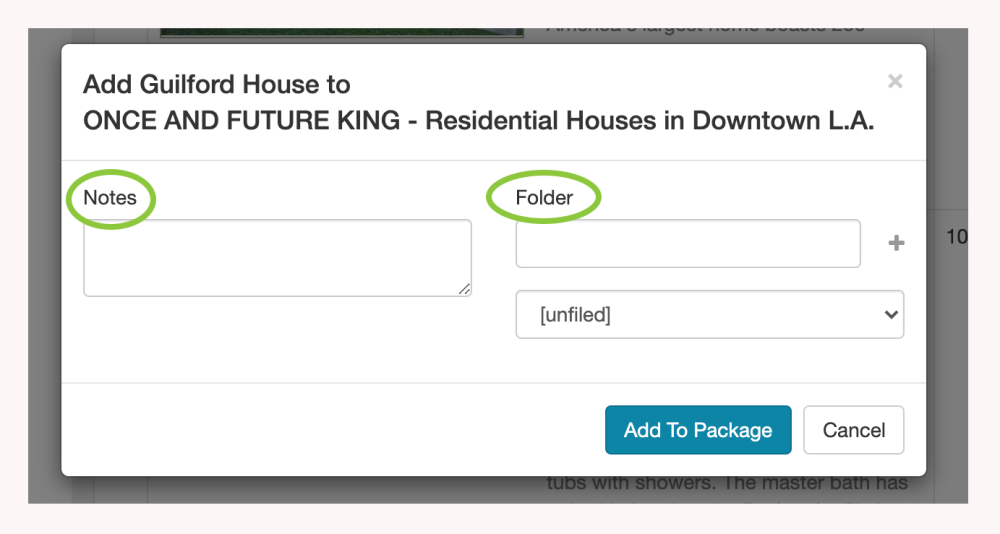
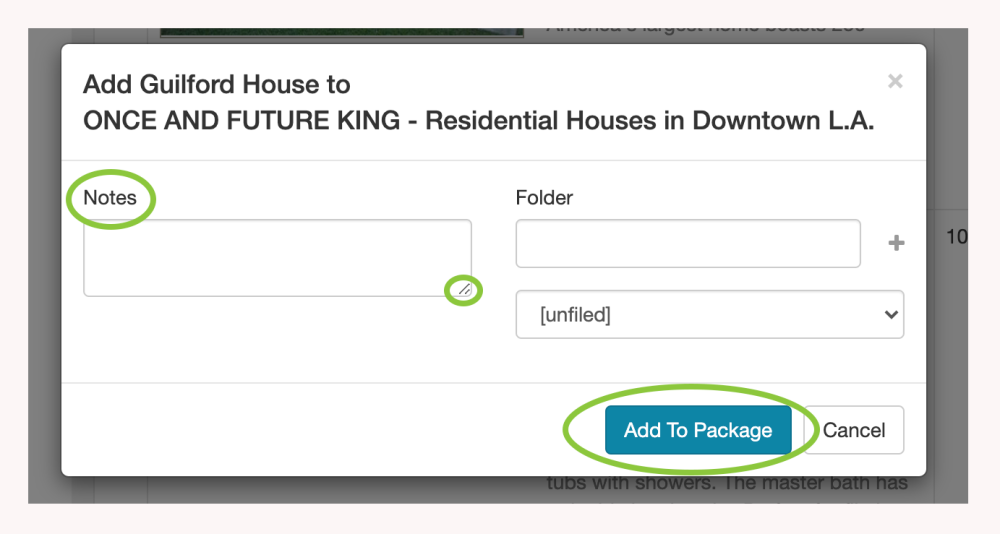
The Notes field is a free-text window that can be expanded to show all of the text that is entered. To expand the window, left-click on the lower right-hand corner of the field. While holding the left mouse button, drag the window to the desired size.
When you have finished adding information to the Add context window, select Add to Package. This location is now part of the location package that you will send to your client. If you need to, you can press Cancel to return to searching locations without adding that particular site to your package.
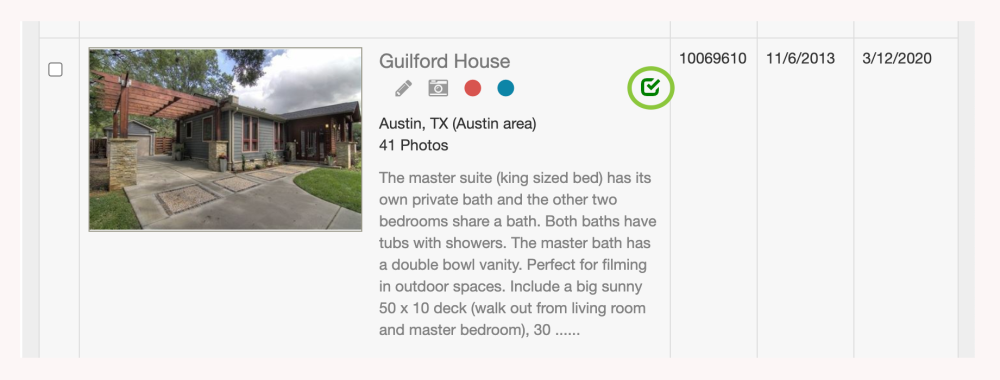
Locations that have already been added to your package will be indicated by a checkbox symbol. Clicking the checkbox will remove the location from your package.
When you have finished adding locations to your package, click the folder icon in the upper right-hand corner of the Browse Locations screen.
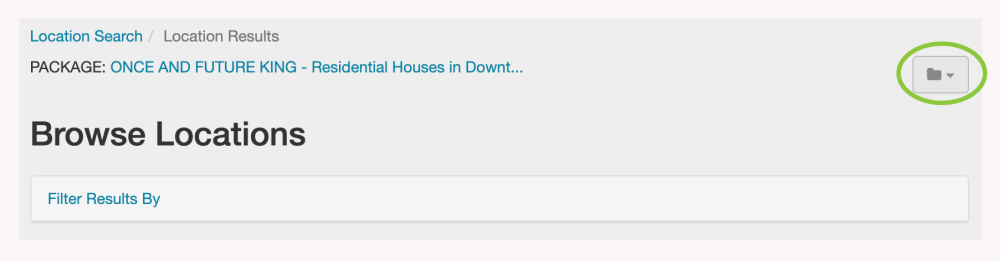
Clicking the folder icon will reveal a drop-down menu with three options:
- Preview Package will open a new browser window that will show you how your package currently looks.
- Edit Package will return you to the Project Package page where changes can be made.
- Reset Package will remove the hotlink to the package that is currently displayed, allowing you to select a new package to edit.


Contact Reel-Scout
If you experience any problems or errors, please fill out this form. We will get back to you shortly.
Post your comment on this topic.