
1. Accessing the Jurisdictions Module
To access the Jurisdictions module, click the Jurisdictions icon on the main menu bar that is located on the left-hand side of your screen. The Jurisdictions selection will take you to the Browse Jurisdictions page. Here, you can scroll through your list of authorities, sort them using a variety of tools, or filter the list according to your specific needs.
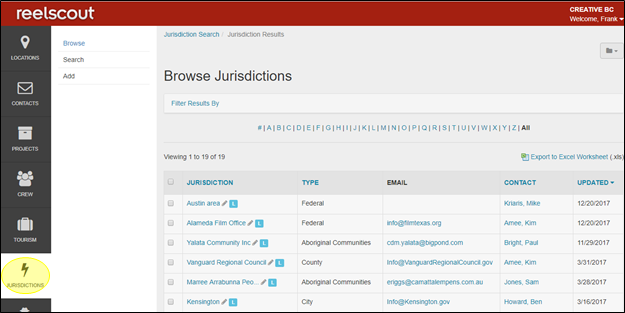
The name of a jurisdiction will turn dark blue when you hover over it with your cursor. Clicking the jurisdiction’s name will take you to its Jurisdiction Detail page where in-depth information can be viewed.

* You can quickly edit a jurisdiction from this page by clicking the Edit (pencil) icon next to the authority name. Clicking the pencil icon will take you directly to the Edit Jurisdiction page.
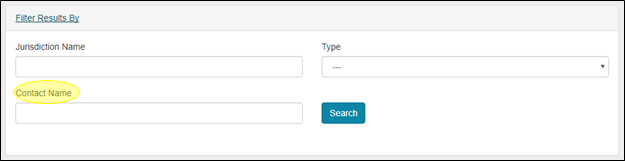
2. Filter Results By
You can narrow the number of jurisdictional authorities that are being viewed by clicking on Filter Results By.

Clicking Filter Results By will open up a new dialogue box featuring the following selections:
- Jurisdiction Name
- Type
- Contact Name
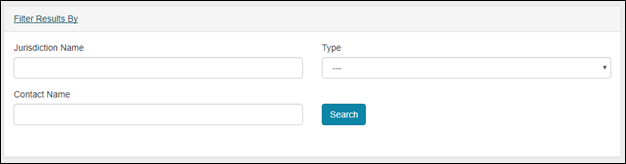
When you have finished entering your Filter Results By criteria, click the Search button. The results displayed on the Browse Jurisdictions page will be restricted to only those that match the filters that you have applied.
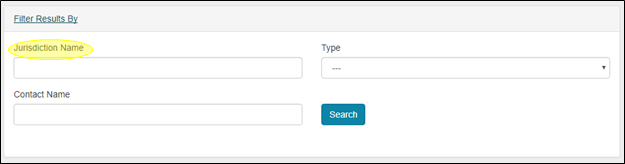
a. Jurisdiction Name
The name (or part of a name) of the Jurisdiction you are looking for can be typed into this field.
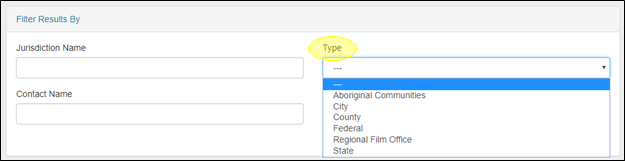
b. Type
The Type field is a single-select drop-down menu that features the following choices:
- Aboriginal Communities
- City
- County
- Federal
- Regional Film Office
- State
c. Contact Name
If the name (or a portion of the name) of the jurisdiction contact is known, you can enter it here.
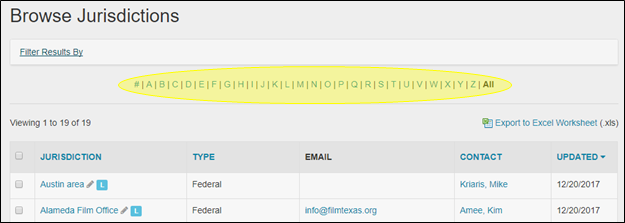
3. Search by Alpha
Clicking a letter will narrow the sort only to Jurisdictions whose titles start with that letter. Clicking the All selection will return the list on the Browse Jurisdictions page to showing all of the available records. If you are interested in a Jurisdiction that begins with a number, the number sign (#) can be selected.
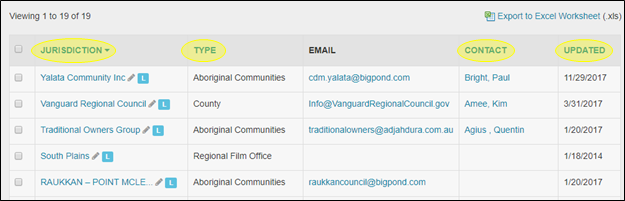
4. Sort Results By
The list of Jurisdictions can be sorted by clicking on the column header. The order of each column listing can be changed alphabetical A to Z/Z to A or earliest to latest/latest to earliest) by clicking the triangle that appears next to each column header that you select. Your list canJurisdictiony:
- Jursidiction name
- Type of jurisdiction
- Contact last name
- Date last *Updated
5. Previous & Next Page
To page backward and forward through the list of Jurisdictions, click on the double arrows before and after each page number (at the bottom of the page). You can choose to view 25, 50, or 100 locations per page. The page number that you are currently on is also displayed on the left-hand side of the screen above the checkboxes.

6. “L” Symbol
When a jurisdiction has an “L” symbol next to its name, that indicates that more than one location is associated with that jurisdiction in your RS10 database.


Contact Reel-Scout
If you experience any problems or errors, please fill out this form. We will get back to you shortly.
Post your comment on this topic.