
Once a project is added, the next step is to add contacts.
1. Contact Tab Page
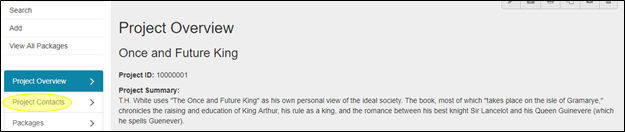
From the Project Overview page, select the Project Contacts tab on the left-hand side of your screen.
* NOTE: Fields within the shaded area can be marked confidential by clicking the box next to the “lock” icon. If so marked, these fields will not display when printed via the ‘Print Friendly’ button, nor display in packages or the location gallery.
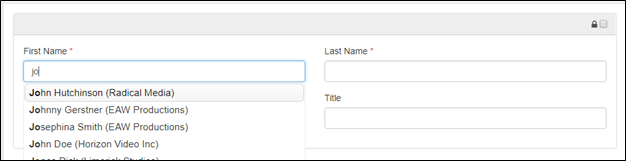
1. Required Fields and Name Fields
The only required fields to add a new record are First Name, Last Name and Contact Type. These required fields are marked with a red star. Adding a contact record here places them into a generic contact database. It does not automatically associate the contact with a location or a project.
The name fields are free-text fields.

Note that as you add a First Name or Last Name, RS10 automatically searches for your entry in the database. If the name already exists, it will appear in a drop-down menu as you type.
2. The Title & Organization Fields and Displayed As Buttons
The title and organization are free-form text fields and are not required. The buttons marked Individual and Company allow you to choose whether the contact is listed as a single person or as a corporate entity. You can only select one.

3. Address Fields
In the address fields, you can record the contact’s multiline address (Address 1 and Address 2), City/Town, State/Province, Zip/Post Code, and Country. These are free-text fields.

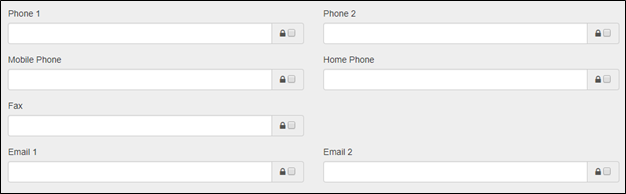
4. The Phone1, Phone2, Mobile, Home, Pager & Fax Number Fields
The Phone1, Phone2, Mobile, Home, Pager, and Fax number blocks are free-form fields to allow for both US-based and international phone numbers. Please apply appropriate U.S.-based phone standards.
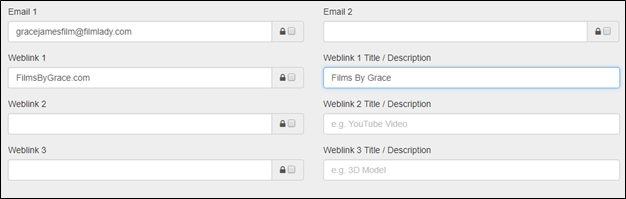
5. The Email and Website Fields
The Email1 and Email2 boxes are all free-form text fields. The website fields are automatically rendered into hyperlinks by RS10 once the contact is saved. There is no need to add “http://.” RS10 accomplished this task automatically. Be sure to include a description of the weblink in the appropriate boxes.
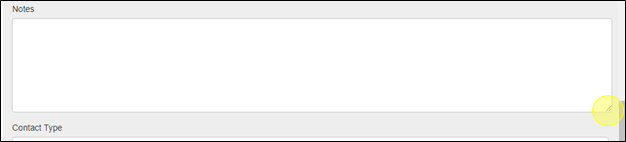
6. The Notes Field and Film-Friendly Box
The notes box is a free-form text field with a 4000 maximum character limit. This field should be used sparingly for non-critical data regarding the contact.
The Film-Friendly box is used to mark contacts that are supportive of the film and television industry.

To be able to view all of the information that has been entered in the Notes field, RS10 allows you to resize this window. To change the size of the Notes field, left-click on the lower right-hand corner of the window. While holding down the left mouse button, drag the window to the desired size with your mouse or touchpad.
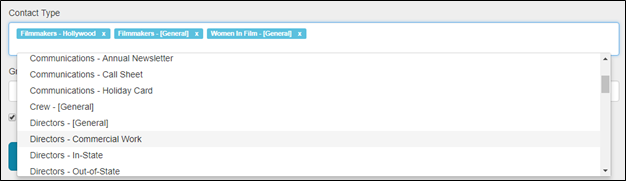
7. The Contact Type Field
The contact type field is a multi-valued selection list that includes values customized for the Film Office. These contact types are used to categorize and group various types of Film Office contacts and are helpful when searching. You can add as many or as few contact types as needed.
To add a type, you can click on the Contact Type field, scroll through the list, and select the ones that you desire. You can also begin typing the type title; RS10 will type-match your entry to help you quickly locate the desired type. If contact type is added by mistake, you can remove it from the Contact Type field by clicking the “X” next to the type.
8. Groups
You can assign your new contact to one of your film office’s groups. To add your contact to a group, you can click on the Group field, scroll through the list, and select the ones that you desire. You can also begin typing the group title; RS10 will type-match your entry to help you quickly locate the desired type. If contact type is added by mistake, you can remove it from the Contact Type field by clicking the “X” next to the type.
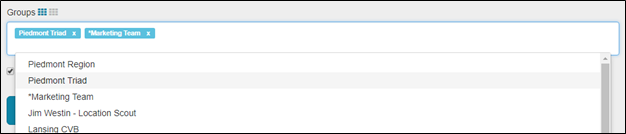
Your contact can be added to all groups by clicking the blue grid icon next to Group.

Your contact can be removed from all groups by clicking the gray grid icon next to Group.

9. The Active Contact Check-Box
The active contact check-box defaults to being checked. This field indicates whether this contact person is still in the role/position with their organization. It is recommended that all contacts remain in the database for historical point-in-time referencing.

10. Add Contact
Once you are finished with entering all the data on the contact person, click the Add Contact button.

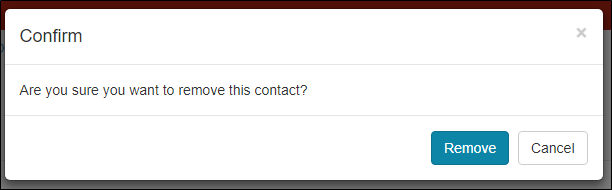
11. Deleting a Contact
Removing a contact from a project is accomplished by clicking the ‘X” in the contact’s row. This is on the far right-hand side of the screen.

Confirm that you want to remove the contact in the dialog box that appears.

Contact Reel-Scout
If you experience any problems or errors, please fill out this form. We will get back to you shortly.
Post your comment on this topic.