
Still photos of the production that your film office has worked with can be added to your tourism library in Reel-Scout™ version 10. These still photos will add color and depth to your tourism efforts and enable local businesses to visualize opportunities for marketing.
To add still photos to your tourism library, begin by locating the production file that you wish to work on. For more information, see Browsing Tourism Records and Searching for a Specific Production.
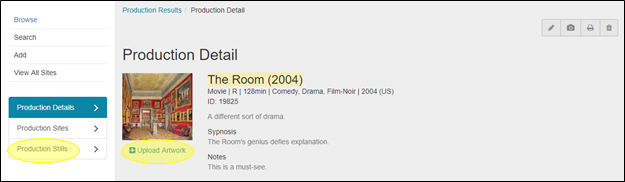
Once you have located the production to which you want to add images, click on the title of that film on the Browse Productions page to open the Production Details page.
1. Adding Still Photos
a. Accessing the Production Stills Page
There are two ways to access the screen on which you can upload still photos. The first method is to click the Upload Artwork link on the Production Detail page. Alternatively, you can select Production Stills tab on the left-hand side of the Production Detail page. Either one of these selections will take you to the Production Stills page where photos can be added.
b. Uploading Images
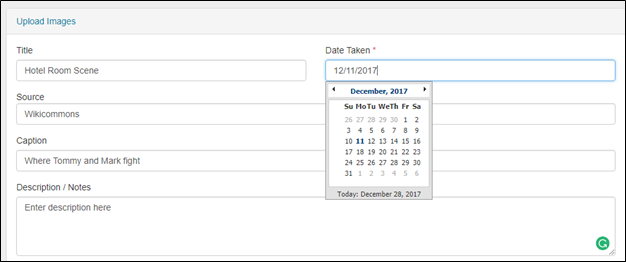
To upload still images to your production file, click on Upload Images link on the Production Stills page. Selecting Upload Images will open several fields that you can use to describe the photo that you are about to upload. The only required field is the Date Taken, as indicated by the red asterisks. All of the fields, with the exception of Date Taken, are free-text fields. Clicking on Date Taken will reveal a calendar where the date can be selected. Alternatively, the date may be entered manually in MM/DD/YYYY format.
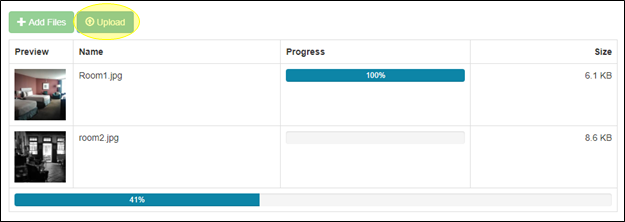
The buttons at the bottom of the Upload Images fields allow you to select whether the uploaded photo will appear at the top of the list of photos or at the bottom. When you have entered all of the desired information, click Add File to select the image from your computer or network drive. You may add as many image files to the description as you like.

When you have attached all of the files to your description that you wish to add, click Upload. Progress bars will appear that will show the status of your upload to the RS10 platform.
Additional upload descriptions can now be created to add an unlimited number of still images.
2. Reordering the Order of Your Still Images
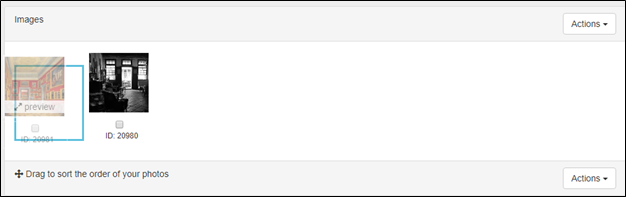
You can use RS10’s drag and drop feature to change the order of your still images on the Production Stills page. To change where an image appears in order of pictures, left click and drag the image to its new location. The image you are moving will appear translucent, and a blue box will indicate where the image will be located when the left mouse button is released. Once you have ordered your images, click Save Order at the bottom of the screen to preserve your changes.

Contact Reel-Scout
If you experience any problems or errors, please fill out this form. We will get back to you shortly.
Post your comment on this topic.