
Entering a new location is a three-step process. You will be able to:
- Enter the information about the physical location;
- Enter the contact information for the person or company related to that location; and
- Upload an unlimited number of electronic images or photo files of the location.
1. Add a Location
To add a location, select Locations on the menu bar. Then, select Add from the sub-menu.

2. Location Information
Type in the information for the location. You must enter the name of the location, and then enter any other needed information in the appropriate boxes. You can use the tab key to move quickly to the next box while typing. The fields indicated with a RED star ( * ) by their label are required entries. The only information that is necessary for the location to be added to the database is:
- Location Name
- City/Town
- Category
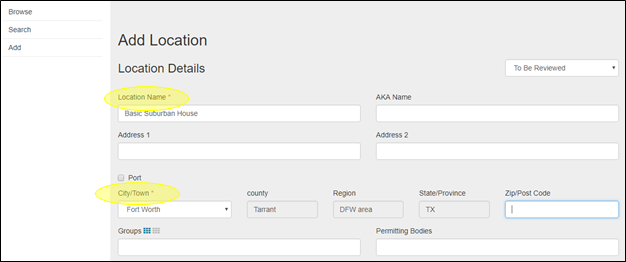
3. Location Name
Type the name of your new location into the Location Name field. Location Name is a free-form field and does not need to be unique. The library will store two locations of the same name and will differentiate them by assigning different Location ID numbers. While there is no limit on the number of character’s that you use, it is recommended that the Location Name be 30 characters or fewer.

4. AKA Name
The AKA name (also known as) field will always default to the location name field value unless the user elects to change the value. This area can be used for locations that have commonly known names that are not the same as their formal title (Panther Stadium vs. Bank of America Stadium).

5. Address
The Address field includes two free-form text fields and is not required to catalog a location in the library. Use of this field is primarily intended for internal purposes only.

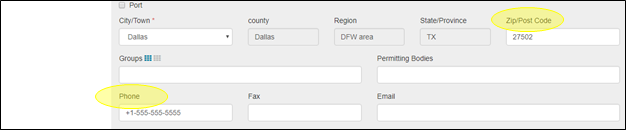
6. City/Town
The City/Town field is a single-select drop-down selection field. Selecting the City/Town value will automatically determine the county, region, and state values. Please contact your System Administrator if you believe these values to be incorrect.

7. Zip, Phone, Fax
The Zip, Phone, and Fax Number fields are free-form fields for entering the zip/postal code and phone numbers associated with the new location. Both U.S. and international formats are permissible.
8. Email
The Email field is coded to recognize correctly formatted email addresses.

In the Browse mode, the user can click on the email address. This action will automatically open a new message with the proper email address in the “To” field.

9. Groups
The Groups drop-down field controls access to location data in Reel-Scout™ version 10. For those film offices that divide locations into various groups, this field can be applied to the location that is being added. Groups can be added individually by clicking on them in the drop-down menu provided. Multiple groups can be added by clicking on them one at a time. Groups mistakenly added can be deleted by clicking the “X” next to the group name.

If you wish to grant location viewing priveledges to all of the groups in your account, click on the blue grid icon next to Groups. Clicking the blue grid icon will auto-populate the Groups field with all of the available group names.

All groups can be removed from the field by clicking the gray grid icon.

10. Permitting Bodies
The governmental authority or private organization controls access to the location being added can be selected in this field. The Permitting Bodies selections can be uniquely configured for your particular film office. If required, multiple permitting bodies can be added by individually selecting them from the drop-down menu. If you need to remove a specific jurisdictional authority, click the “X” next to that organization’s name in the Permitting Bodies field.

All of the Permitting Bodies in your RS10 database can be added to a location by clicking the blue grid icon. To remove all of the Permitting Bodies from the field, click the gray grid icon.

11. Weblinks
The Weblink fields are web-oriented fields that will automatically be created into a hyperlink once the SAVE button is clicked. You do not need to enter in ‘http://’ to ensure that Reel-Scout™ recognizes the hyperlink field. The ‘http://’ will automatically be added to the field value to ensure that the link works when clicked in view mode. Up to three weblinks can be added.

Enter the name of each Weblink in the Weblink Title/Description field. For example, the web link “www.reel-scout.com” would have “Reel-Scout, Inc.” as its name in the Weblink Title/Description field.

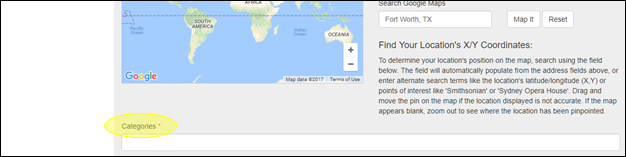
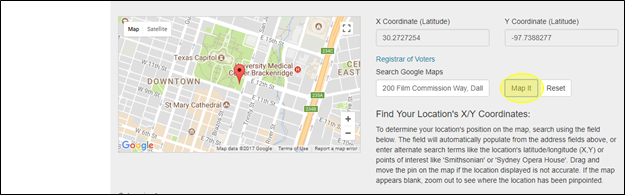
12. The X, Y Coordinate Fields
The X, Y Coordinate fields are automatically generated based on the Search Google Maps field functionality. These coordinates enable the user viewing the location to see it’s location relative to others by having the place rendered on a Google map. RS10 will automatically generate the X and Y coordinates when a value is entered into the Search Google Maps field. If you entered information into Address 1 * or *Address 2, that information would auto-populate here. Other valid values for the Search Google Maps field can include:
- Address from the fields above
- Points of interest (such as ‘Mount Rushmore’ or ‘Washington Monument’)
- Location name (‘Brevard Hotel, NC’)
- Exact latitude/longitude in X and Y format
Clicking the Map It button will render the X, Y coordinates as well as display the location on the map. You can then drag and move the pin on the map if the location is not accurate. If the map appears blank, zoom out to see where the location has been pinpointed. The Reset button will clear the map fields.
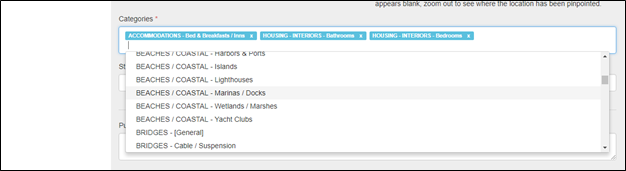
13. Categories
Categories is one of the required entries to catalog a location. Accurately assigning the category or categories is extremely important to ensuring the proper functioning of your RS10 platform. The list from which you have to select has been customized based on your film office’s needs and standards. For a list of pre-approved categories, see Section 8 of this manual by clicking here: Location Category/Subcategory. Contact your RS10 System Administrator if you need to change, delete, or add categories.
Select the categories that apply to your location from the drop-down Categories menu. There is no limit to the number of categories that you apply to your location. If you wish to remove a category from your location, click the “X” next to that description in the Categories field.
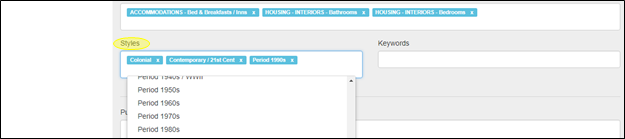
14. Styles
The Style field is where you can select the architectural attributes of the location you are adding. Since many locations can characterize multiple style periods, you can choose as many from the Style menu as you wish. Styles must be added individually and can be removed from the field by clicking the “X’ next to its title.
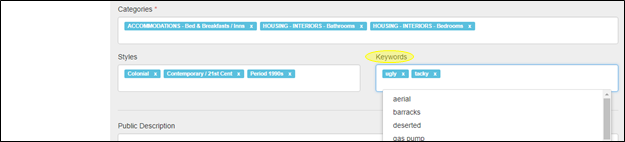
15. Keywords
The Keywords drop-down menu contains popular search terms that you may want to assign to your new location. These keywords are customized for your film office. You can add as many Keywords as you like by selecting them individually from the drop-down menu. You can remove keywords by clicking the “X’ next to its title in the Keywords field.
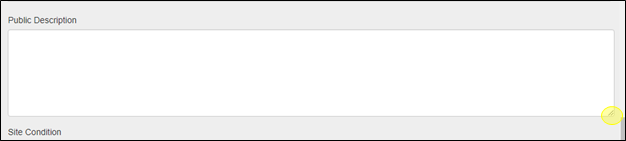
16. Public Description, Site Condition, General Notes, Internal Notes, Neighborhood & Usage Restriction
The Public Description, Site Condition, General Notes, Internal Notes, Neighborhood and Usage Restriction fields are all free-form text box fields. You can store up to 4000 characters in each field. If the site has unique restrictions or is currently unavailable, you may indicate that status with checkboxes below these fields.
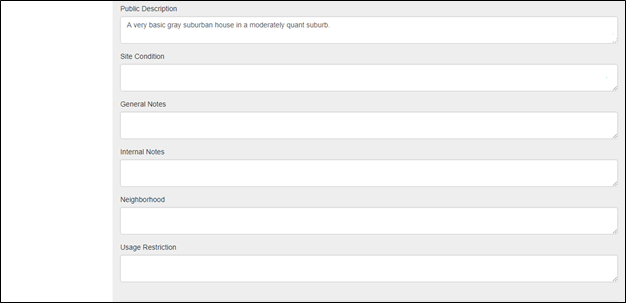
So that you can view all of the text that has been entered, each of these fields’ windows can be expanded. Left-click on the hashed lines in the lower right-hand corner of the field you wish to expand. While holding down the left mouse button, use your mouse or touchpad to drag the window to the size that suits your needs.
17. Permits & Fees
The Permits & Fees fields are checkboxes that can be selected or deselected by clicking on them. Only one selection can be made. These fields are not required to record the location in your RS10 library.
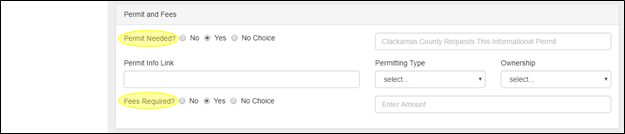
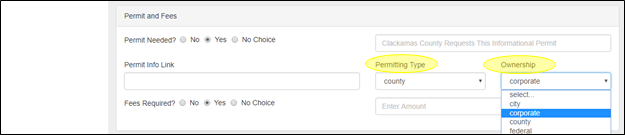
18. Permitting Type & Ownership
The Permitting Type and Ownership fields are single-select drop-down selection fields.
19. Floors
The Floors field is a drop-down box containing values: 1 to 25+. The field is intended to capture the number of floors or stories that the property has. The system defaults to no value or ‘—-’ selected when adding a new location.

20. Filmography
The Filmography field is a free-form text box. You may enter a maximum of 4000 characters.

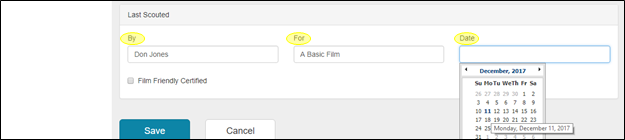
21. Last Scouted By, Last Scouted For, and Date
The Last Scouted By and Last Scouted For fields are free-form text fields. Use these fields to note who last scouted the location, when, and for which production. The Date field format is MM/DD/YYYY. Clicking on the date field box will reveal a calendar from which you can select the correct date. If you choose, you may also type the date into the box manually. Additionally, there is a checkbox to indicate if the location is Film Friendly Certified
22. The SAVE Button
Click on the Save button once you have completed all the data entry for the location page. Saving is an essential and required step. Unless you click Save, you will lose all the data you have been meticulously entering.

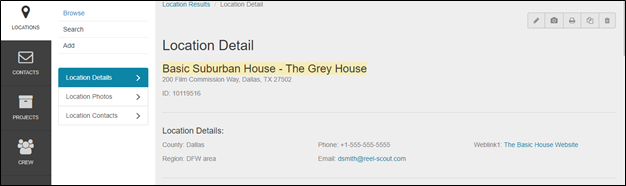
Clicking Save will also take you to the next page, which is the Location Details preview page. You can proofread all the information you’ve entered on this page here.
Once you have checked your work, the next step is to upload photos for this location. See Adding Location Photos

Contact Reel-Scout
If you experience any problems or errors, please fill out this form. We will get back to you shortly.
Post your comment on this topic.