
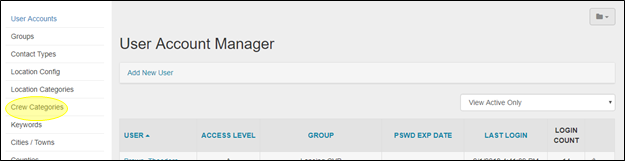
The Admin module allows your film office to customize your Directory categories and subcategories. To edit these values, begin by entering the administrative module by choosing Admin from the menu bar.
Once you are in the Admin module, click on Crew Categories in the sub-menu.
1. Viewing Crew Categories and Subcategories
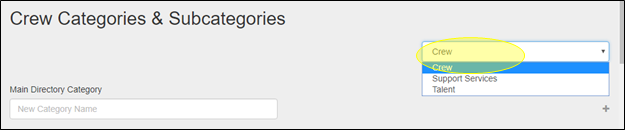
Begin by choosing the type of crew listing you want to view from the drop-down menu on the top right-hand portion of the Crew Categories & Subcategories page. The options are:
- Production Crew
- Support Services
- Talent
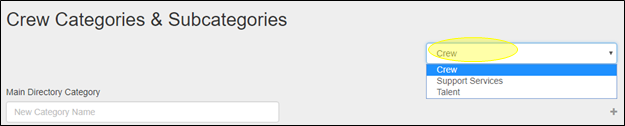
Once you have selected your desired type of listing, the Directory Categories & Subcategories page will display a list of all of the relevant categories in alphabetical order. Be sure to scroll down to see them all.

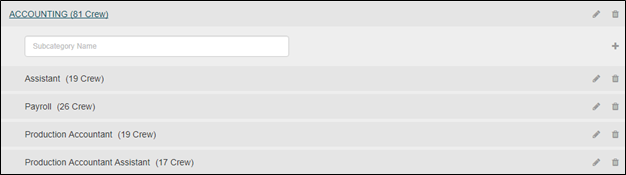
To view the subcategories, click on the main category that you are interested in.
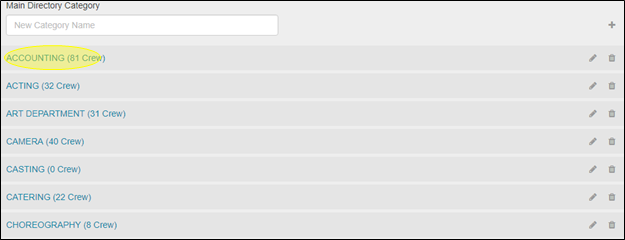
The subcategories will appear in black lettering below the main location category that you have selected.
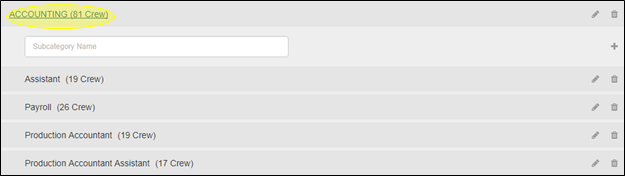
Click the main category title again to collapse the list.
2. Editing Main Categories
To edit a main category, click the Edit (pencil) icon on the right-hand side of the screen.

The name of the main category will appear in a white box field. You can change the name of the category here. When you are finished, click the checkmark to save your changes or select the “X” to return to browsing your location categories list.

3. Editing Subcategories
A Subcategory can be edited by first clicking the main category in which it resides.
Click the Edit (pencil) icon on the right-hand side of the screen next to the subcategory that you wish to change.

In the white box, you can now enter a new subcategory name. Click the checkbox to save your changes, or click the “X” to return to your subcategory listing.

h2.4. Adding New Main Directory Categories
Begin by ensuring that you will be entering a category of the proper type. Select the type of contact main category that you will be creating from the drop-down menu in the upper right-hand portion of the screen.
To add a new main directory category, simply enter the title you wish to use for your new category in the Main Directory Category field at the top of the Directory Categories & Subcategories page. Click the plus sign (+) on the right-hand side of the screen to add it to your list.

The page will refresh, and you will see your new main location category listed in on your location categories list.

5. Adding New Directory Subcategories
To add a new directory subcategory, begin by clicking on the main directory category in which the new subcategory will reside.
In the Subcategory Name field, enter the title that you wish to give the new subcategory.

You now see your new subcategory displayed under its parent main category.

6. Deleting Main Directory Categories and Subcategories
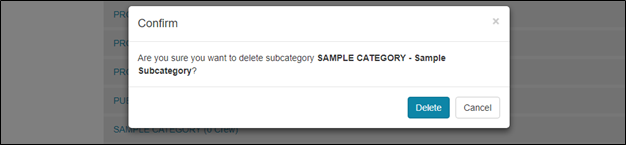
To delete a subcategory, simply click on the Delete (trashcan) icon to the right of the subcategory you wish to remove.

Follow the confirming step, or click Cancel when prompted by RS10.
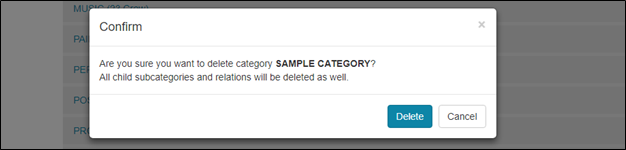
It is important to note that deleting a main directory category will remove ALL of its child subcategories, so this should be done with great caution. To delete a main directory category, click on the Delete (trashcan) icon on the right-hand side of the screen.

Follow the confirming step, or click Cancel to return to browsing the directory categories list.

Contact Reel-Scout
If you experience any problems or errors, please fill out this form. We will get back to you shortly.
Post your comment on this topic.