
Many packages often require the addition of several different types of locations. Looking through a lot of thumbnail pictures can be confusing and time-consuming. That is why Reel-Scout™ version 10 allows you to organize your locations into folders. Locations with common characteristics can be placed into a single folder, allowing the client to vet sites more efficiently.
Folders can be created at two different places in the process of adding locations to a package.
1. Adding Folders to Your Package From the Project Package Screen
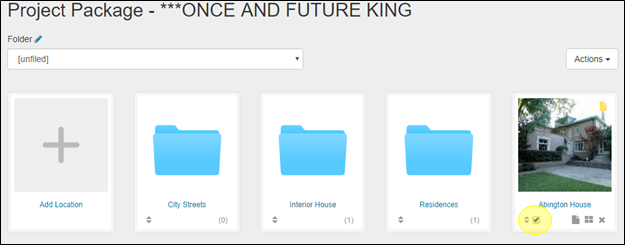
If you already know that you’ll require folders before you begin adding locations to your package, you can handle this task on the Project Package screen. Click the Edit (pencil) icon next to the Folder header.

Selecting the Edit (pencil) icon will open a dialog window that will allow you to name your new folder. After typing in the name you desire, click the plus sign (+) to add it to your list of folders. You may add as many folders as you require. When you are finished adding folders, click the Save Changes button.
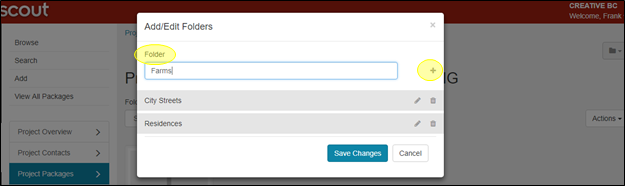
The trashcan and pencil icons next to each folder allow you to delete and edit those folders.
2. Adding Folders to Your Package While Selecting Locations
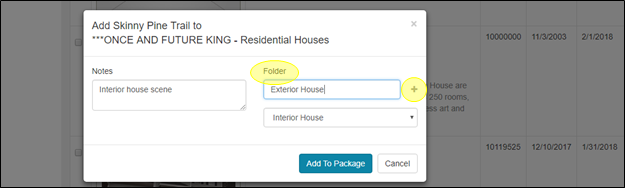
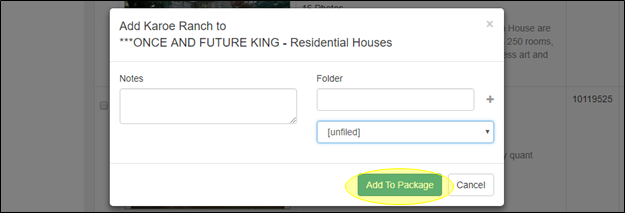
Sometimes you may not know what folders you will need until you begin to add locations. RS10 provides a way to organize locations even as they are being added to your package. When you select the plus sign () next to a site on the Browse Locations page, you will be given the option to create a new folder. Enter the name of the folder you want to create in the Folder box and press the plus sign () to add it to your list.
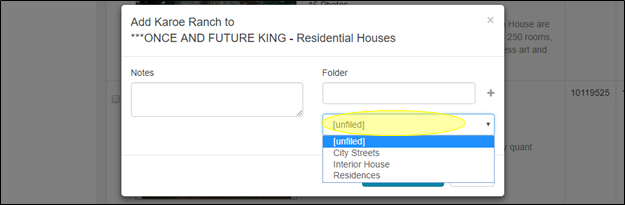
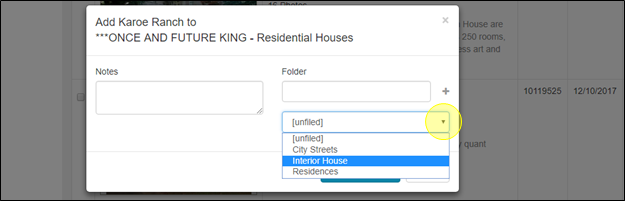
You can view the folders that you have created by clicking on the drop-down menu box below the Folder field.
When you have created all of the folders that you wish to add, click the Add to package button. Your location and the folders you have created will be added to your location package.
3. Adding Locations to Specific Folders
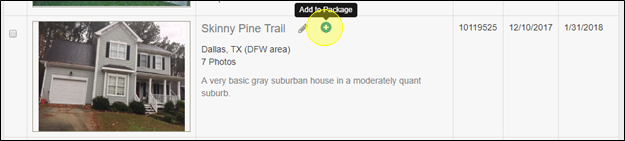
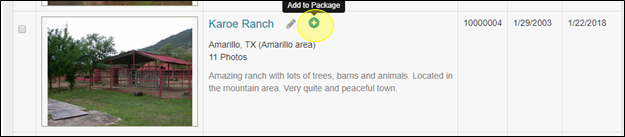
Organizing your photos into folders is simple with RS10. Click the plus sign next to the location on the Browse Locations page to add that location to your package.
When the context window opens, you’ll be able to select which folder you would like to place that location in with the Folder drop-down menu. Click Add to package when you have finished.
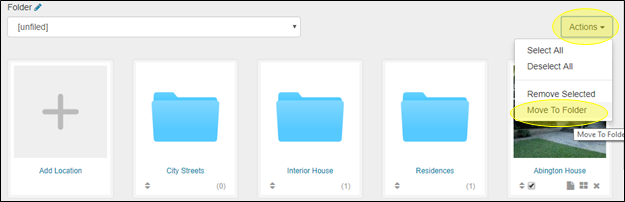
Locations can be added to folders on the Project Package page as well. Click the checkbox(es) in the location block to select the location(s) you wish to move to a folder.
Click the Action button on the right-hand side of the screen and select Move to Folder.
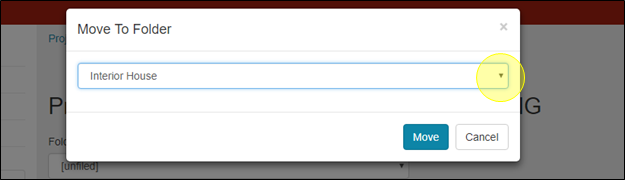
A context window will open, from which you can select a folder in which to place the location(s) you have selected. Click the Move button once you have made your selection.
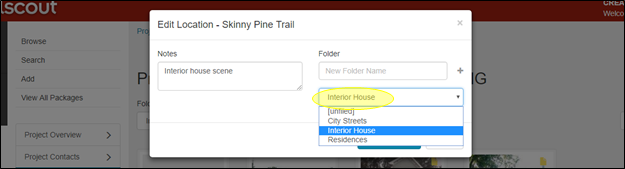
Locations can also be moved into and out of folders using the Notes icon associated with each location. Clicking the Notes icon will bring up a dialog box for that location.

A folder can be selected from the drop-down menu. Click Save Changes to affect the change.
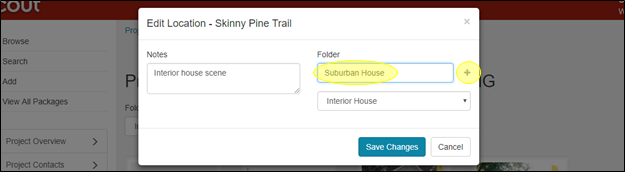
You can also create new folders from location Notes dialog box. Enter the name of the new folder in the window, and click the plus sign (+) to add it to your list.

Contact Reel-Scout
If you experience any problems or errors, please fill out this form. We will get back to you shortly.
Post your comment on this topic.