
When you click the SEND PACKAGE button, within seconds an email is sent to the specified email address from the email address belonging to the user who is logged-in. The package that has been sent will have a link that your client can click. This link will automatically open the client’s default internet browser and take them to the package you have prepared. The package is automatically configured to include your film office’s logo and branding to enhance your marketing strategy.
1. Viewing a Package as Seen by Your Client
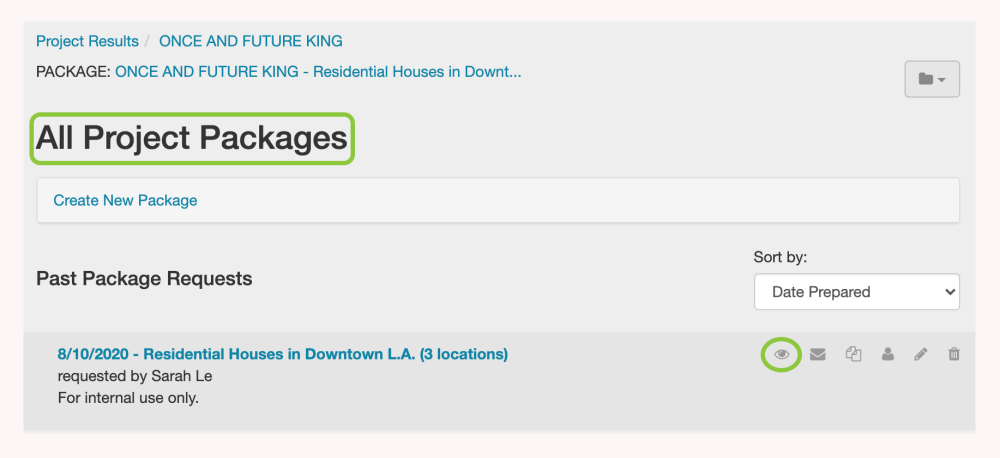
Once the package has been sent, it will appear in the list of packages on the All Project Packages page. To view the package from the client’s perspective, click the Eyeball icon on the package toolbar on the right-hand side of the screen.
Alternately, you can click the Package Sent link next to your most recent message. This function is useful, as multiple revisions may occur to packages over time; viewing the packages historically can help you recall what locations have already been sent.

2. How the Client’s Page is Organized
a. Thumbnail and List Views
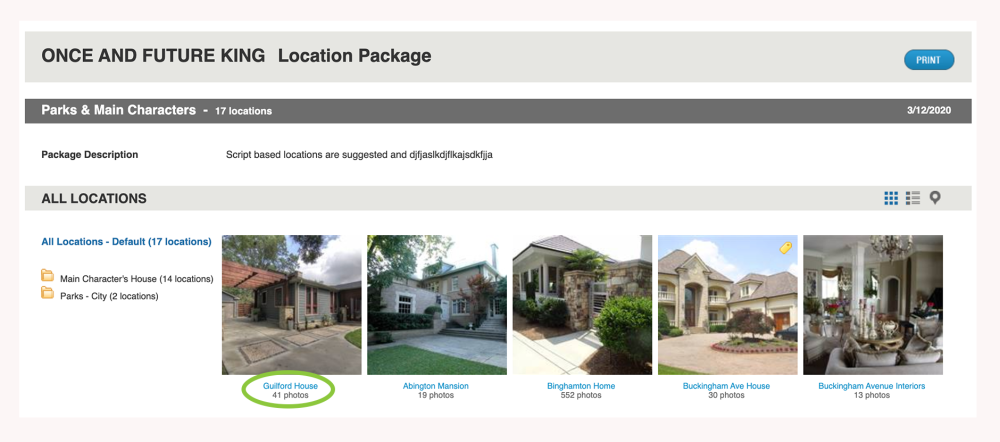
The client’s package page will have the project title and package names in the upper left-hand corner of the screen. All of the locations selected to be a part of the package by your film office will appear as thumbnail photos with location names. The client can choose to view the locations in a list view by selecting the List View icon in the upper right-hand corner of the screen.

The list view includes a representative location photo, the location name, location ID, how many images are included, and a brief description.

The client can return to the thumbnail view by clicking the Thumbnail View icon in the upper right-hand corner of the screen.


b. Quick View
When viewing the package in the Thumbnail View, your client can hover their cursor over each location to see a quick description. The quick view function provides the client a time-saving way to gather information without clicking through potential sites individually.

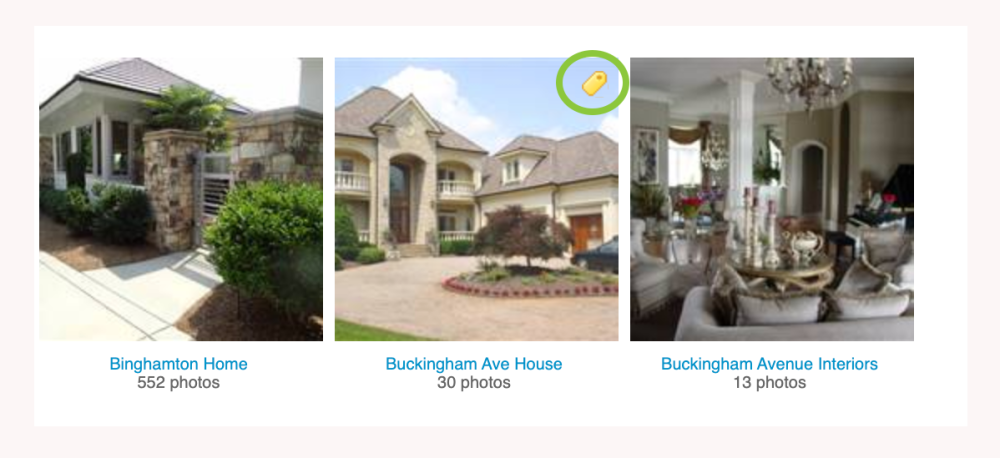
Notes that have been added to a location by your film office staff are clearly marked by a yellow tag.
c. Folders
When a client has requested information on locations that have different characteristics, your film office may choose to group similar sites into folders. If folders have been added to a package, they will be listed vertically on the left-hand side of the page.

d. Map view
A Google map view of all of the locations in the package can be accessed by clicking the Map View icon in the upper right-hand corner.

And the Google map view of the locations will open up.

Clicking on the folders will display only those locations associated with those folders.

To see all of the locations in the package, the client can click the All Locations-Default on the top left-hand side of the screen.

All locations will then be included in the map.

3. View Location Screen
To view a specific location in detail, the client can click on the name of the location or it’s associated photo in either the List View or Thumbnail View.
a. Location Details
The location details page includes a summary of the location, the location number. Buttons to advance to the next location, go back to the previous location, and to return to the Locations Screen are located at the top of the page. The address of the location and Film Office are located below the map at the bottom of the location’s page. A contact link is also provided.

A Print-friendly link renders the page into a printable format with all of the location photos attached.

Viewing Specific Location Images
Individual location images can be viewed by clicking on the thumbnail versions on the left-hand side of the location’s page. Alternatively, the photos can be viewed in order by clicking the Next or Prev buttons. If a large number of location images have been provided, clickable page numbers will be present.

Clicking Slideshow opens a new browser page where the client can browse through full-size renderings of the location photos.

4. Sharing Locations in a Package
The client can share the online locations package you sent by forwarding the email to the appropriate individuals. The package will be available as long as it exists in the Projects database.
The client can also share an individual location by selecting one of the social media platforms on the Shares bar on the left-hand side of the screen. Currently available options include Twitter, Facebook, Google+, LinkedIn, Pinterest, and SumoMe.

5. View in Google Map & Weather Forecast
Included on each location page is a Google map that shows the geographic location of the proposed site. In-map controls allow for zooming in and out, as well as the ability to display the map in full-screen view. The Google map can be displayed as a conventional “road” type map, or it can be toggled to a satellite view powered by Google Earth.

A weather window powered by Dark Sky is also provided on each location page in the package.


Contact Reel-Scout
If you experience any problems or errors, please fill out this form. We will get back to you shortly.
Post your comment on this topic.