
In this chapter, we will touch upon how to create a contact.
Creating a contact in the form of a private person
Go to contact management ➤ private persons
Click on New, after which the following screen appears, as shown below: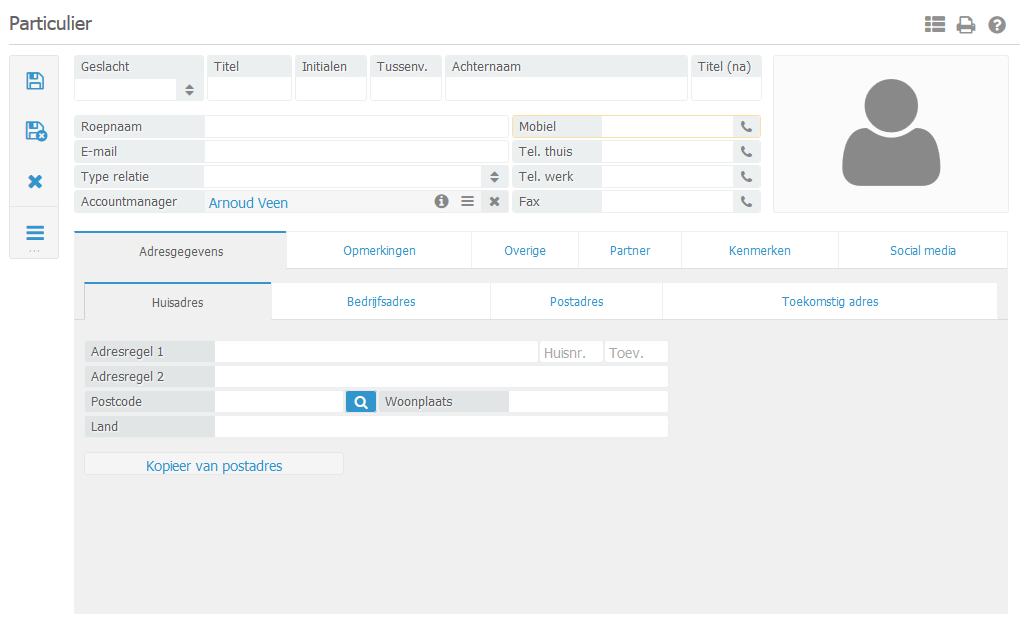
The ‘Other’ lets you enter personal information appertaining to the private person such as National insurance number, date of birth, citizenship, etc.
The ‘Partner’ tab lets you link the private person’s partner. If the private person has not yet been entered in BaseNet, a new private person contact can be created from this same ‘Partner’ tab. To do so, click on ‘New Partner’.
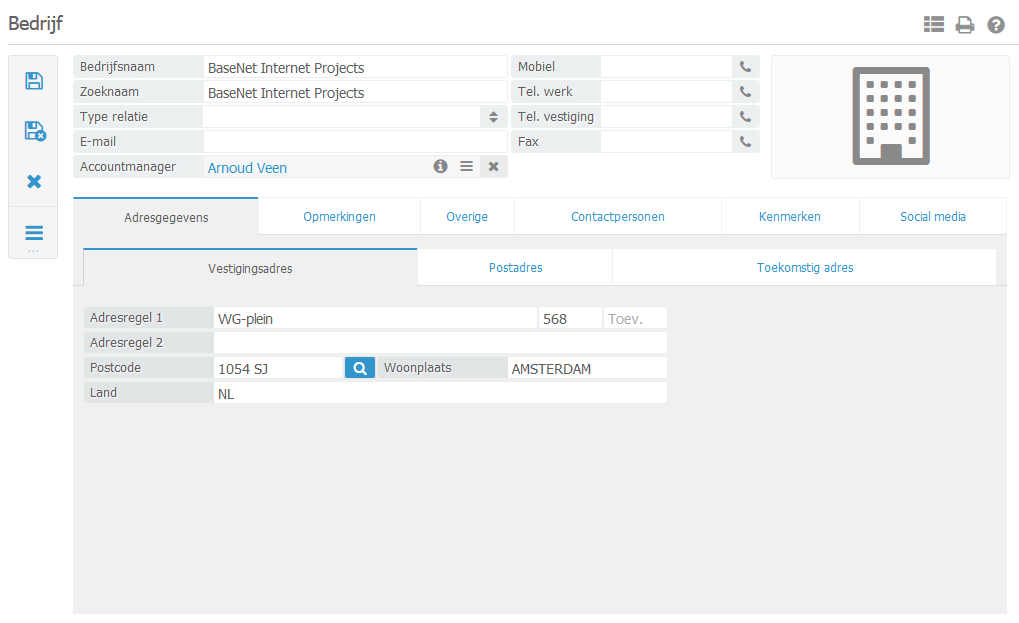
Creating a contact in the form of a company
When clicking on new, a window appears as shown below.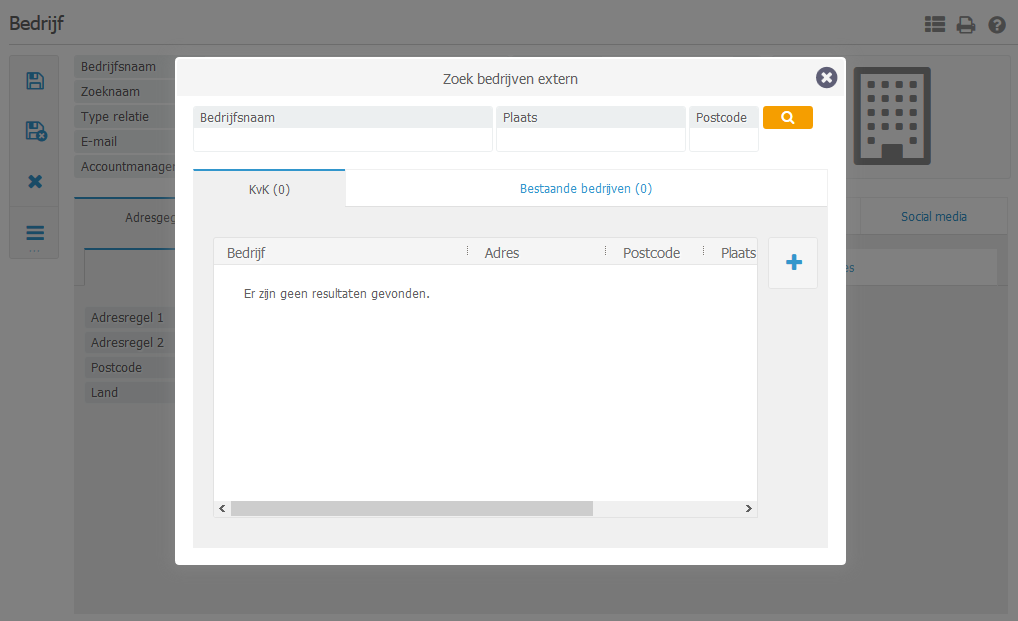
Creating a contact in the form of a private person
Company settings➤ Private Person
There are several ways of creating a contact in the form of a private person. Contacts can be created either directly within a company contact, through the contacts field, or through the short cut drop-down menu.
Creating a contact in the form of an individual
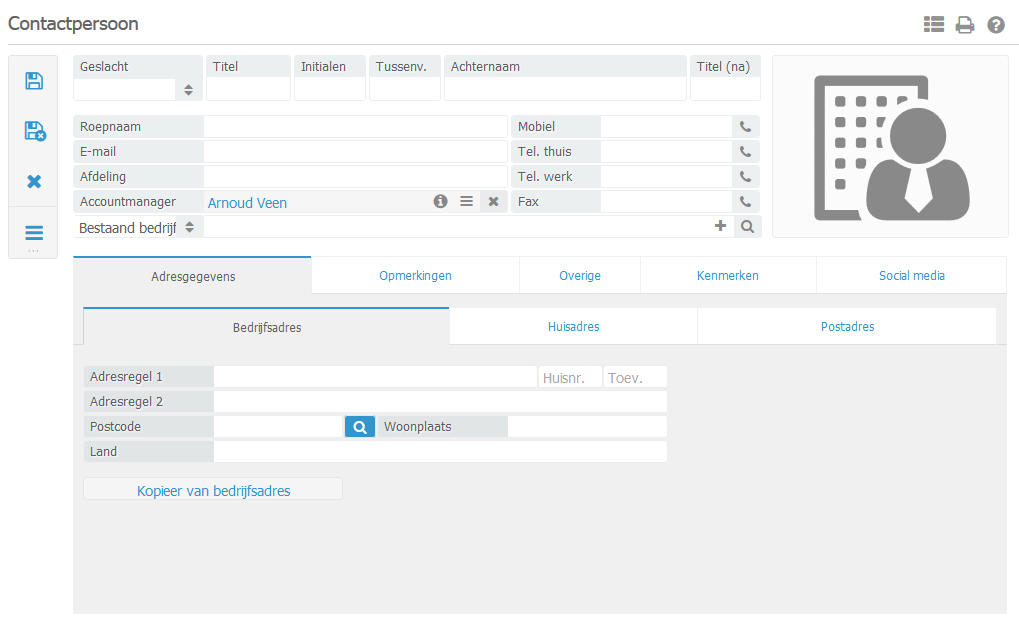
Click on “actinbutton” at the top of the window and opt for “New contact in the form of a private person”. A new window now appears where you can enter the information appertaining to the contact in the form of a private person.
In this screen enter the information appertaining to Name, Address and City. The Title field (before) and Title field (after) can be used to fill in titles such as Mr., Dr. or for example (MBA). Such titles are applied when sending mailings/ newsletters.
Do not forget to enter the P.O. Box. This address is used when sending letters or mailings to the concerning private person.
In the center of the screen you will find the “Company” field. Here you can indicate which organisation or private person is representing the company. To link a company you can enter the company name of which a contact card has already been created and subsequently enter the “tab” key to link the company. If the company does not easily appear by way of search you can use the magnifying glass for more defined search options.
The contact can be saved by clicking the Save/ Quit button in the left top corner of the window. The contact has now been entered and generated.