Sending an Email
Actions -> New Email
It is possible to link a project and/ or contact in practically all aspects of BaseNet. This also applies to Email. Linking your outgoing Email to a project and contact(s) results in being able to access those easily in the future. In addition you can compose a new Email from within anywhere in BaseNet, meaning that you do not necessarily have to go to the inbox to do so.
By using the Email icon from within a contact’s window (Rolodex card) a new Email is being composed which is automatically linked to that contact.
The purpose of the button shown in the illustration bellow is to compose a new Email.
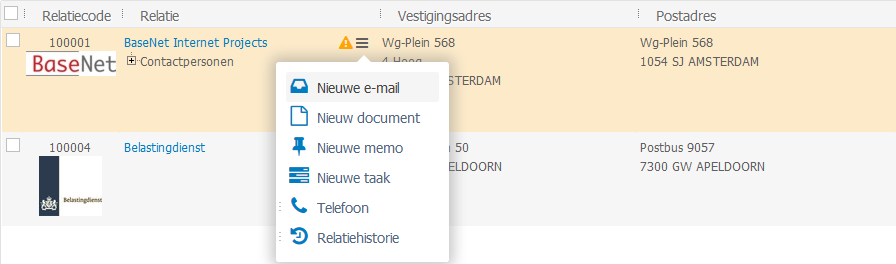
This button is not available from the search screen. If you wish to send an Email from the search screen this can be achieved by moving the cursor towards “Actions” and subsequently choosing for Email by clicking on it.
Project
Here a project can be linked. It is possible to search for parts of a name or to search for a project numer/ ID.
Contact
Here the Email recipient’s contact (Rolodex card) can be linked. After having sent the Email, the Email will be listed in the contacts history.
Templates
It is advisable to make use of templates. Templates can retrieve information from BaseNet’s system and make the creation of documents more efficient and convenient.
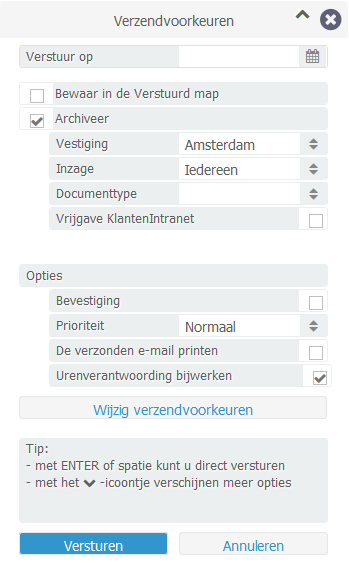
Sending
After clicking send in the Email window, there are additional options which can be opted for before the Email is actually sent: