
| This knowledge base article will guide user on how to segregate their products and catalogues. |
|---|
PRISM SEGREGATION OVERVIEW
PRISM SEGREGATION is the ability of PRISM to send predefined catalogs and Products to predefined users and
customers.
With this feature you can set a group of users and customers to see only items and catalogues that you’ve chosen whenever they are accessing PRISM ( mobile and web store)
one example on the image below shows USER2, CUSTOMER1 and CUSTOMER 2 that belongs to GROUP 1 can only access PRODUCT A,D and CATALOG B.

KEY STEPS FOR SEGREGATION
1. Create a Group
2. Manage the Group
3. Sync the Changes
I. CREATING A GROUP
. Login to the PRISM self service website using an admin
credential.

Click on the drop down arrow on the top right corner and then click on settings

Click on the PRISM Tab

Scroll all the way to the bottom and search for the option product and catalog segregation.

click on manage.

On the Segregation window, click on Add

Define the name of the group and then click on Save and Close

Now we can start managing the group
II. MANAGING A GROUP
To manage a group, click on the group that has to be modified. (e.g. Group 1)

click on manage items to open the Manage items window.

On the manage items window. We can now start adding the products,catalogs,users and customers

TIPS


ADDING AN ITEM
There are multiple ways to add an item (Products,Catalog,Customers,and Sales Person (User)
- Assign item(s) selected – this option will add the selected items only.
- Assign all items – this option will add all items on the list.
- Assign all except selected – this will assign all except selected.
A. Assign item(s) selected
To use this option just put a check mark on the item that has to be added and then click on Assign Items Selected
when done.

B. Assign all items
To add all items. Just check on the total number of items ( verify if it matches the count on your masterlist) and
then select the Assign All items option from the drop down menu.

Then click on Assign All Items to initiate. This will add the total of 204 items in the Group (Group1).

C. Assign all except selected
To use this option just select the item that has to be exempted and then select the Assign All except selected option from the drop down menu

Then click on Assign All Items except selected to initiate.

ADDING ITEM FROM A SEARCH
To add an item(s) from a search, Type in the keyword that has to be searched and the press enter or click on the magnifying glass.

The total search results will show on the top right corner. Now you can start adding the searched items in your group using the Assign items option.

Once all items (products, catalogues, customers and users) are added. The group summary can verified when you select the group from the group list.
ADDING CATALOG
To can add catalogs using the same process as adding an item just click on the catalog tab and select the Catalog that you wish to add.
ADDING USER ( SALES PERSON )

ADDING PRODUCTS VIA RULES
Items can also be added using the rules feature. To add a rule, click on rules

Click on add new rule and then click on next

Click on Products (Note: Other item will be added soon ( Customer,Catalogs and Users)) and then Next

Select the filter, type in the search word and then click on next

Select the group that will use the rule and then click on Next

Define the rule name and then click on Finish

Wait for the prompt then click on close.

To check or modify the rule. Just click on Rules

Select edit existing rules and then click on Next

On this window. We can see all rules and available and from here we can edit or delete all available rules. Once finish click on next

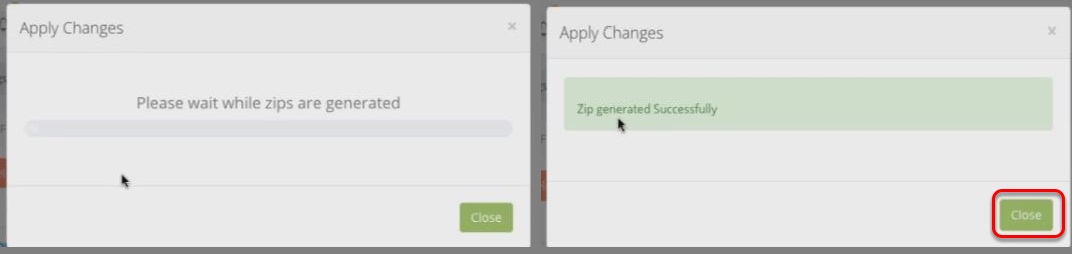
To save the changes. Click on apply changes

Wait for the zip to generate and then click on close when finish
To check the changes just click on the group

and see if the rules are applied

In our example all items that begins with PPB are now part of the group ( Orlando Midwest Pacific)
SYNC CHANGES
To sync the new group with the mobile devices( PRISM App iOS,iPhone, and Android) and the PRISM Web Store, click on Apply Changes

Just wait for the prompt to close and you can test on the PRISM App using a customer login a sales rep login

BarcodeApps © 2016
Post your comment on this topic.