
| This knowledge base article will guide you on how to install PRISM Desktop Server with Sage Business Vision integration |
|---|
PRISM DESKTOP COMPONENTS
| Software Requirements |
|---|
| Access Runtime 2010 |
| Access Runtime 2013 |
| SQL Server® 2012 |
| SQL Express 2012 |
| PRISM Main Installer |
| PRISM Updater |
| NET Framework 3.5 |
PRISM DESKTOP
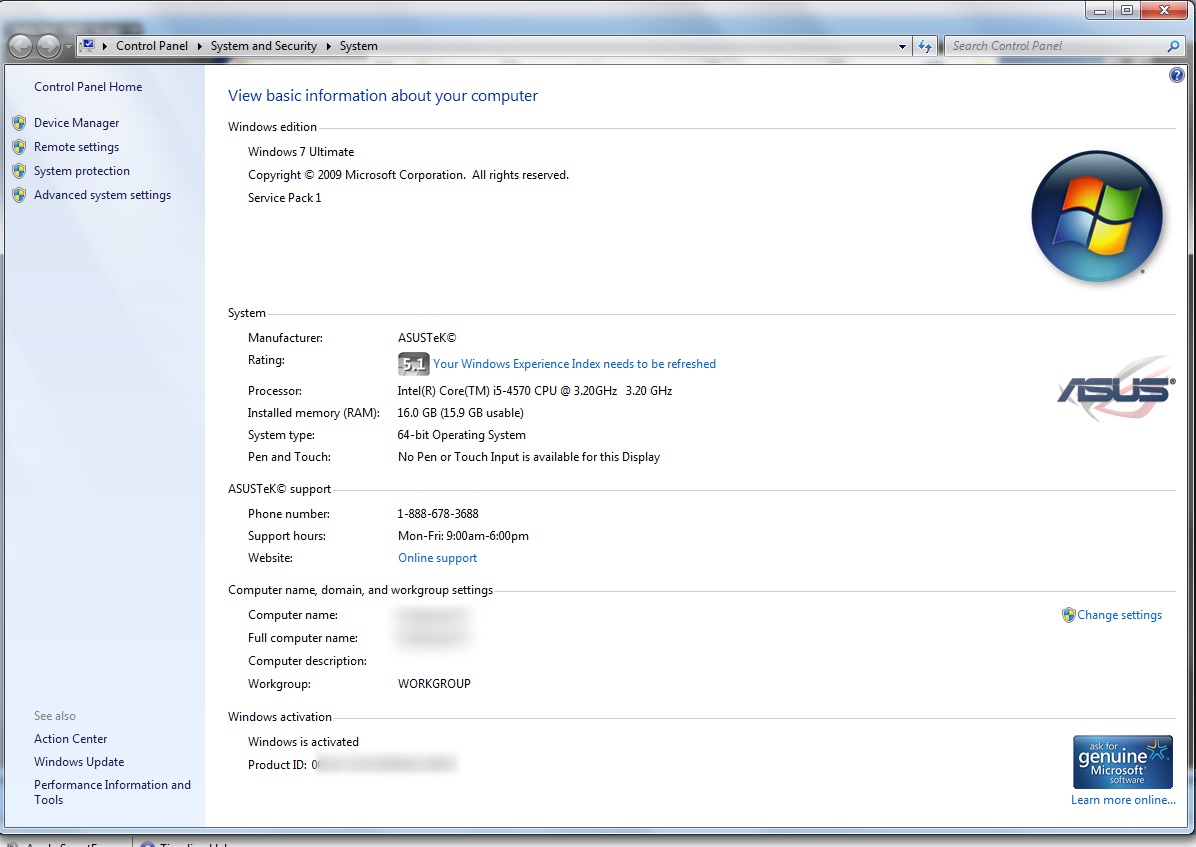
Before starting the installation first check the computer specifications for compatibility issues (e.g. operating system, computer name etc.,)
Download PRISM Main Installer and PRISM Updater.

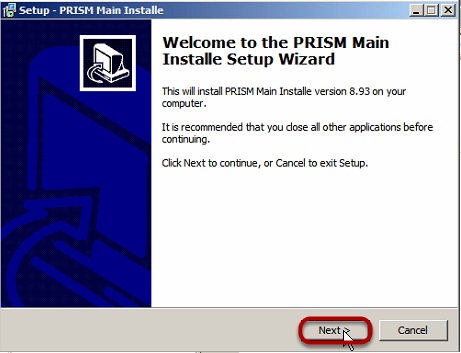
Open and Run setupprism.exe.

Click Next.
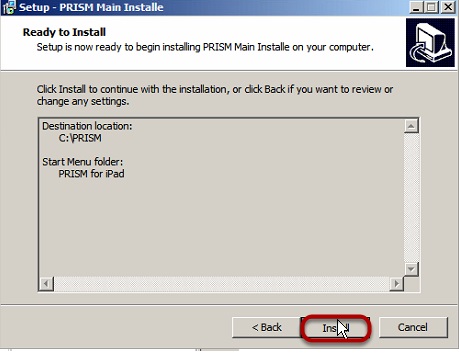
Click Install.
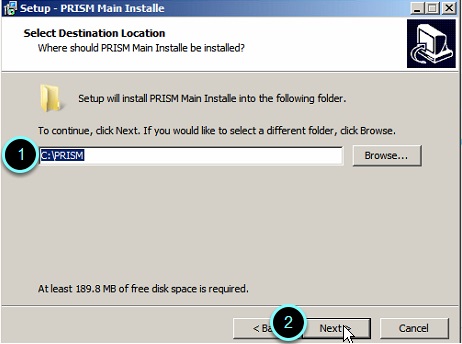
Default location should be C:\PRISM then click Next.
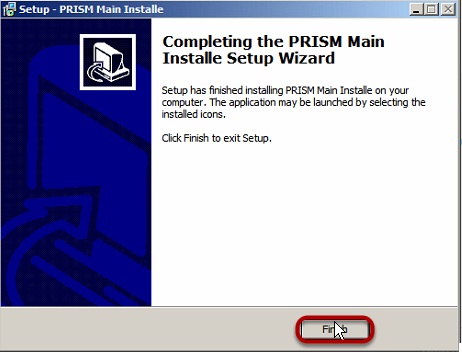
Click Finish.
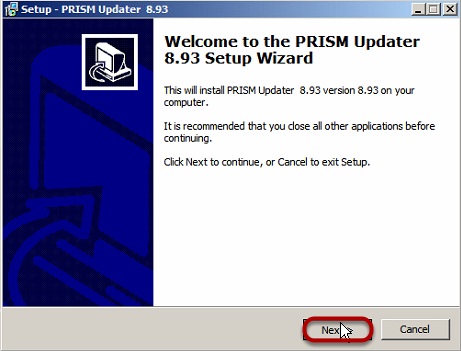
Open and Run updateprism.exe.

Click Next.
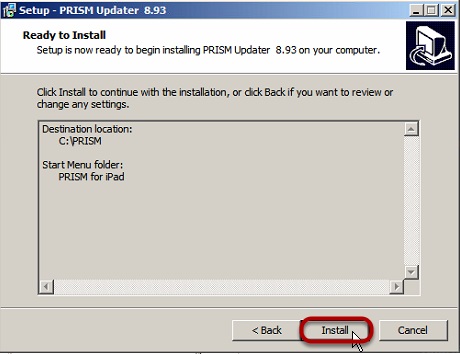
Default location should be C:\PRISM then click Next. (You will be prompted if you wish to overwrite C:\Prism, click
Yes).

Click Install.
Click Finish.

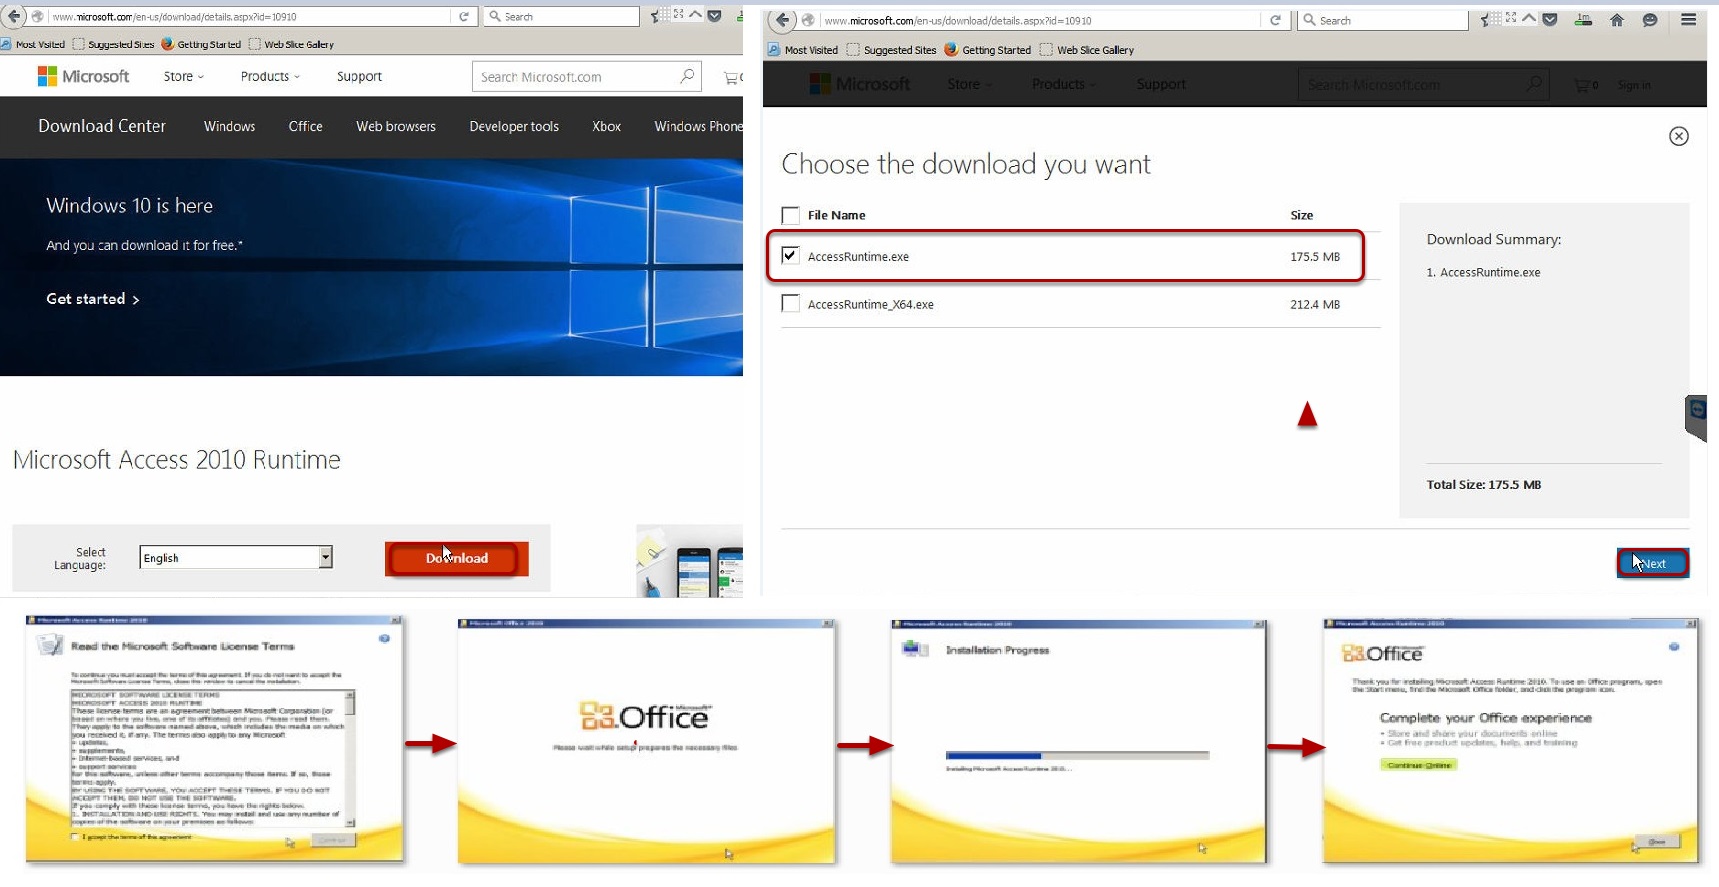
MICROSOFT OFFICE ACCESS RUNTIME 2010
Download and Install Access Runtime 2010 (Make sure to select AccessRuntime.exe – Not _X64).
SQL SERVER 2012
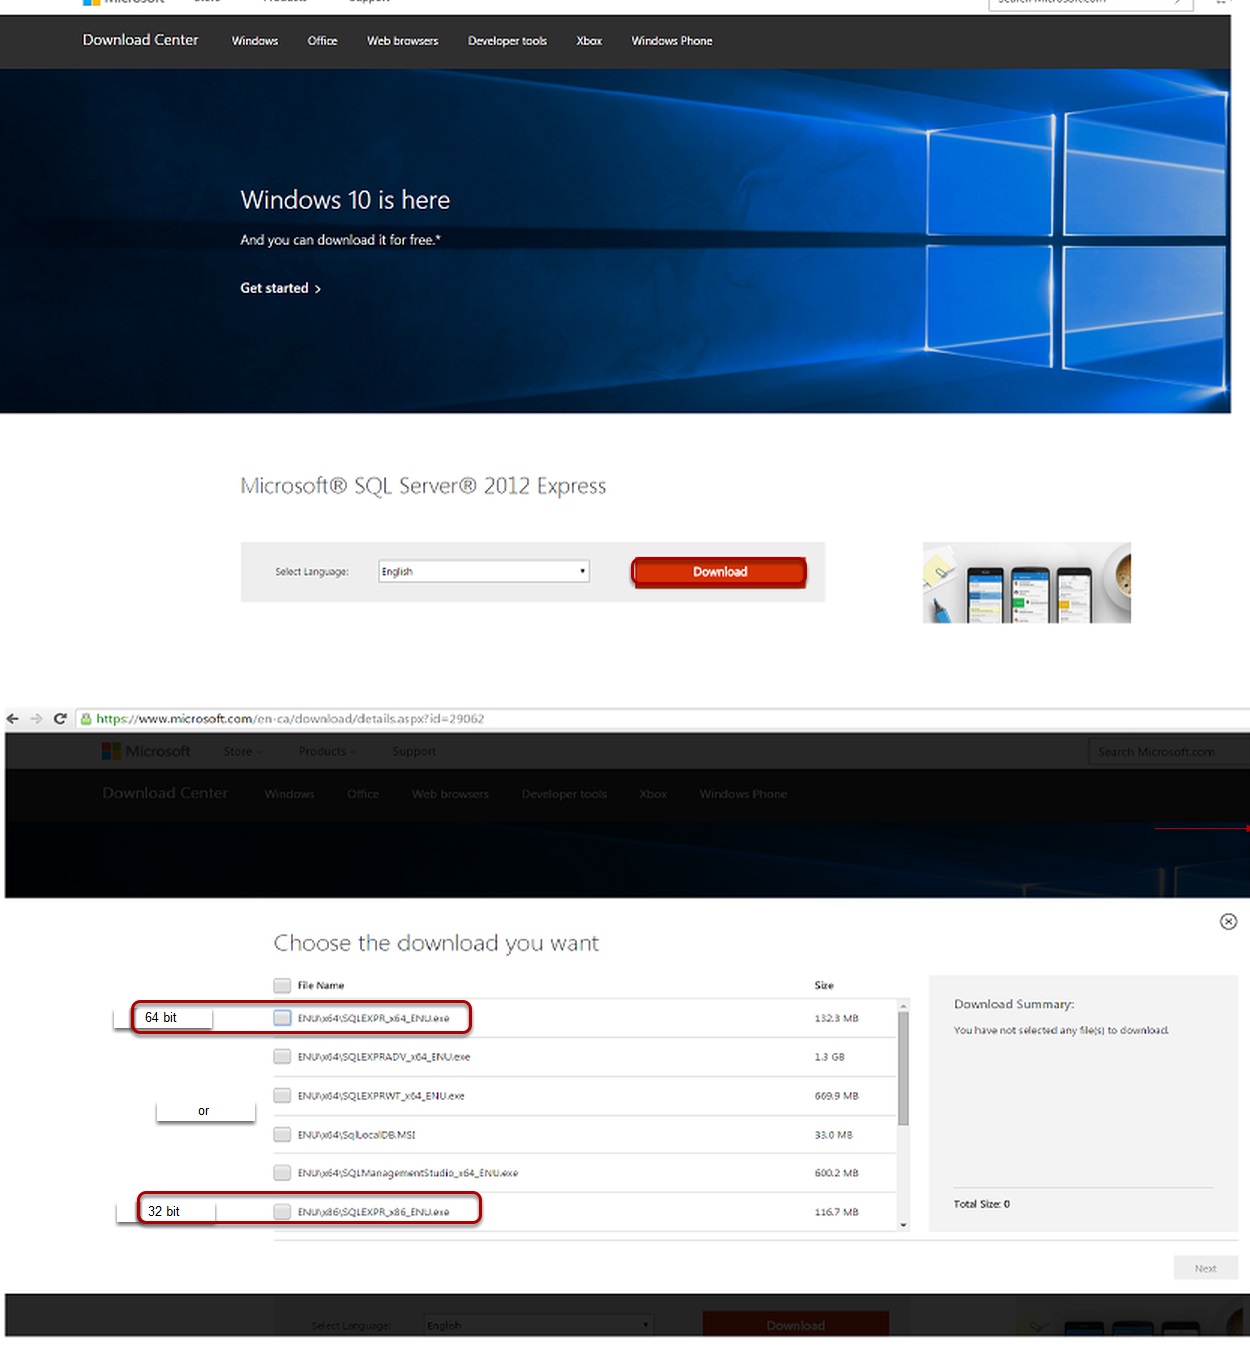
Download SQL Server® 2012
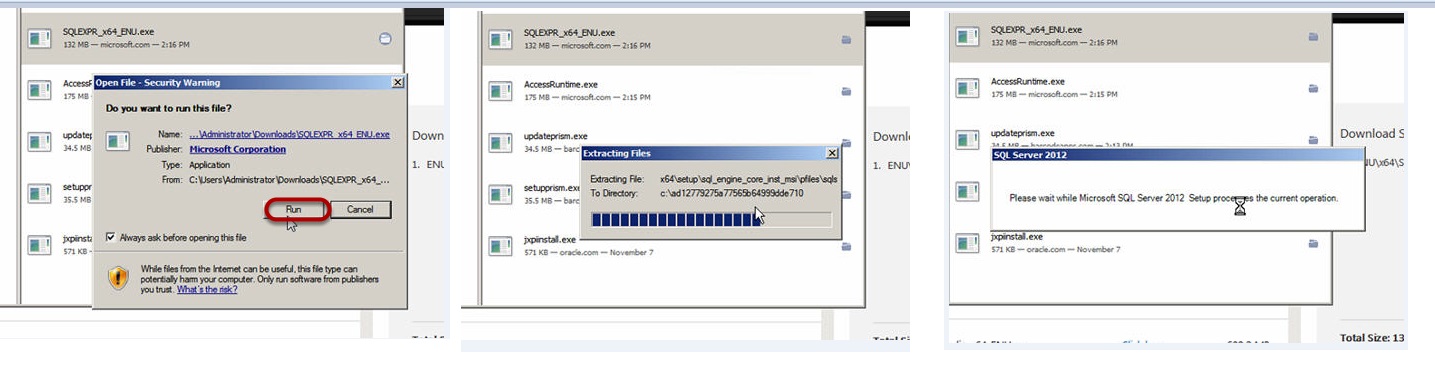
Open and Run SQLEXPR_x64_ENU.exe.
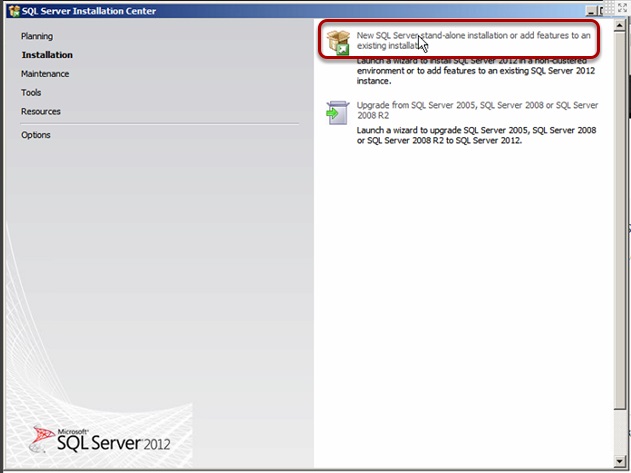
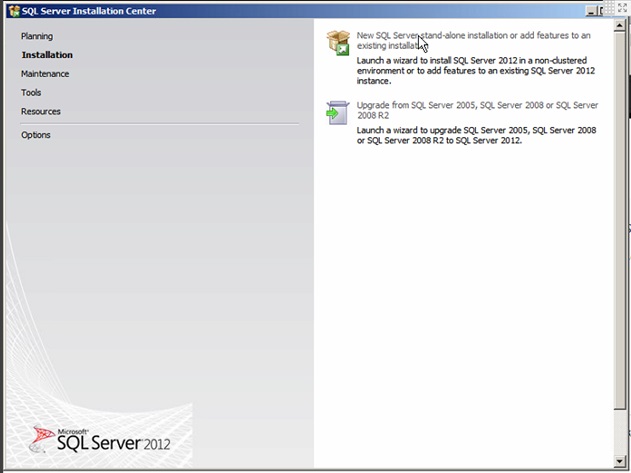
Click on New SQL Server stand-alone installation.
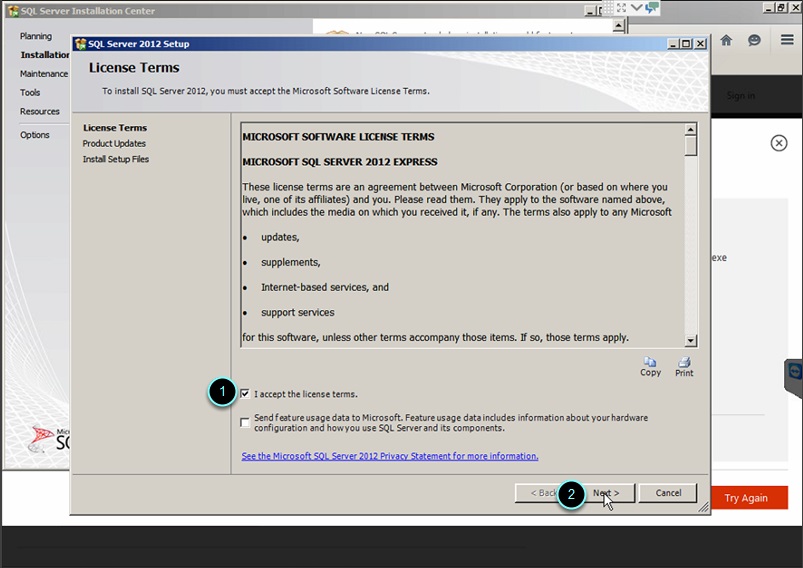
Accept license terms and click Next.
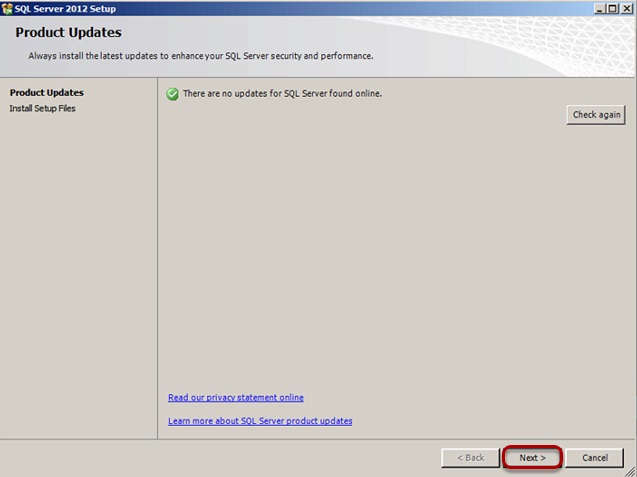
Check “Include SQL Server product updates” and click Next.
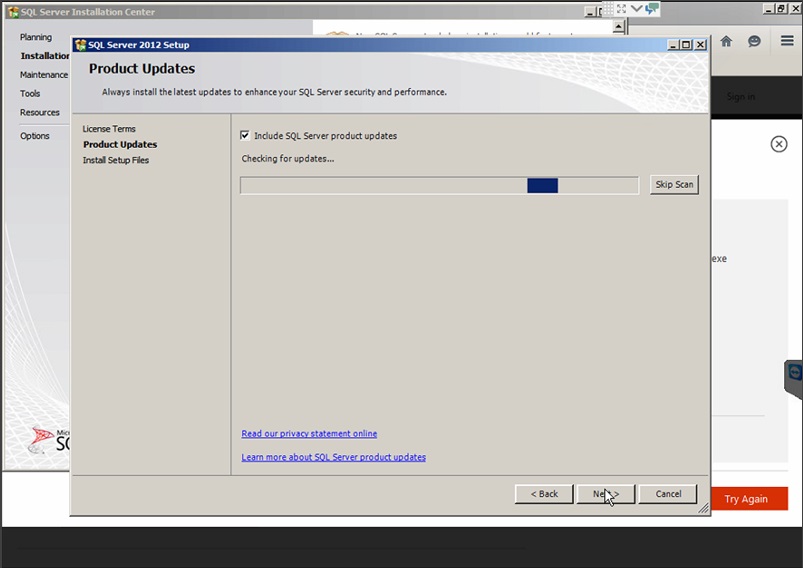
Install updates and components.

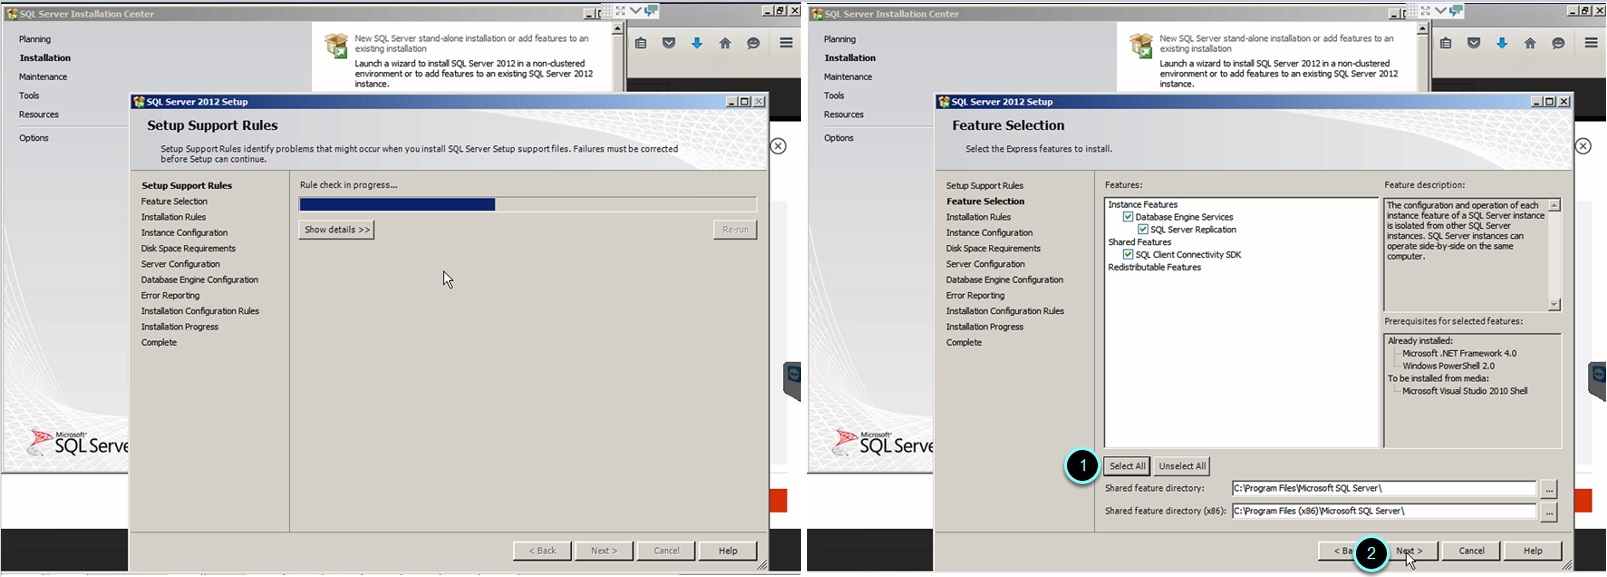
Click select all features and select Next.
Select “Named Instance” and Type in PRISM. Then click Next.

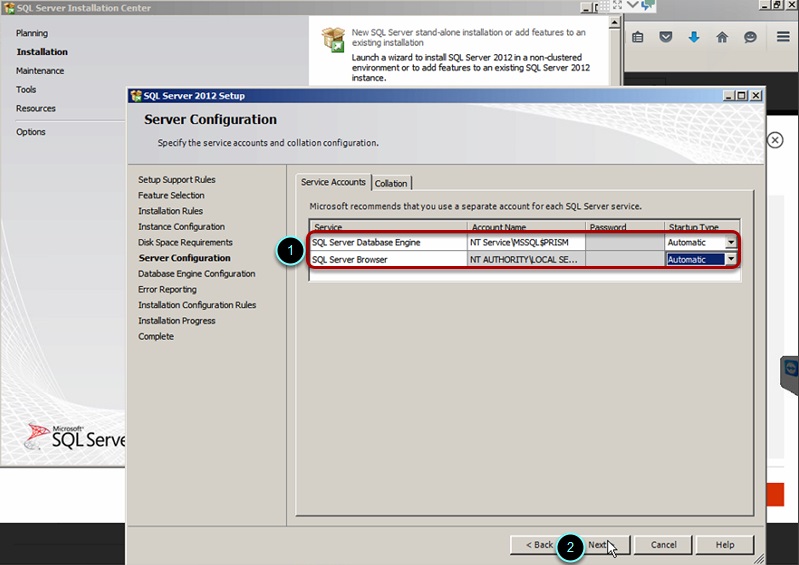
Make sure SQL Server Database Engine and SQL Server Browser are both set to Automatic. Click Next.
Select Mix Mode and specify the password e.g. prism12345# and click Next.

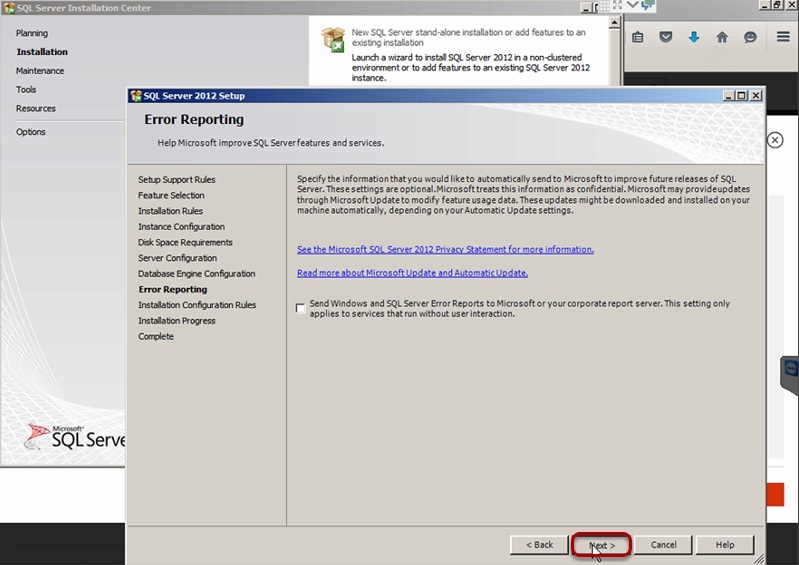
Click Next.
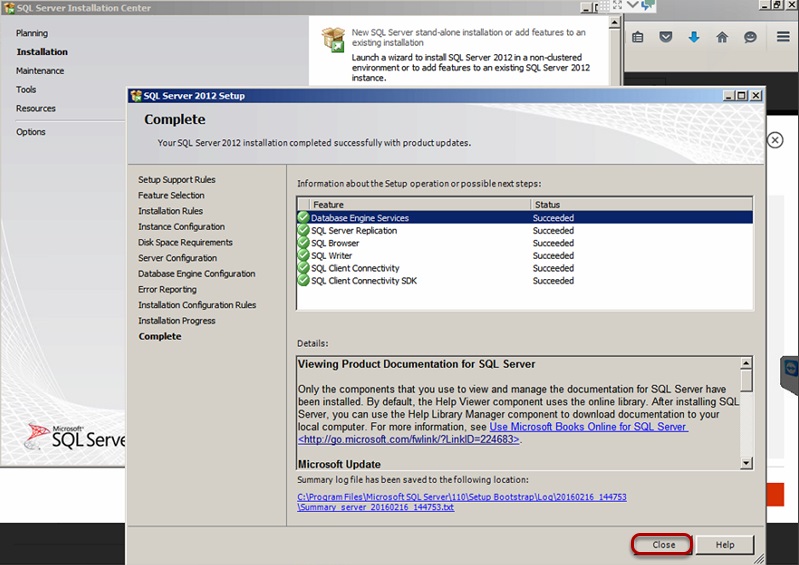
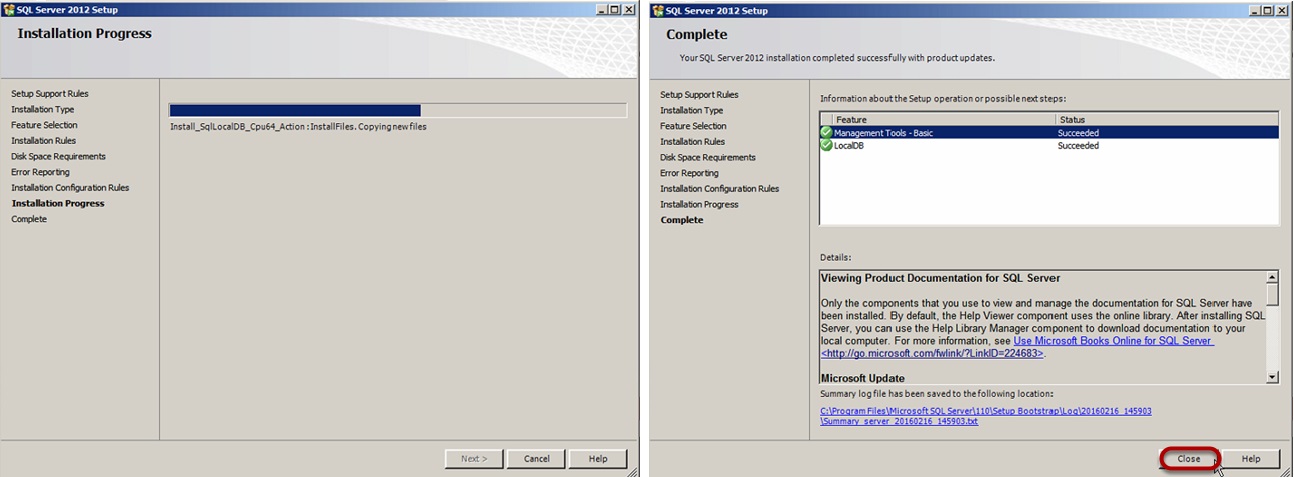
Wait for installation to complete then click Close.
SQL SERVER MANAGEMENT STUDIO 2012
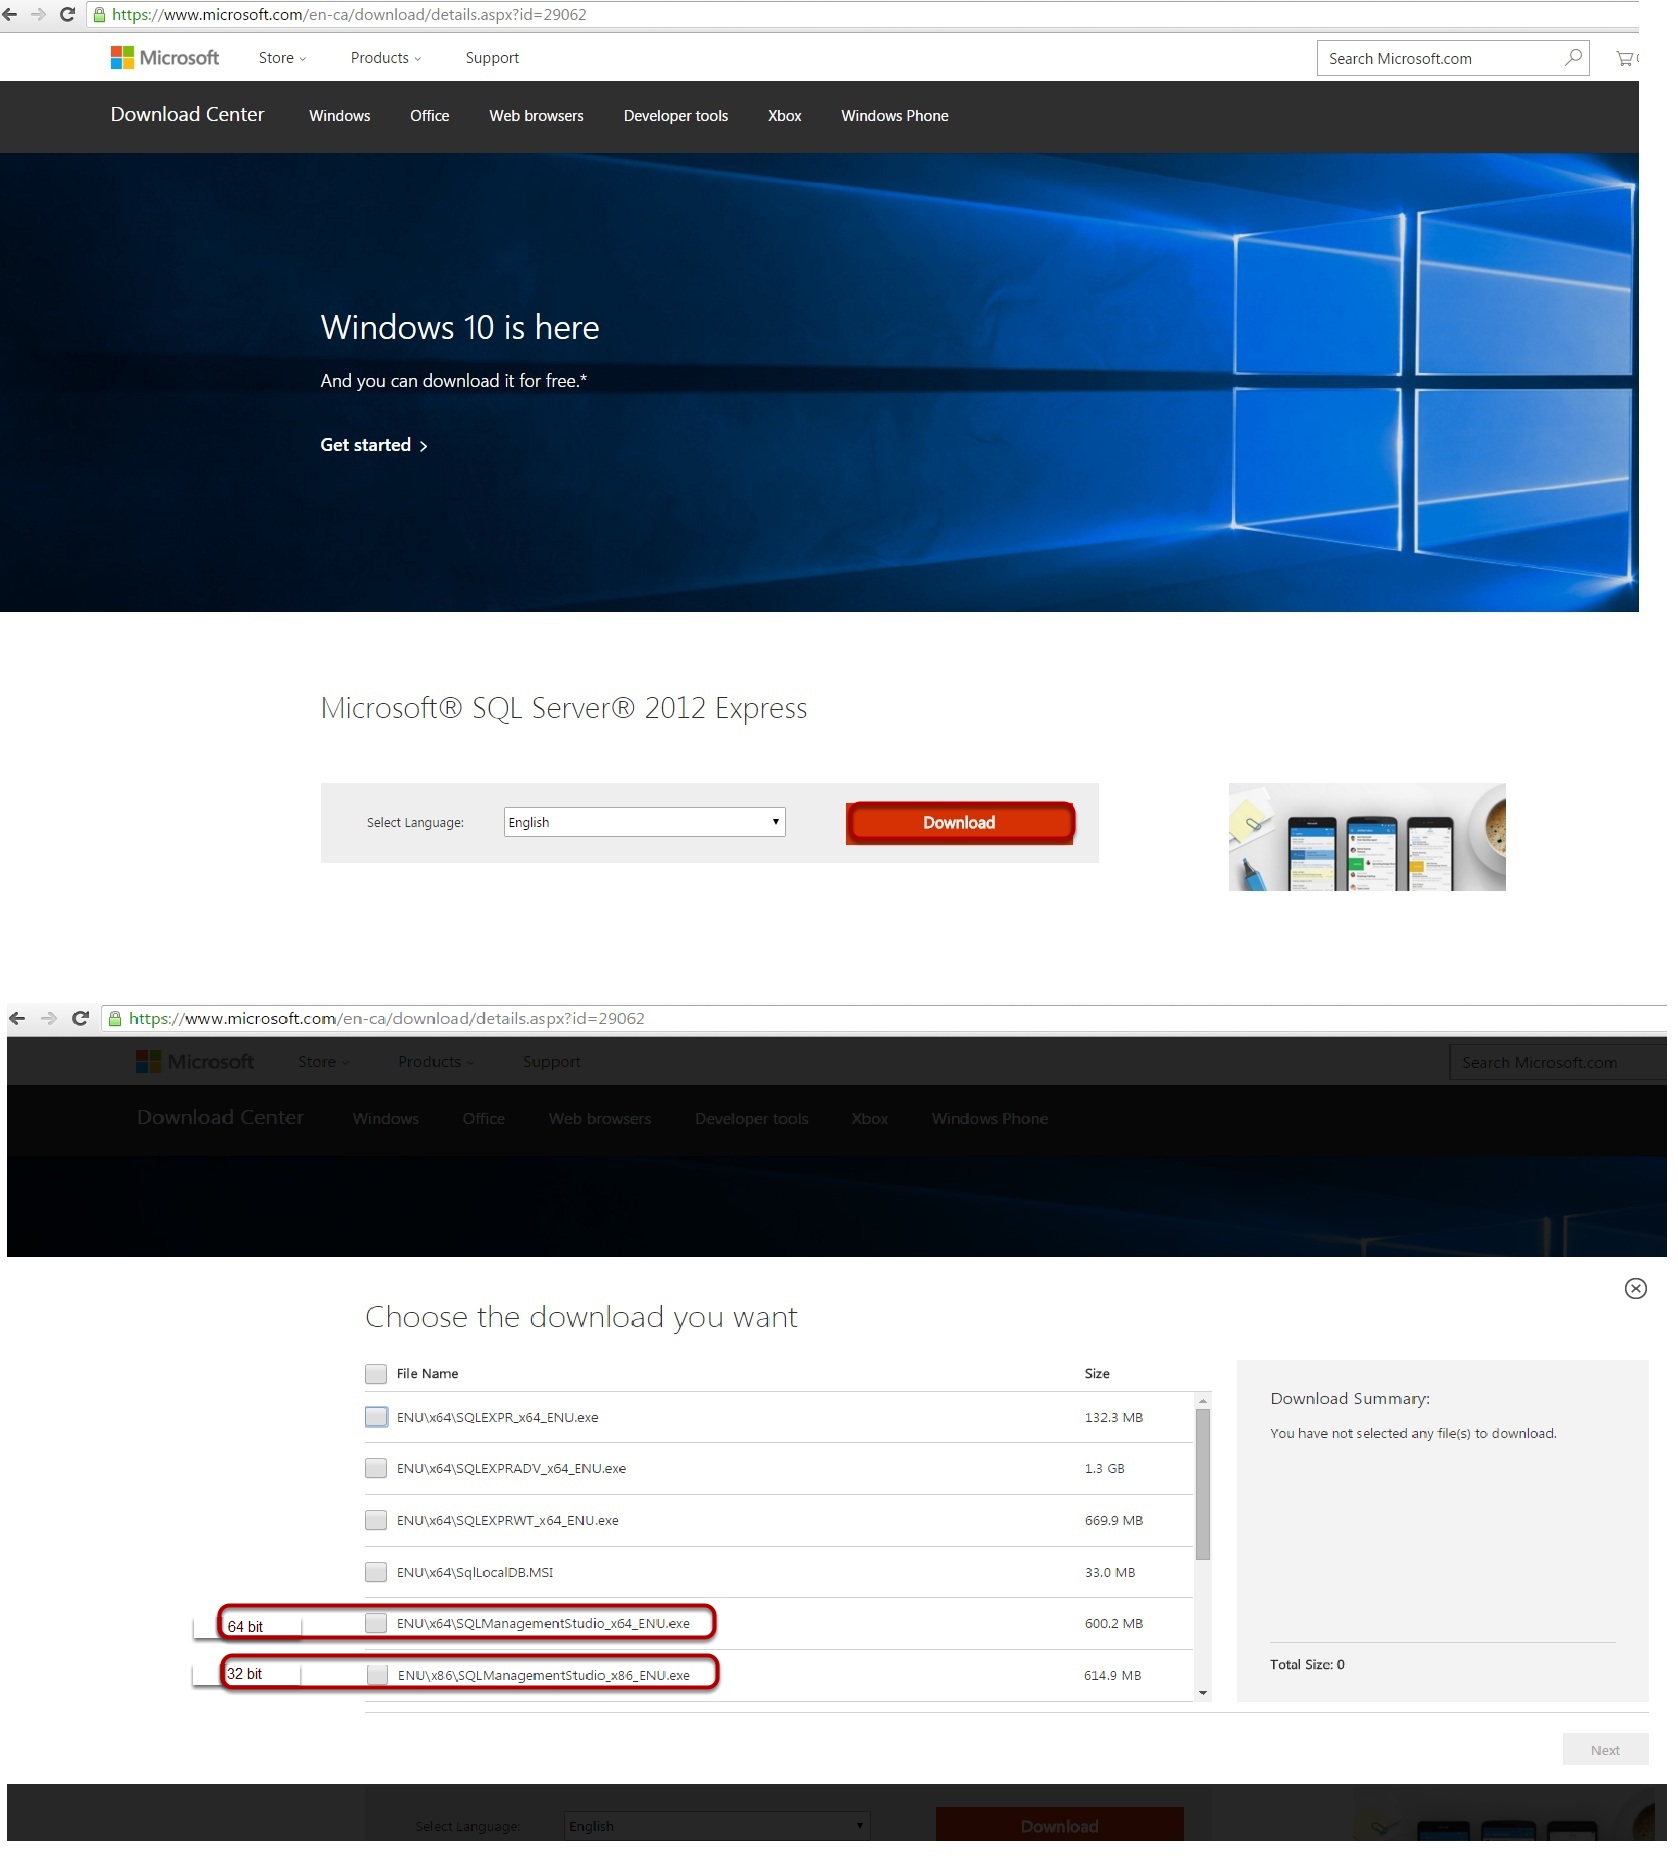
Download SQL Server Management Studio ® 2012(Only download either 32 bit or 64 bit).
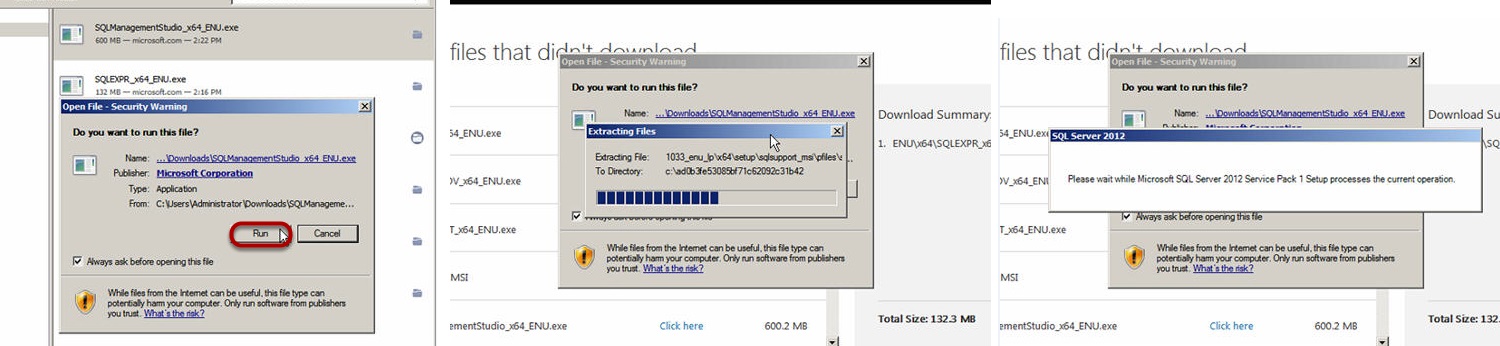
Open and Run SQL ManagementStudio_x64_ENU.exe
Click on New SQL Server stand-alone installation.
Click Next.
Wait for set up files to finish.

Select “Add features to an existing instance of SQL Server 2012” and click Next.

Click on “Select All” and click on Next.

Click Next.

Wait for installation to complete then click Close.
SQL SERVER 2012 CONFIGURATION
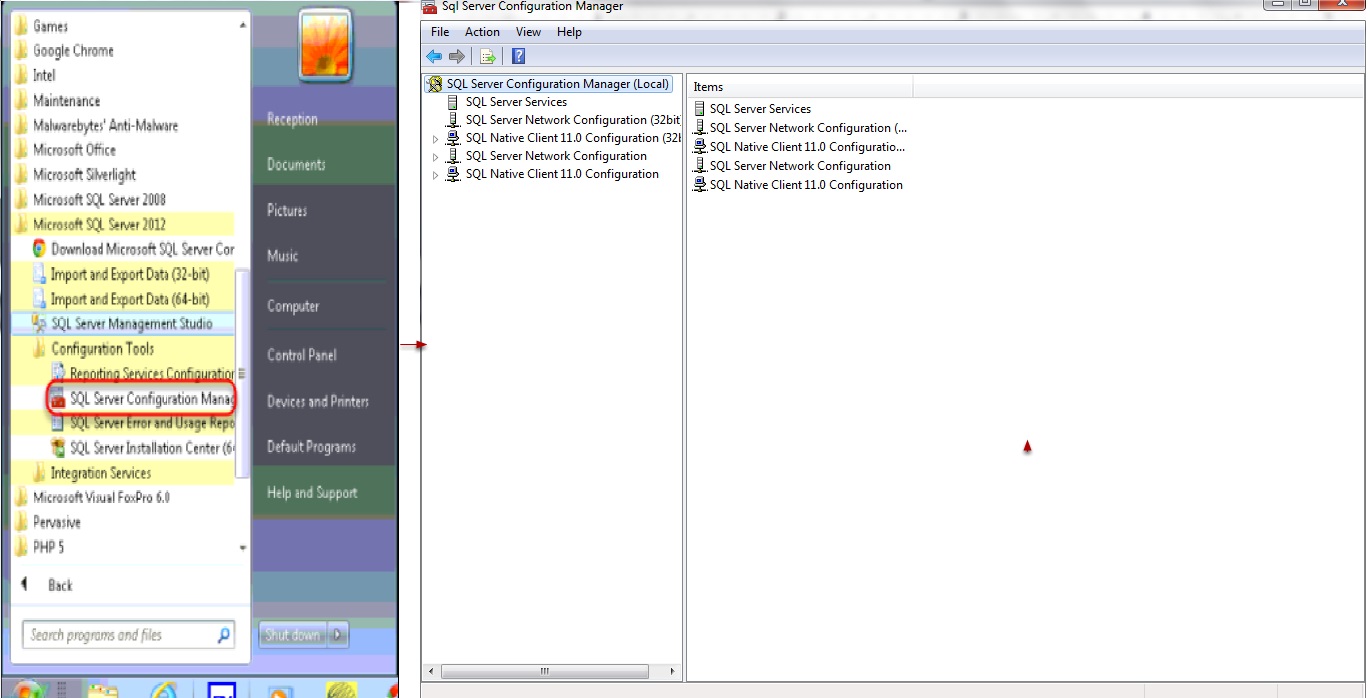
Open SQL Server Configuration Manager.
Select Protocols for PRISM under SQL Server Network Configuration.
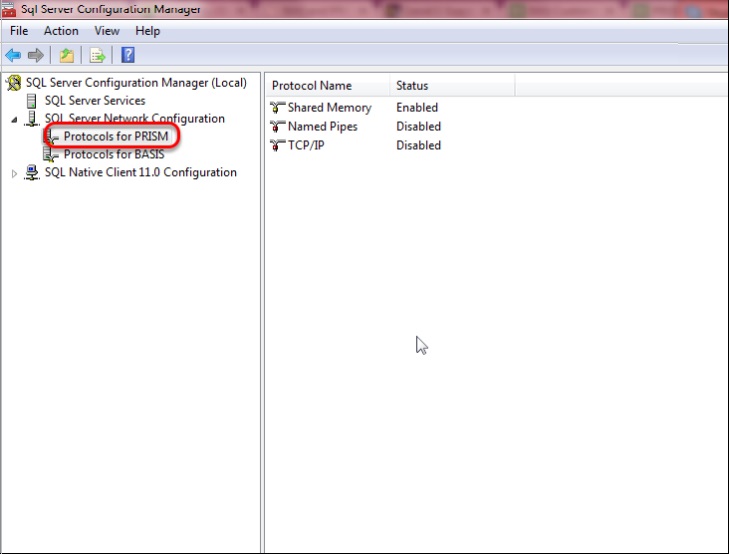
Enable Named Pipes and TCP/IP. Both should be enabled.

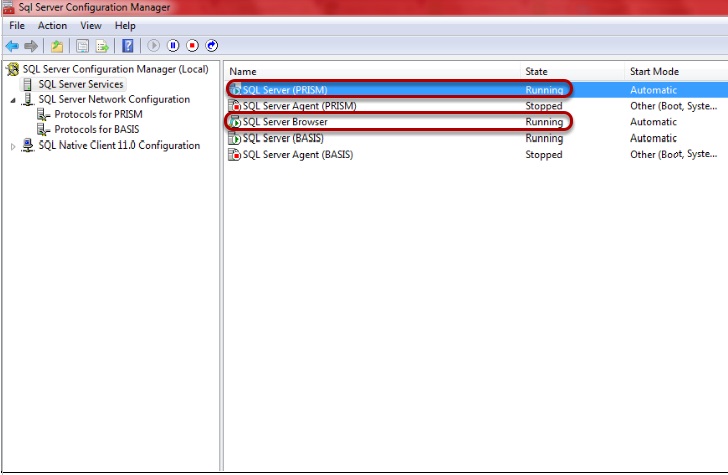
Go to SQL Server Services and restart both SQL Server PRISM and SQL Server Browser.
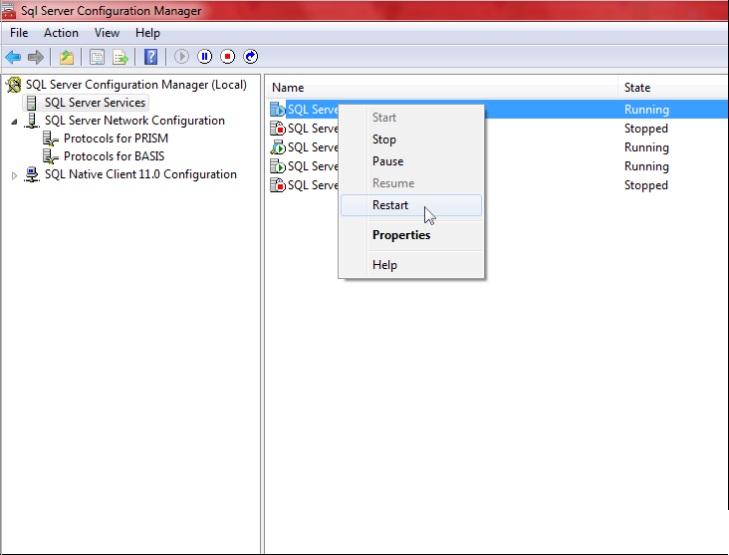
Make sure both SQL Server PRISM and SQL Server Browser are running and start mode should be Automatic.
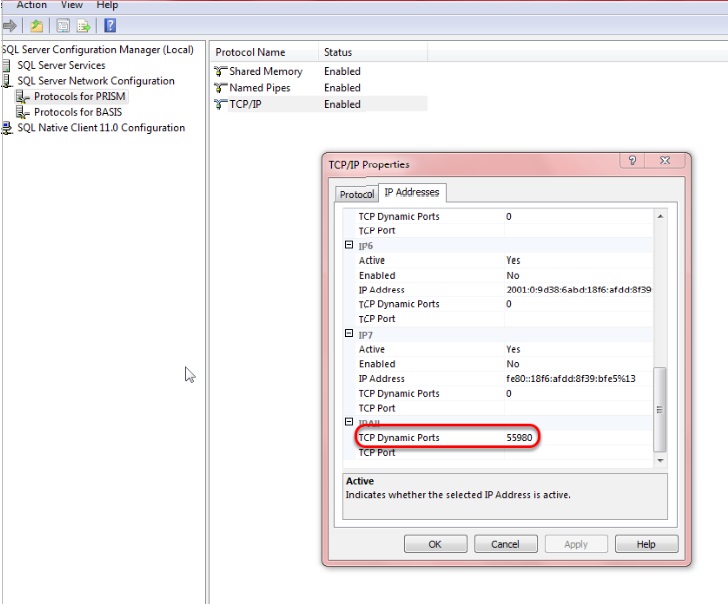
Click Protocols for PRISM and right click on TCP/IP and click Properties. Go to the IP Addresses tab and scroll down
to TCP Dynamic Ports. Make a note of the
port number. This is the port that needs to be opened for Firewall exceptions.
Login to SQL Server 2012 Management Studio. Select the proper server instance name(computer name\instance name), authentication should be set to SQL Server Authentication, specify the login ID and Password and click Connect.

PRISM LOCAL DATABASE CREATION
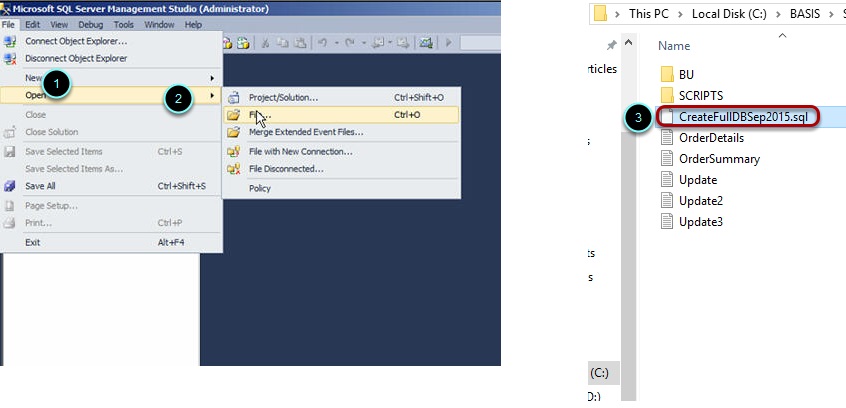
Open SQL SCRIPT located at C:\BASIS\SQL CreateFullDBSep2015.sql.
Click No.

Click on Edit > Find and Replace > Quick Replace.
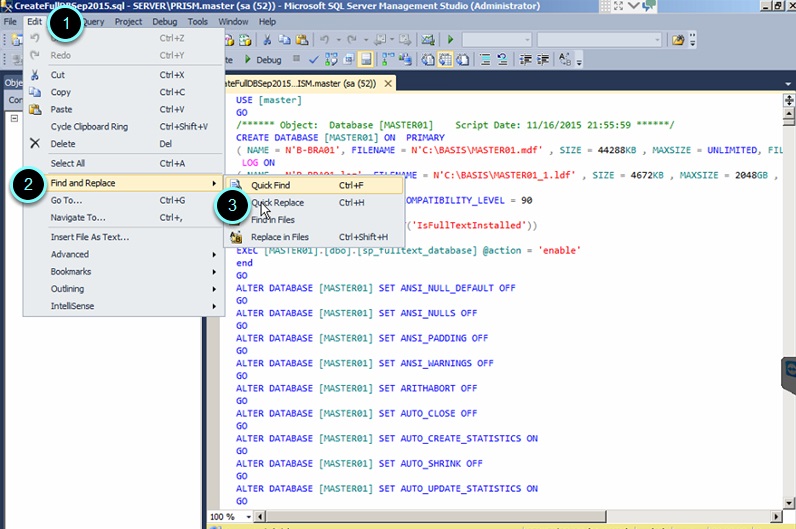
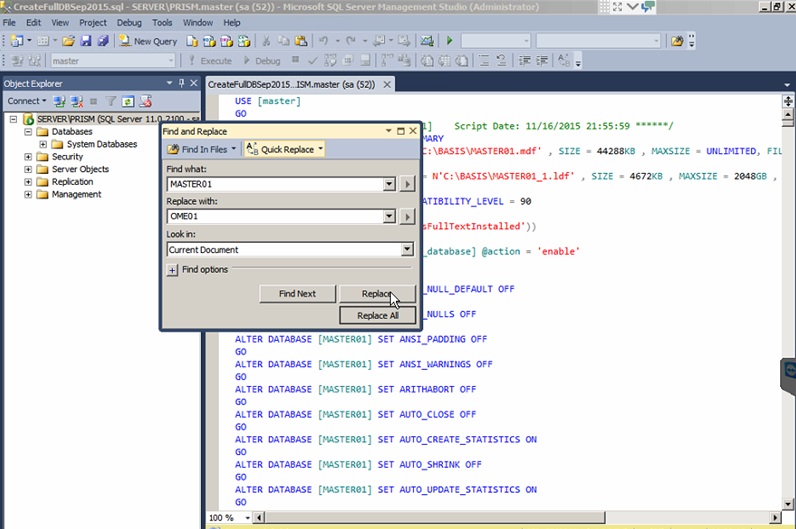
Replace MASTER01 with the new company’s manuf code (e.g. OME01) then click Replace All button.
Click Execute.

Click No.

Database OME01 is now created.

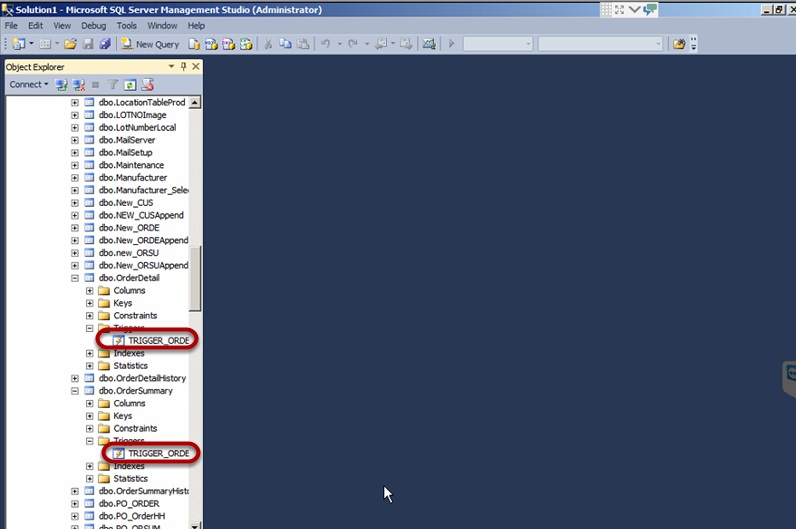
Ensure that the tables dBo.OrderDetail and dBo.OrderSummary have triggers setup.
PERVASIVE ENGINE ODBC SETUP
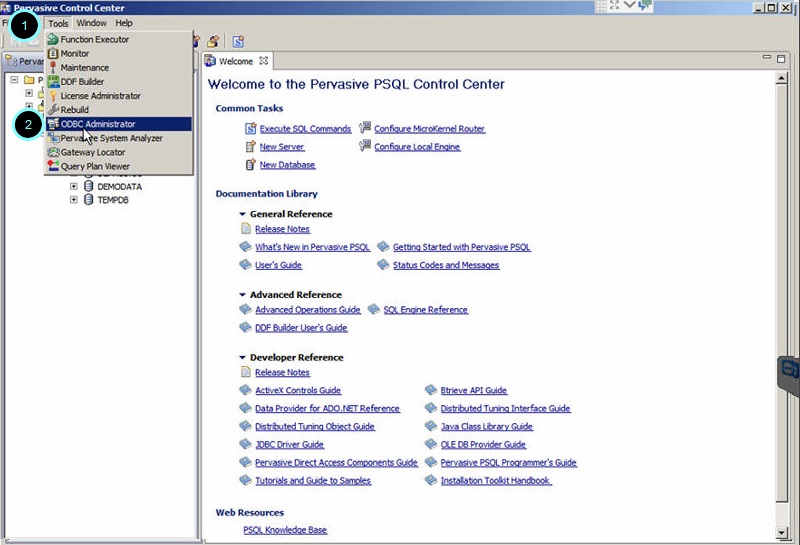
Open Pervasive Control Center. All Programs > Pervasive > PSQL 10 >Control Center and Documentation.

Click on Tools > ODBC Administrator.
Open System DSN then click Add.
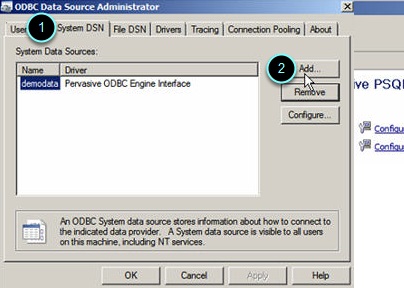
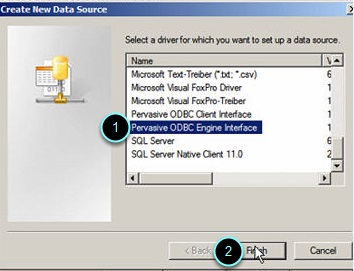
Select Pervasive ODBC Engine Interface then click on Finish.
Type in BVDATA on the Data Source Name field and then click on Create.
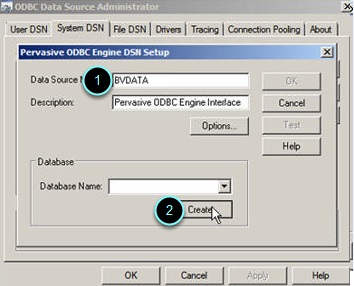
Type in BVDATA on the Data Name field then click on Browse.

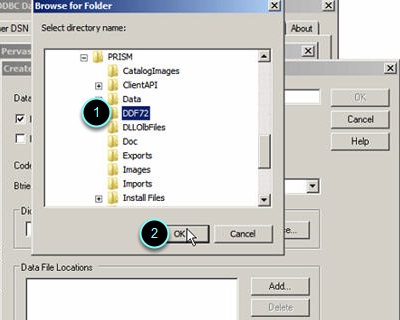
Locate the DFF72 folder under PRISM (C:/PRISM/DFF72) and then click on Ok.
Click Delete. Then click Add.
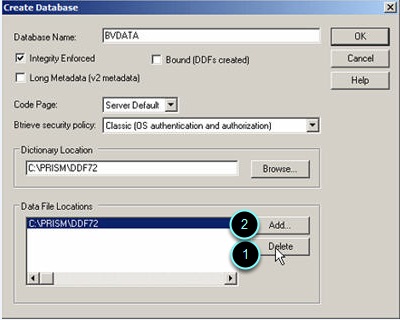
Locate the BV Data File Location.

Click OK to proceed on creating the database.

Click on test to verify if the configuration is correct and then click OK.

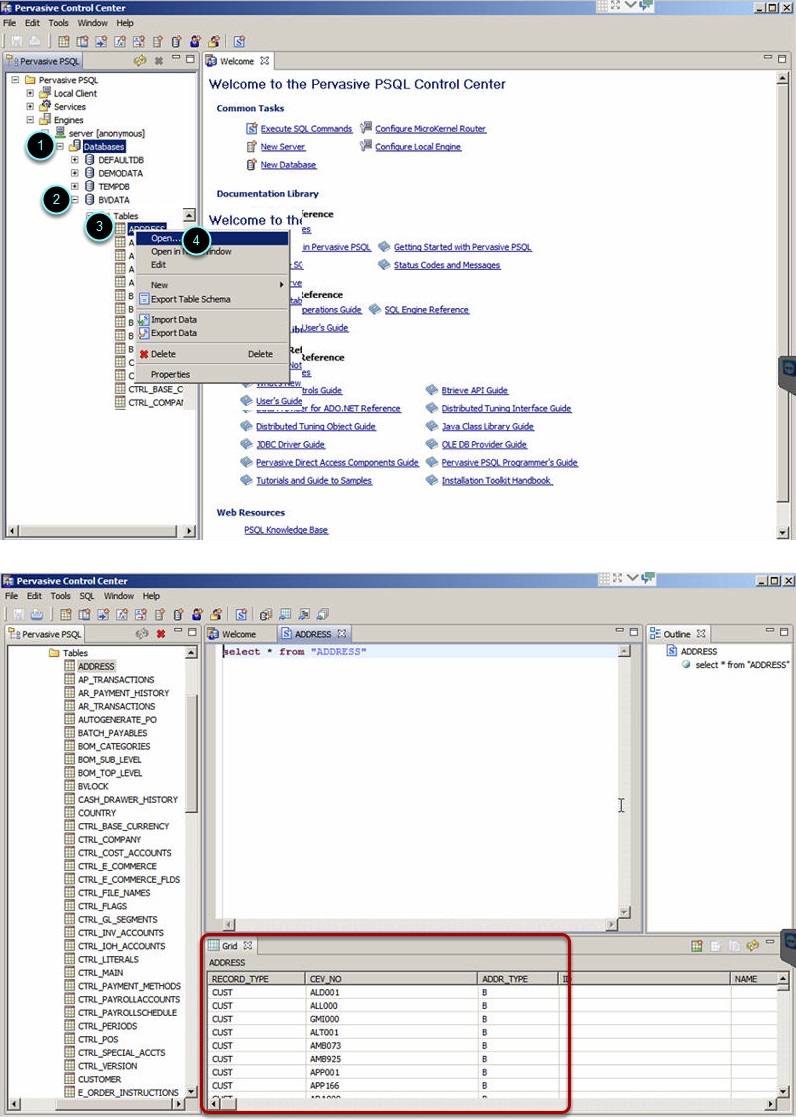
Open the newly created database, then open any table (the table will open without an error if the database is
setup properly).
PRISM DESKTOP SETTINGS CONFIGURATION
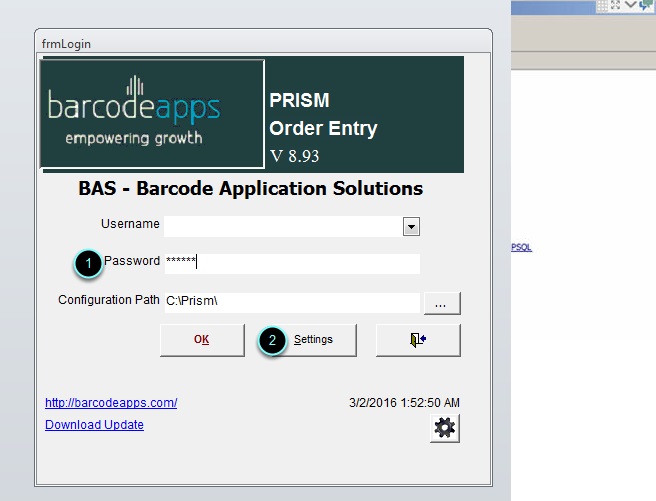
Open PRISM desktop. Type in the universal password e.g. 2016322 then click Settings.
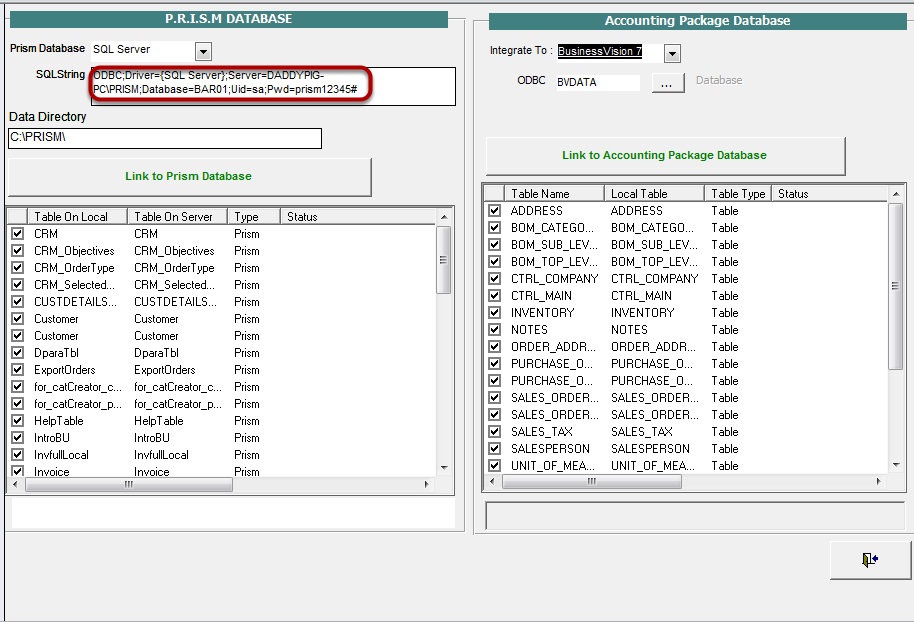
Edit SQL string with the correct SQL server and database information.
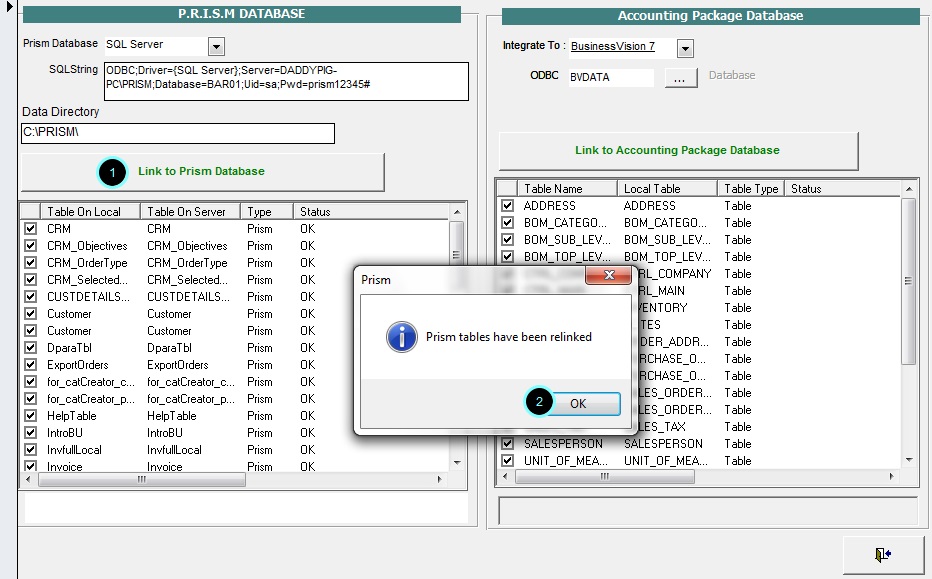
RELINK FORM
Click on Link to Prism Database and then click on OK.
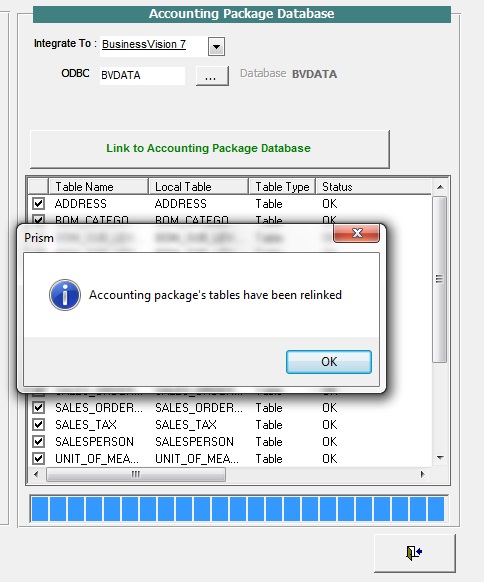
Next table to relink is Business Vision. Click on Link to Accounting Package Database and then click OK.
Click Exit.

LOGGING IN TO PRISM DESKTOP
Login to PRISM as Administrator. Password is prism.

Click on the Settings icon.

Edit your company settings information then click Save.

Post your comment on this topic.