
| This knowledge base article will guide users on how to run an inventory count using the BASIS App together with BVessentials from start to finish. |
|---|
IMPORTING INVENTORY DATA FROM BVESS
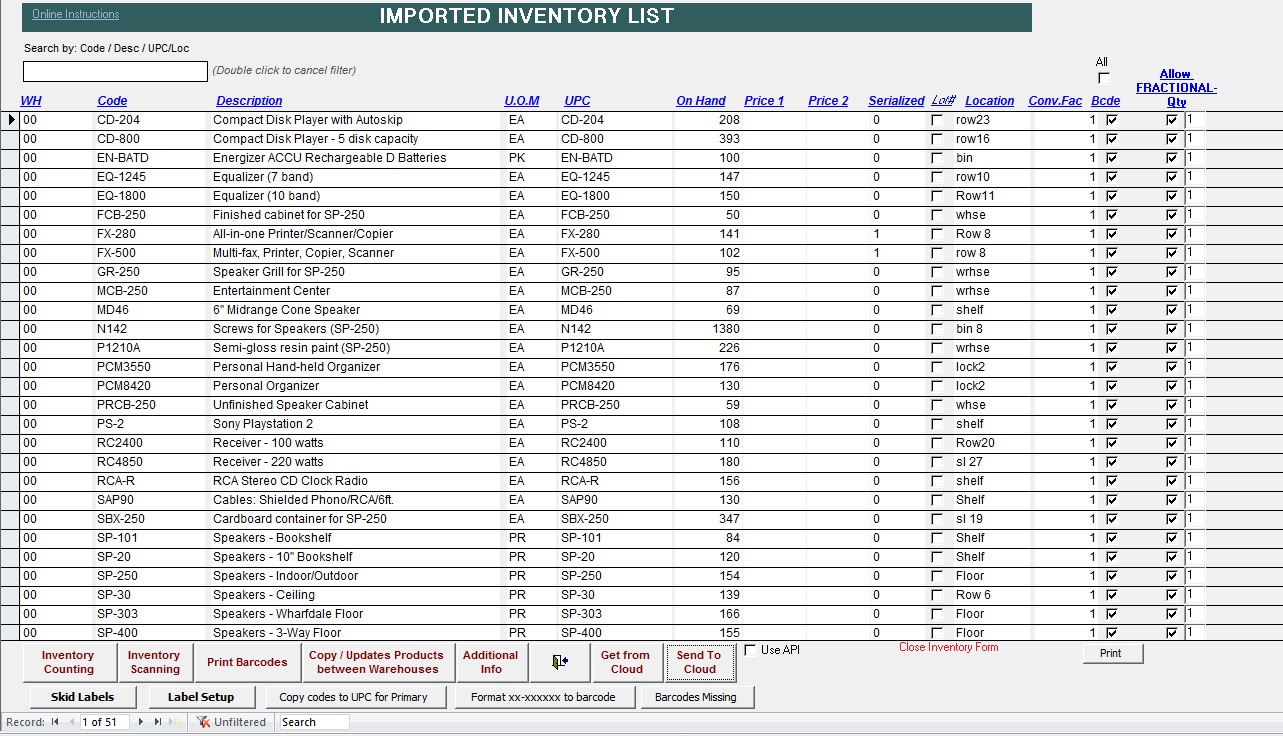
To get started with the inventory count we have to make sure that the item inventory in business vision are imported on the BASIS DESKTOP ( see Importing Inventory ) .
Once all is imported we can now start syncing
SYNC INVENTORY TO CLOUD
To sync the inventory to the cloud just click on the 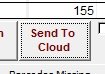 button
The total number of items will be displayed in the confirmation box once the export is finish.

We can also check if the inventory was successfully exported to the cloud (Joomla Website)
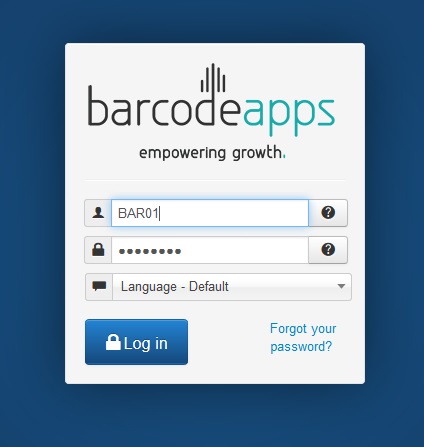
To check the cloud. Login using your admin credentials on the Joomla website.
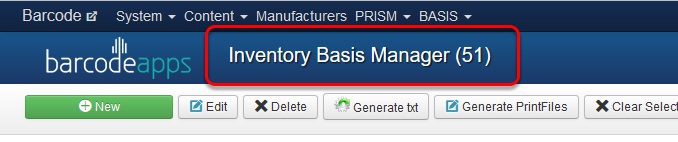
Click on BASIS , Inventory,and then Inventory

Once finish. We can now then run a sync on the BASIS App
SYNC INVENTORY TO MOBILE DEVICE
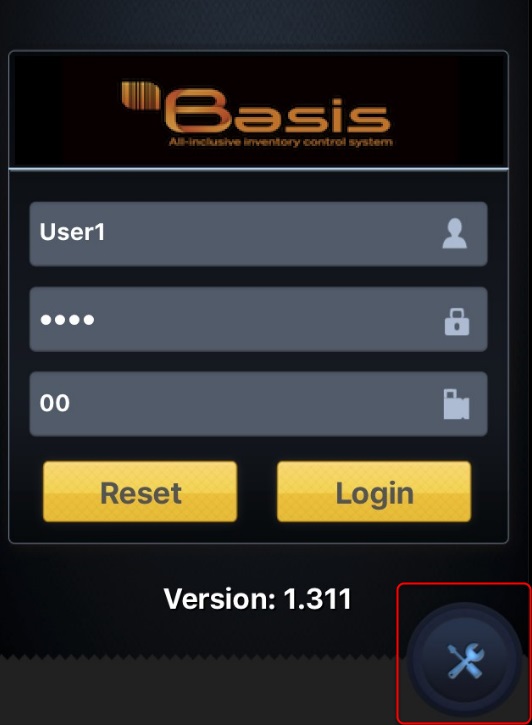
To sync the inventory data. From the main inventory screen. Tap on the settings icon.+
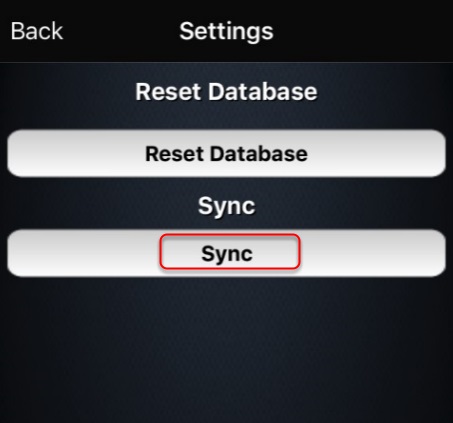
Tap on the sync option
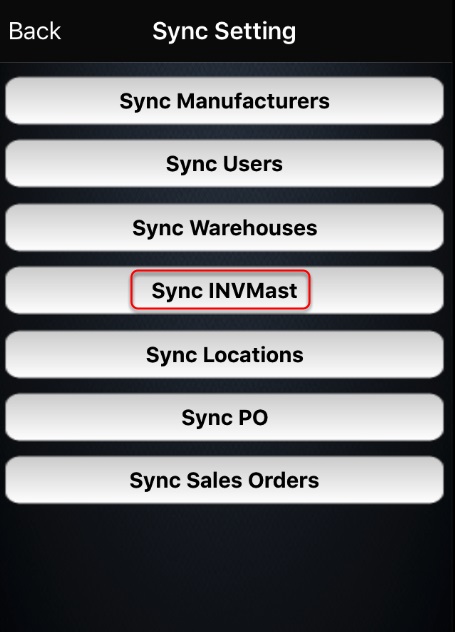
To begin the sync .Tap on Sync INVMast.
Now we have a complete sync with all the components. We can now start doing an inventory review
INVENTORY REVIEW
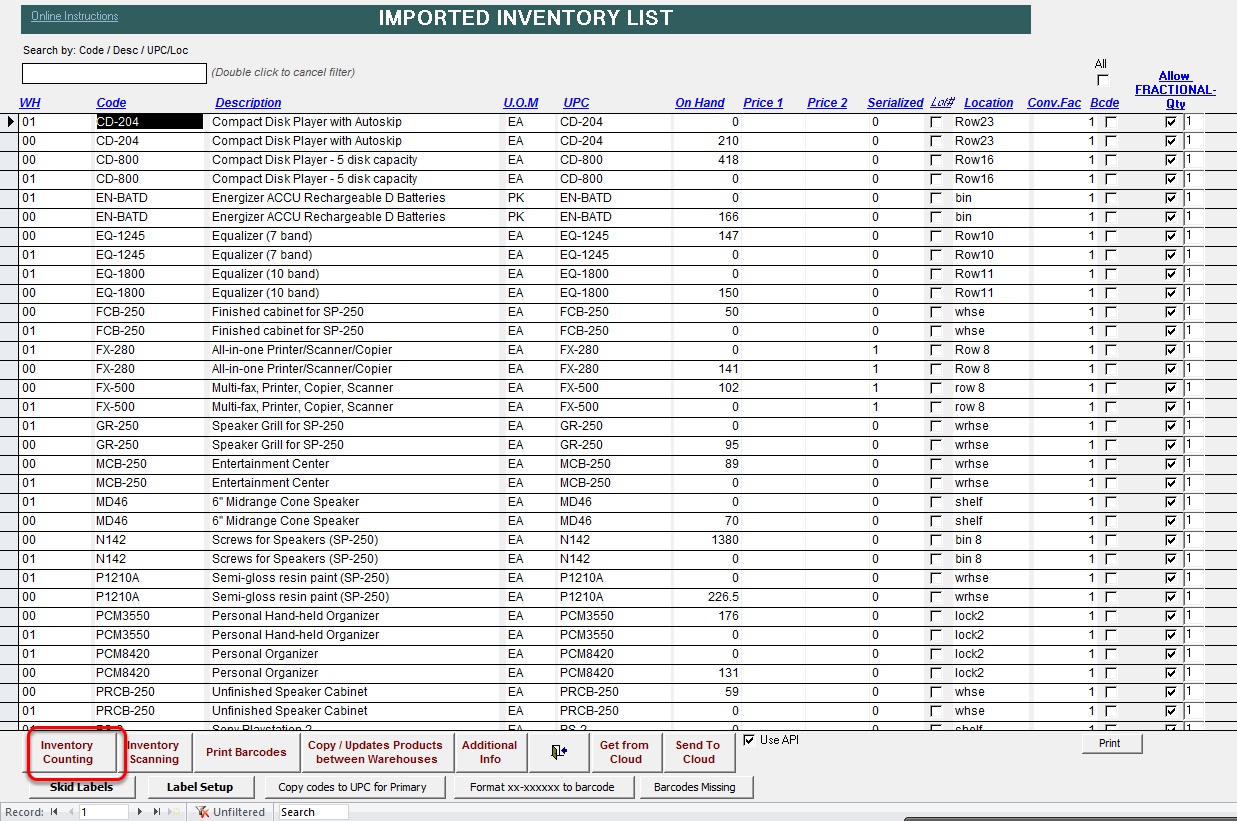
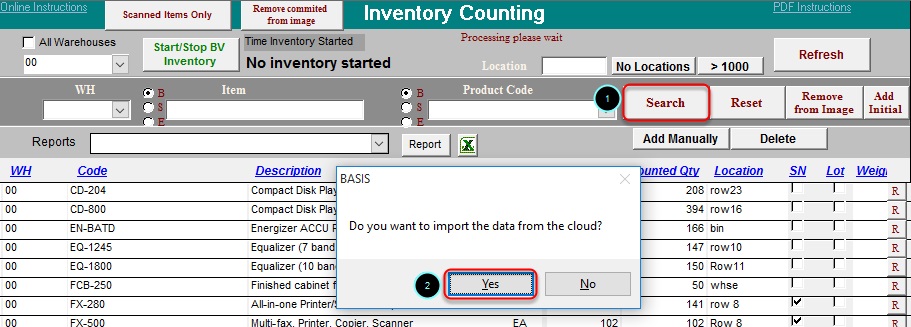
Once all Product are imported. Click on Inventory from the BASIS main window.

Click on Inventory Counting
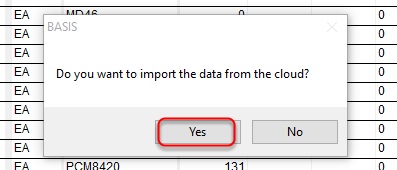
Click on Yes to Import the Inventory to the Basis Cloud Server
Click on Yes to refresh scanned data

Click on the drop down menu and select a warehouse.

Click on CLEAN UP ALL TABLES and click on YES when prompted to remove any existing image
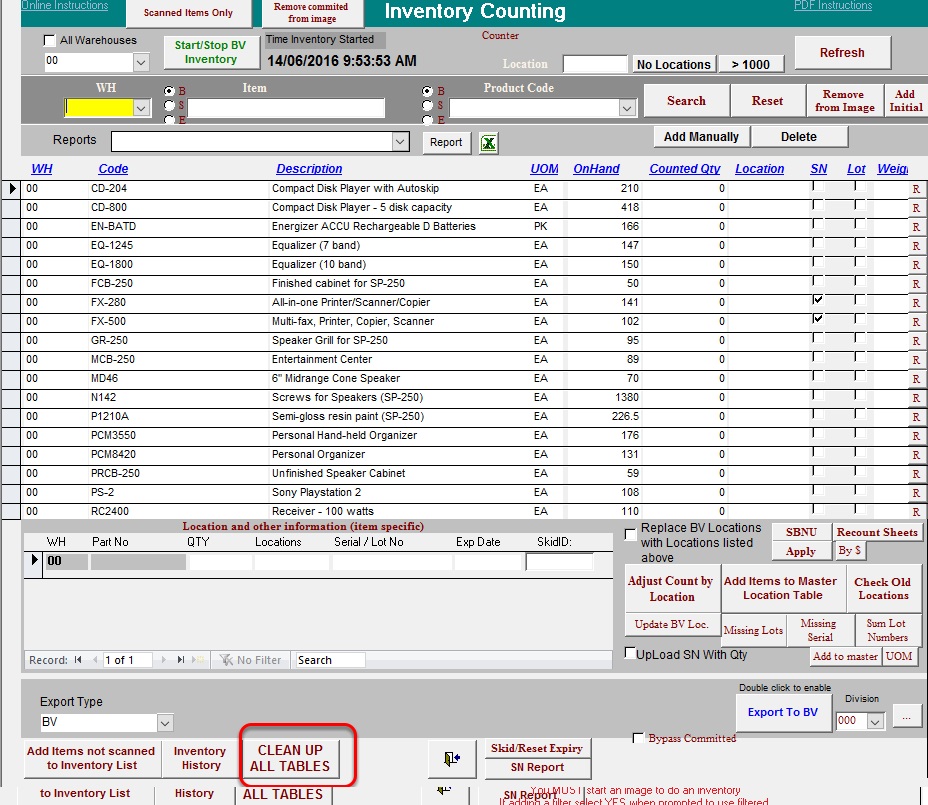
Once all is cleared. An image can now be recreated.

IMAGE REVIEW
Two types of Images can be created which will be applicable for any inventory scenario
1. Full Inventory Image – this image contains all list of inventory.
To create a full inventory image . Make sure that there is nothing defined on the filters before clicking on Start
Inventory.

This will tell basis that all items will be included on the inventory count.
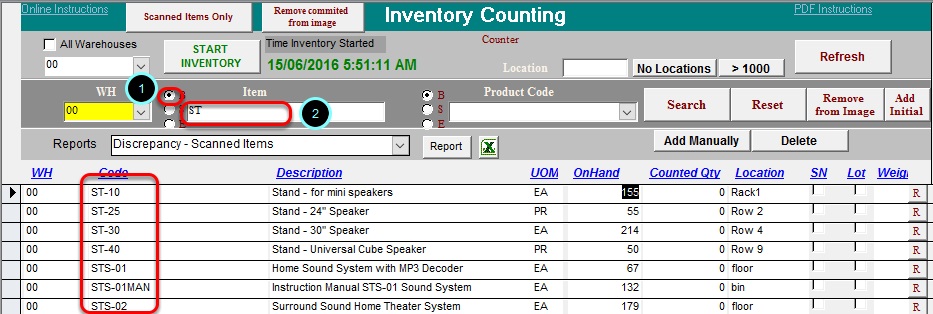
2. Cycle Inventory Image – this image is a collection predefined items from an inventory.
To create a cycle inventory image. Just type in a search string on the item or products field and then click on START INVENTORY

In our example: We ticked on “B: ( begins ) and typed in “ST” on the item field which means that all items that
BEGINS with ST will be included in the Inventory.
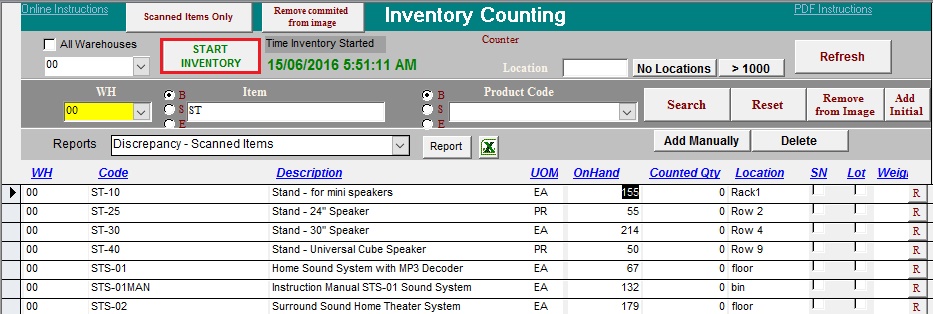
After the image is created. We can now start the Inventory by clicking on START INVENTORY.
INVENTORY COUNTING USING THE iPad.
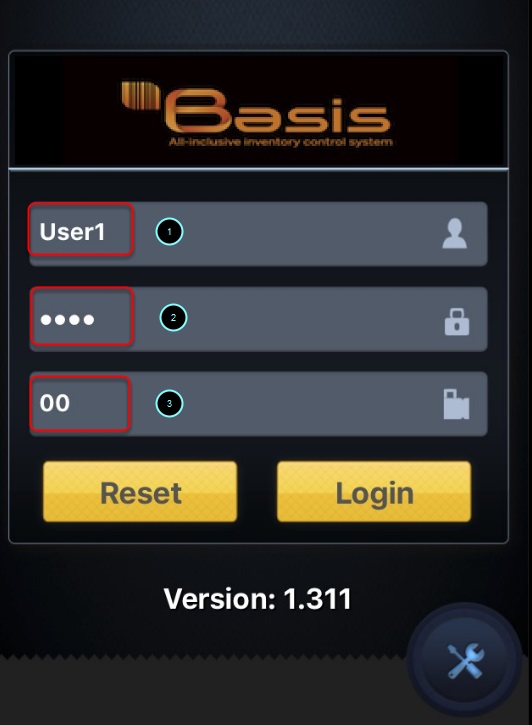
To get started, login to the BASIS App
Tap on Inventory

Tap on Inventory count

**
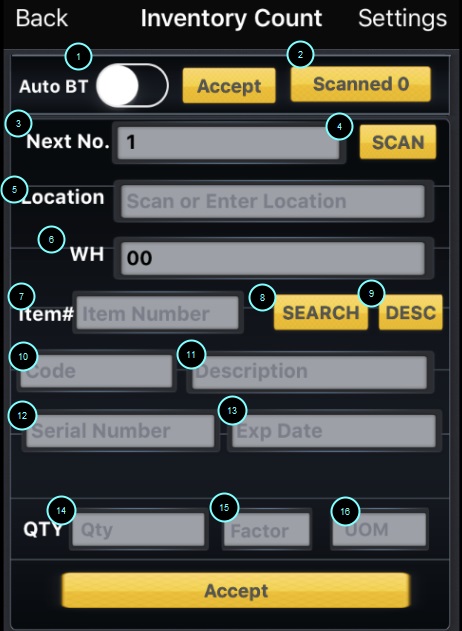
The inventory count window will open from here we can start the inventory count.
ADDING AN ITEM ( INVENTORY COUNT)
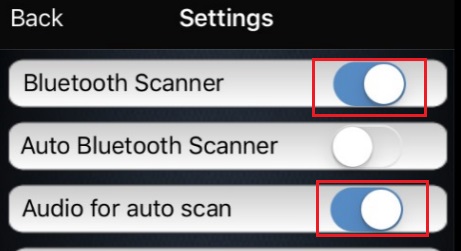
Before adding an item. Make sure that the settings “Bluetooth scanner” and “Audio for Auto scan” are enabled under settings.
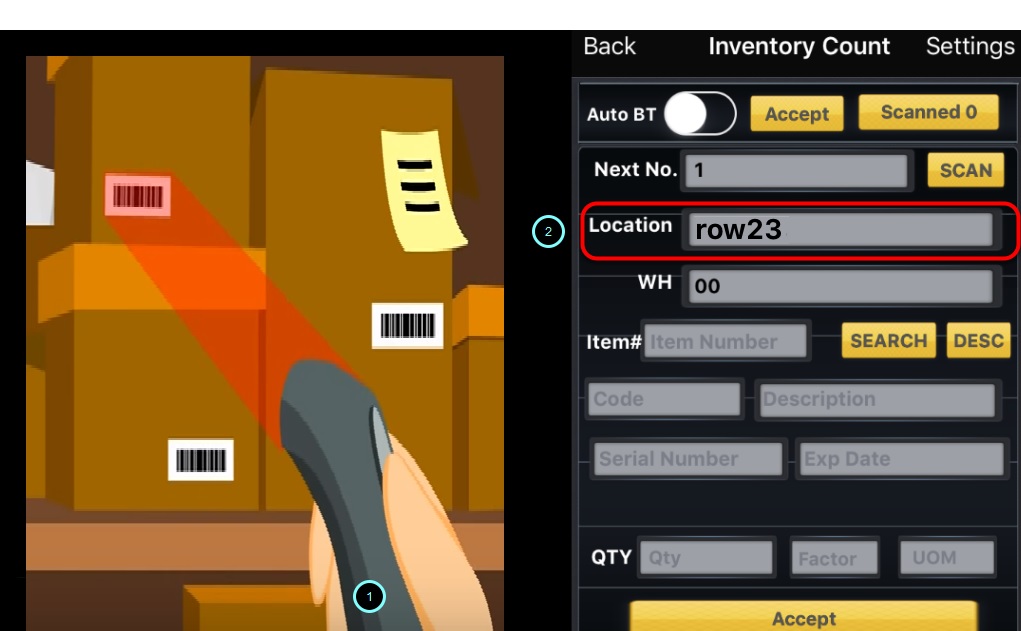
Using the Bluetooth Scanner Scan the item location or Manually Enter the location of the item.
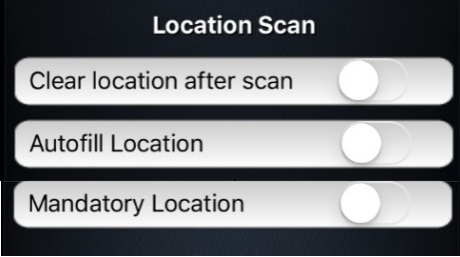
More about Locations:
• Enabling the Auto fill function under Location settings will make the BASIS App use the default location that is
defined in basis
• Enabling Clear location will erase the location after each scan and otherwise.
• Enabling Mandatory location will make basis not accept a scan unless the location is defined.
Scan the item bar code.

Scan Serial or LOT number (If applicable they both go in the Serial Number field)

Enter Quantity and tap on ACCEPT

A confirmation will show once the scan is successful. Just repeat the same process till all scans are finish

ADDITIONAL INFO on ADDING AN ITEM
In an event that the App doesn’t recognize the item ( UPC/ BARCODE issues ). We can still do a manual entry on the
item
To do a manual entry. Type in the name of the item in the item field. Then tap on search and the details will show
auto populate once the search is successful.

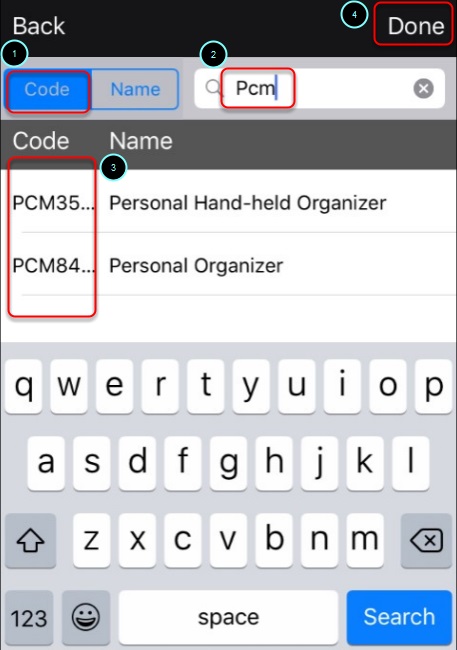
SEARCH BY DESCRIPTION
We can also use the search by description if there is an issue finding the item thru a manual search. To do a search by description. Tap on the DESC button.

There are two ways to search for an item
- Search by item code.
To search for item code. Tap on Code. Type in the keyword for the search. Results will show at the bottom . Once
the item is found. just tap on it and then select done.
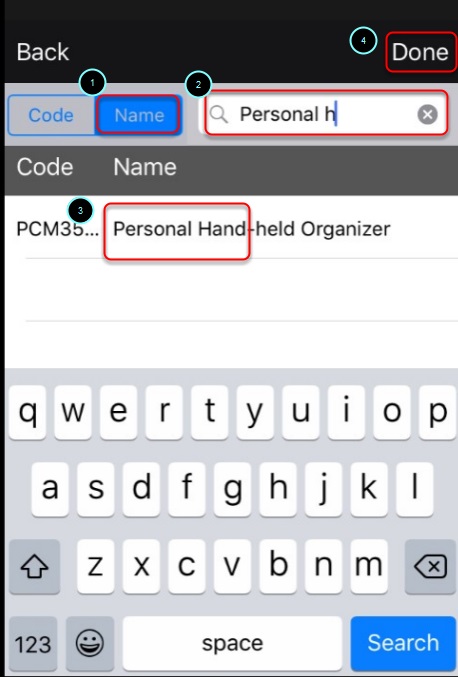
- Search by Description.
To search by description.Type in the keyword for the search. Results will show at the bottom . Once the item is
found. just tap on it and then select done.
ENABLING FAST MODE
Another way to scan an item is via fast mode. Using this mode enables the user to scan in a continuous pace ,where each scan will be counted as one.
Best used in a scenario where multiple items are stored in a single location ( box,lots,bins. etc)
To enable this feature just tap on the AUTO BT option.

Note: When using this option we have to make sure the clear locations and mandatory locations are disabled.
REVIEWING DATA
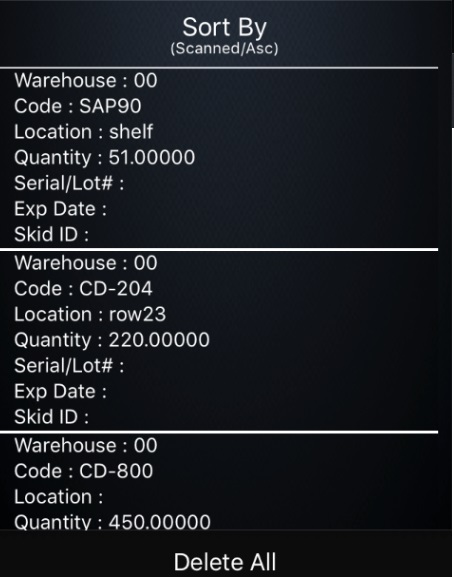
To review scanned items , tap on the scanned items option

This will show a summary of all scanned items
If you wish to delete an entry. Just swipe the item to the left and the delete option will appear. Just tap on delete

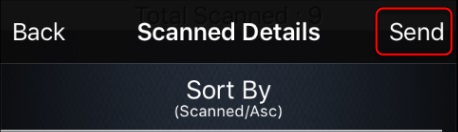
SENDING THE DATA BACK
To send the data back to the cloud. on the review window just click SEND
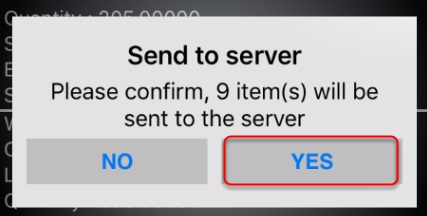
Click YES to confirm
Click on OK

A notification will show with a summary of the sync .
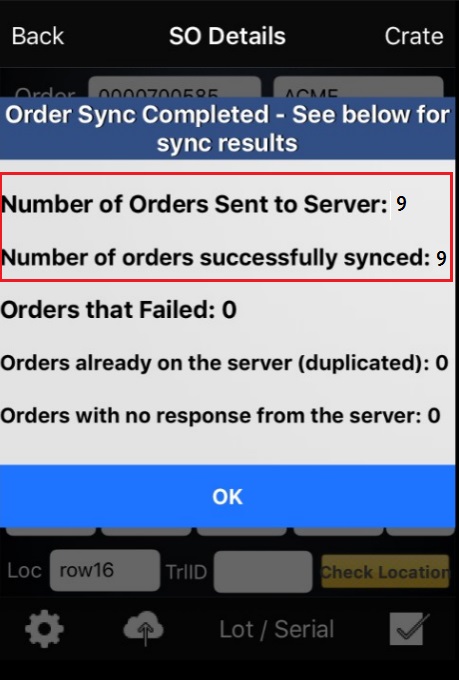
Click on Ok to proceed in sending the data back to the cloud.
REVIEWING RESULTS
Results from the scan can be reviewed using the BASIS desktop this will help the BASIS DESKTOP user to monitor
the progress of the inventory count.
To check results click on Refresh from the BASIS DESKTOP
Click on Yes
The results of the scan will show under the Counted Qty Field
From here we can now generate reports (see reports) from the basis desktop to get an analysis of the inventory
count and at the same time help with the decision making
Clicking on the item will also show a more detailed . For serialized / Lot numbered item it will show the details (
serial,lot,location,exp date, SkidID) of each item
it will also show the details of an item that has separate location.
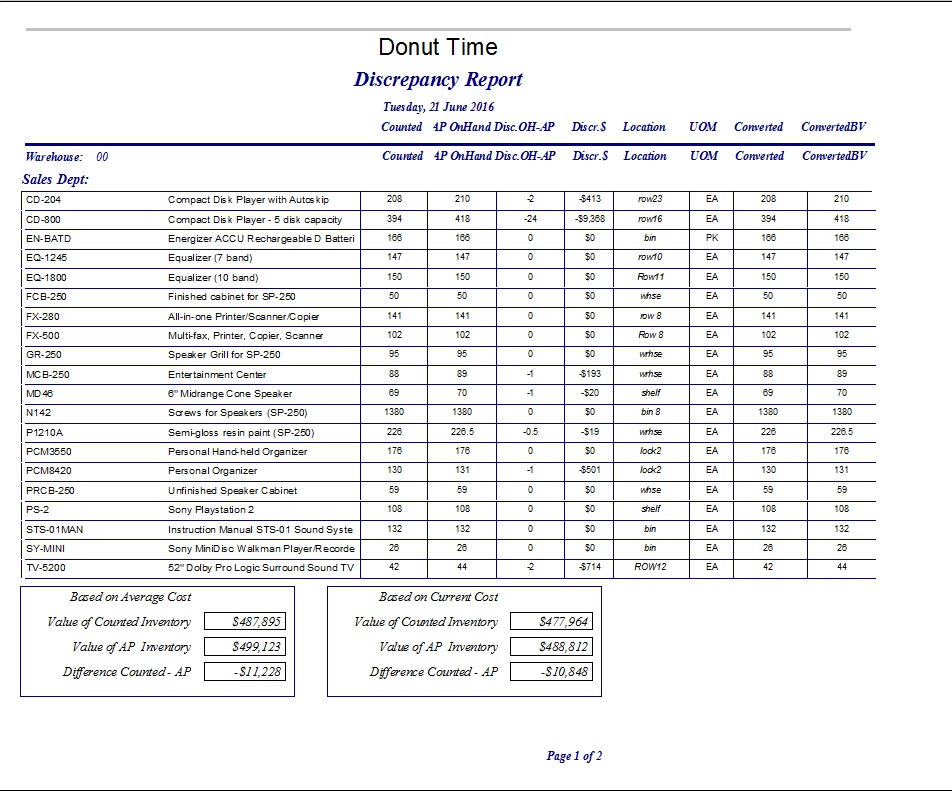
A report can also be generated from the basis desktop to get an analysis of the inventory count .
To Generate a report just select the type of report and then click on the reports button. ( see reports for details )
Sample of a DISCREPANCY – SCANNED ITEMS report
MAKING ADJUSTMENTS
After reviewing the Discrepancy report. Making minor adjustments or modification on the Inventory may be needed to
meet the Inventory targets
To make adjustments on an item select the item from the Inventory list.

Once the item is selected the details should now show on the Location and Other information Section
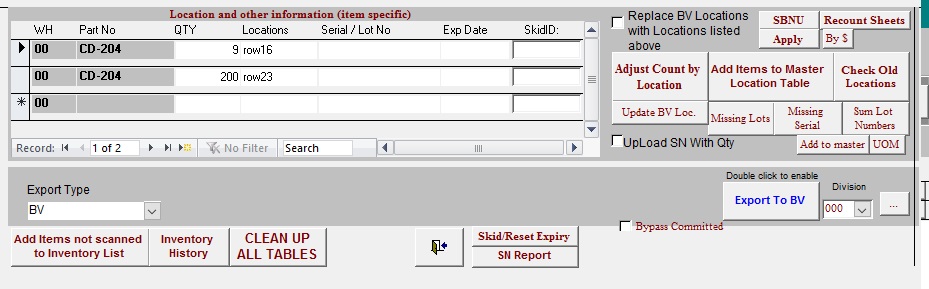
Now we can make adjustments on the following:
- QTY
- LOCATION
- SERIAL NUMBER/LOT NUMBER
- EXPIRY DATE
- SKID NUMBER
Once adjustments is done click on Adjust Count by Location to update the quantities scanned.
MANUALLY ADDING AN ITEM
Items not scanned during the inventory can be manually added on the list.
To manually add an item Click on “Add Manually”

Select a warehouse
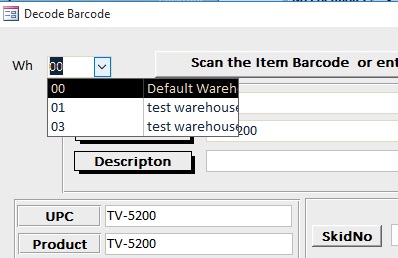
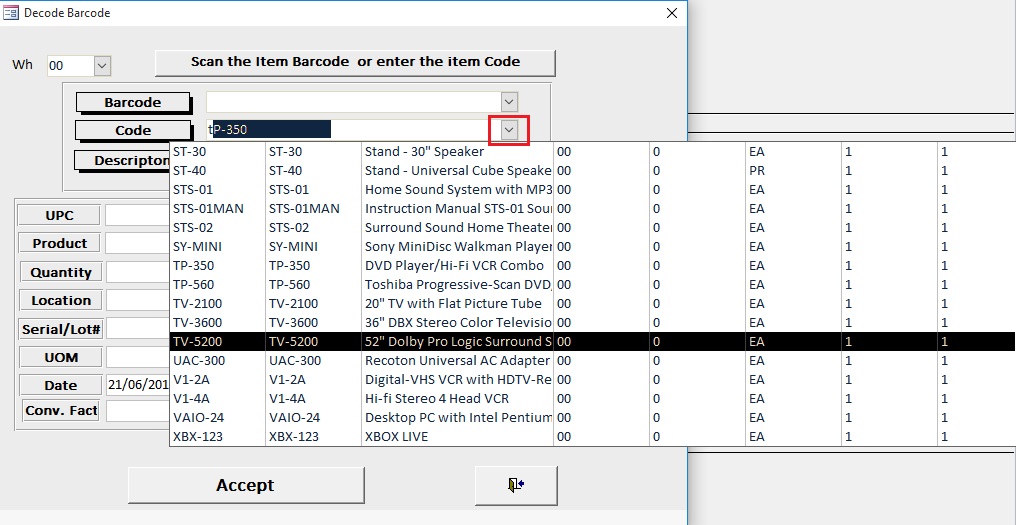
Type in the item code or click on the drop down to search for an item.
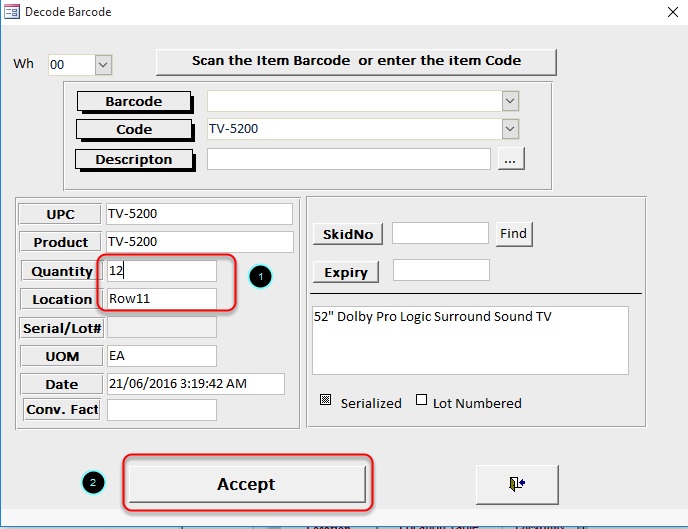
Define the Quantity ,Location and other optional information such as Seria/Lot# , Skidno, Expiry can be used if its needed then Click on Accept to add the item.
Click on Refresh and click on Yes when Prompted ( No if Self hosted) to update the inventory list.
List has now been updated

SENDING THE DATA BACK
To send the data back to the cloud. just click on Send to complete the sync.
Once the final discrepancy report has been printed and approved by a supervisor prior to upload. The quantities on that report are the amounts that will now be posted to BV as your new inventory quantities on hand.
Sample Final Discrepancy Report
UPLOADING DATA ON BVESS
To upload the new inventory count. Click on the Export to BVE button
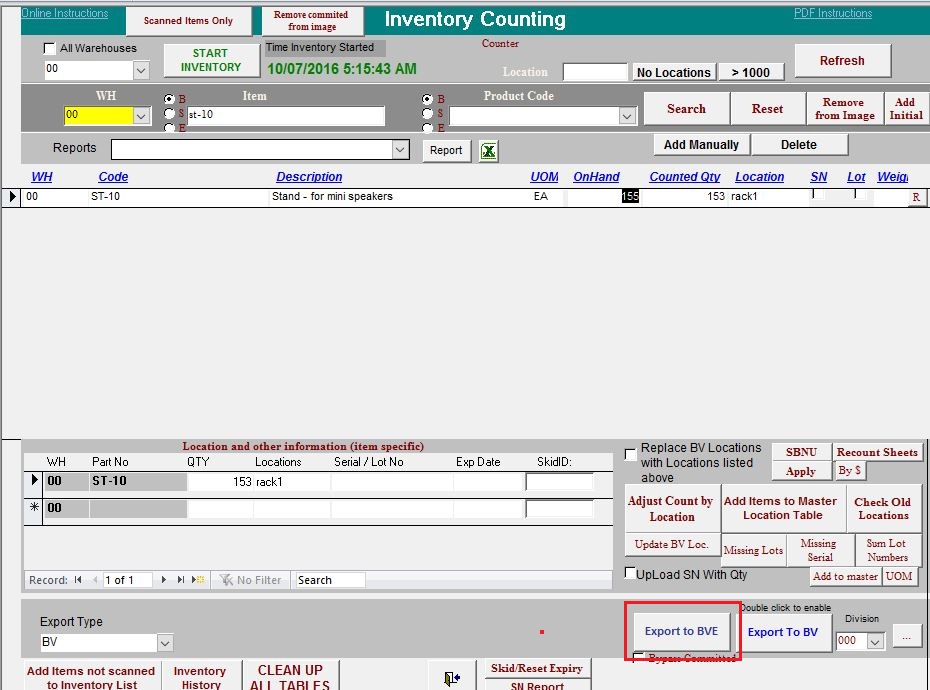
Click on Yes.

Take note of the adjustment number and then click on OK

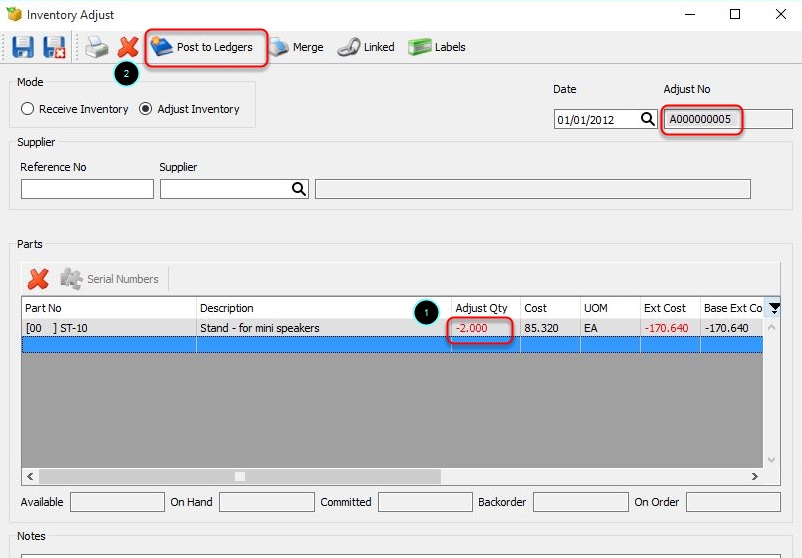
To make the adjustments in BVESS click on the Adjust Inventory module.
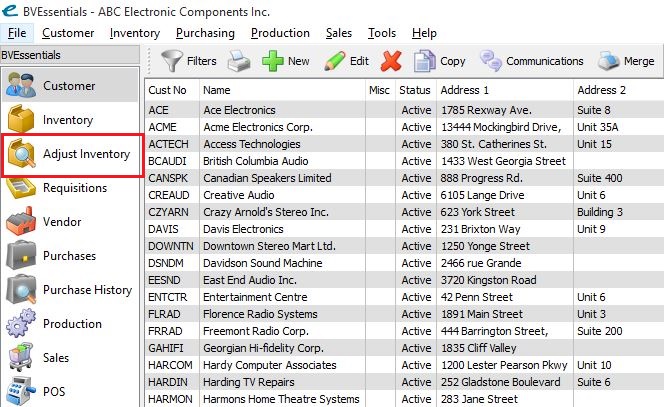
And then locate and open the adjustment form ( A000000005) that BASIS created in BVESS.

Check and review the adjustment and then click on Post to Ledgers.
To finalize the adjustment just select a report and then select the output (PRINT, EMAIL and PRINT / EMAIL). This will create the report and the adjustments will be carried out to BVESS.

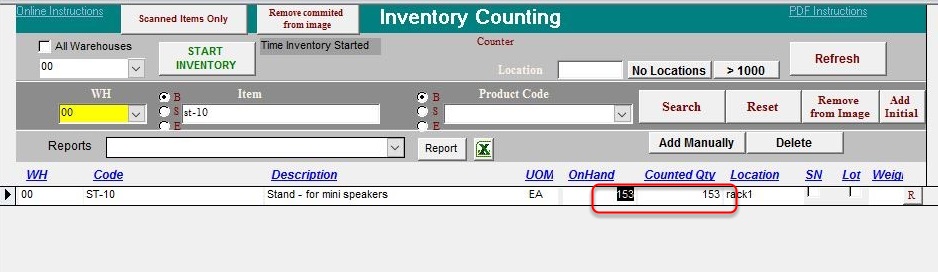
To check results in BASIS. click on  to get a snapshot of the current inventory count.
The On-hand and the Counted Qty should be equal once the adjustment is a success.
BarcodeApps © 2016
Post your comment on this topic.