
| This knowledge base will guide user on how a sales order is being processed with the help of the BASIS App. |
|---|
To process a Sales Order using the BASIS App. We have to make sure that the sales order is imported from BV to the BASIS DESKTOP

There are 3 ways to import an order from the accounting package.
1. SINGLE IMPORT
2. IMPORT ALL
3. AUTO IMPORT
Once import is finish we can now proceed on scanning the items
It’s also a best practice that we familiarize the process of checking the order on the cloud
To do this. Login to the Joomla website using an admin credential
Click on BASIS and then Sales Order
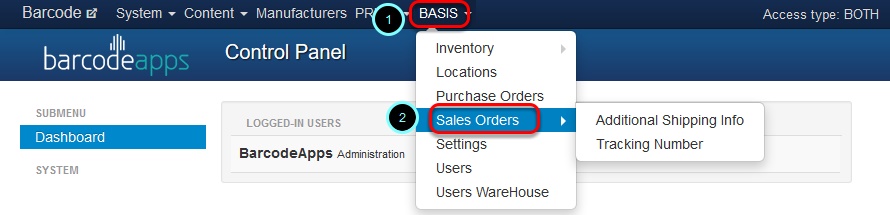
From here we can verify if the SALES ORDER is imported successfully from the BASIS DESKTOP

Scanning an item from a Sales Order
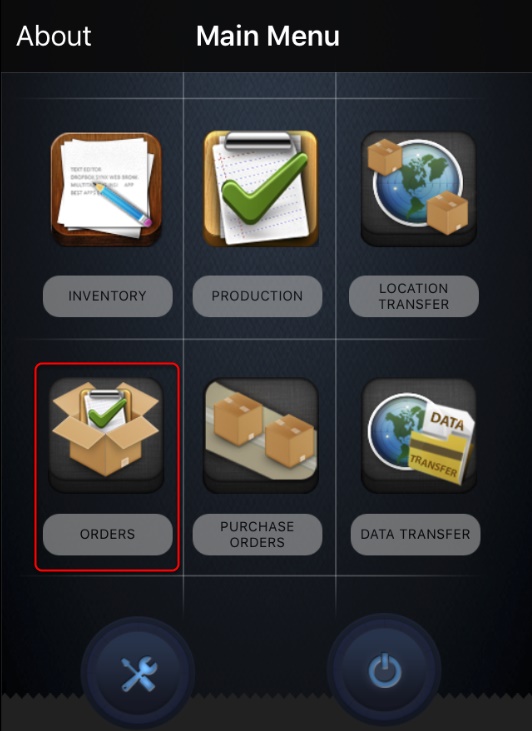
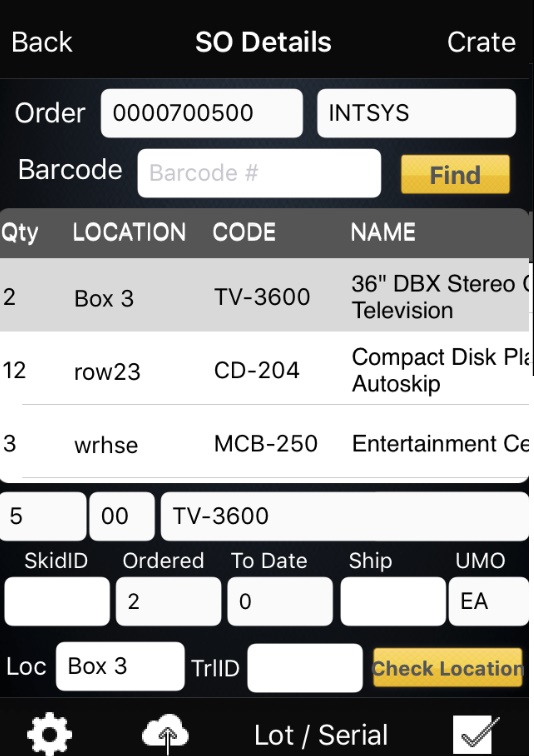
To Access the Sales order module. From the BASIS App Main Window. Tap on Orders
Type in the Sales Order number in the search field and then tap on find

Tap on the Sales order number
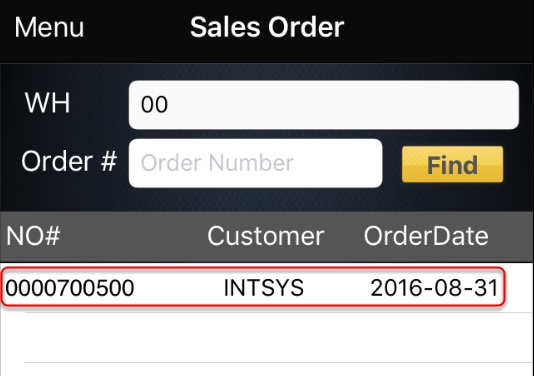
to open the Sales Order details window
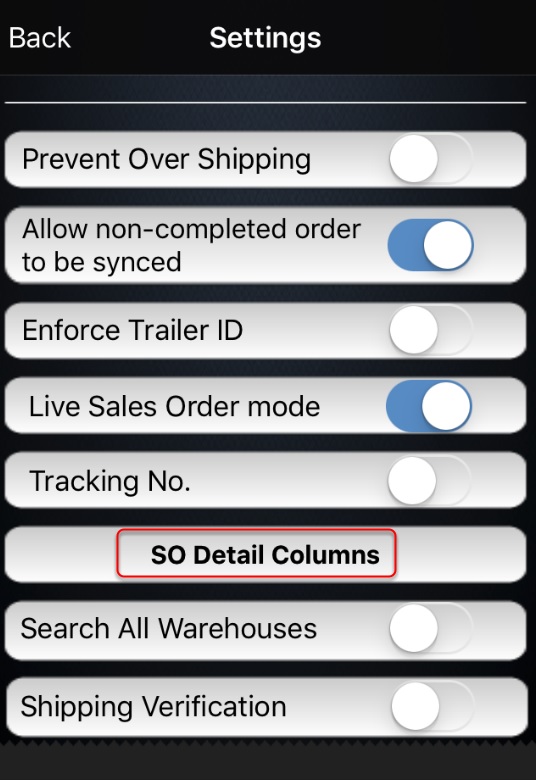
To do this tap on 
Tap on SO DETAILS COLUMN.
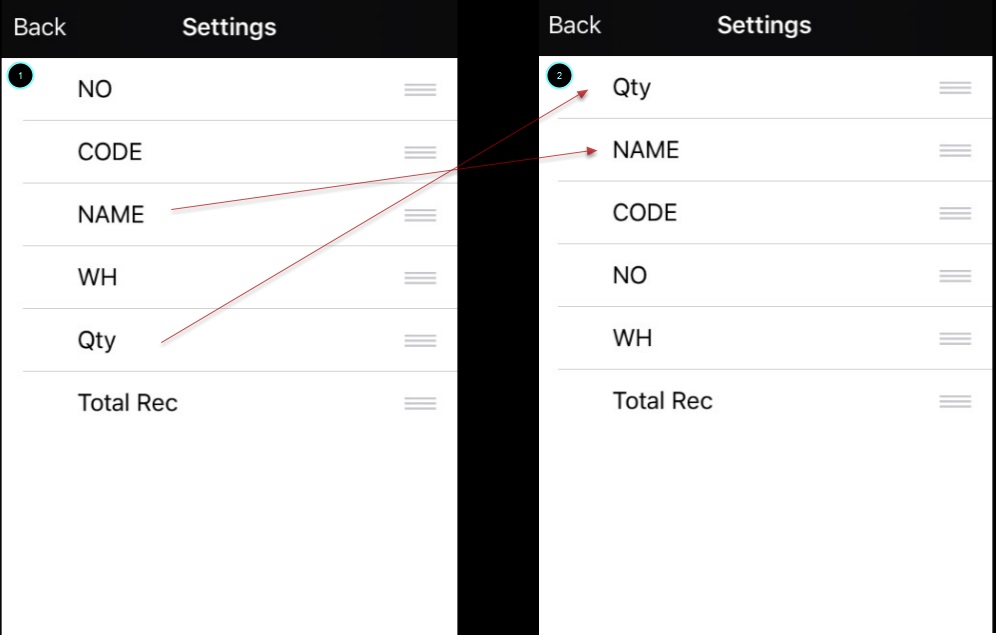
From here we can make the quantity column as the first column by simply doing a tap,hold and drag action on the screen.
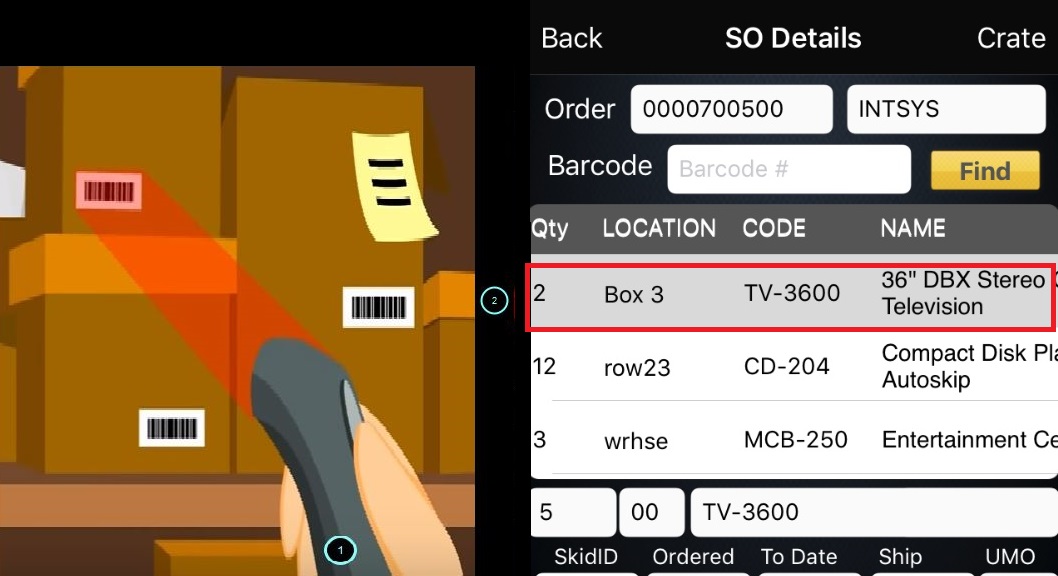
ADDING ITEMS TO THE SALES ORDER
To start adding an item, we have two ways to do it
1. Scanning an item via a Bluetooth scanner
2. Manually tapping on the product from the SO details window
Next step is to enter the quantity of the item

Then tap on the Check button  to confirm the data.
Once confirmed a notification will show once the transaction is successful

Just repeat the same process to all other items until all are scanned
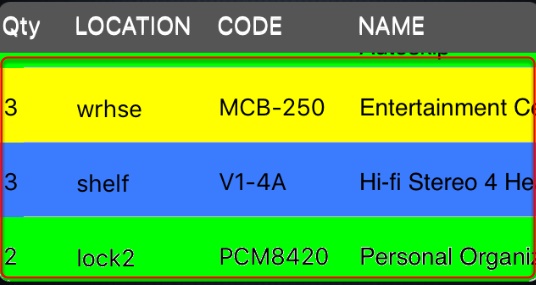
| GREEN | ordered item = scanned item |
|---|---|
| BLUE | ordered item < scanned item |
| YELLOW | ordered item > scanned item |
To send the data back to the cloud. tap on the cloud icon  and a notification will pop up to confirm if the upload is successful


REVIEWING SCANNED SALES ORDER ITEMS VIA PRISM JOOMLA WEBSITE
All orders sent to the cloud can be directly check on the Joomla Website. To do this login to the website, click on Basis and then Sales Order. The PO will now be green which means that the order is now received or completed.

REVIEWING SCANNED SO ITEM VIA PRISM DESKTOP
There are number of ways to retrieve and view the scanned items
- by pressingF5
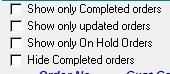
- Using the show status options
![]()
- Click on Get data
![]()
- Let BASIS do it using the auto import feature.

Retrieved orders will be color coded base on their status, to help users identify the order more quickly.

| GREEN | Completed Orders |
|---|---|
| ORANGE | Updated but not complete |
| YELLOW | On Hold Orders |
| NO HIGH LIGHT | Not Scanned |
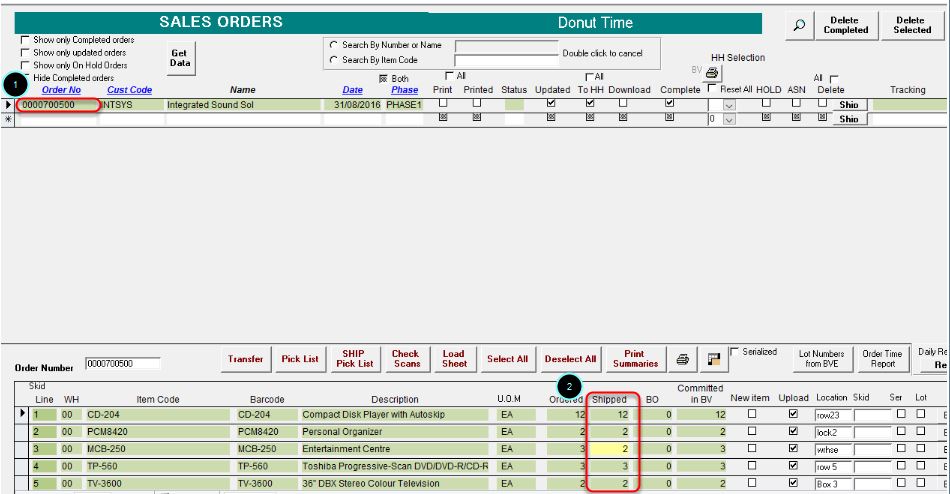
To review a scanned order just select the order from the scanned orders window and the details will show at the order details window

SHIPPED QUANTITY will be color coded in order to verify if there is no discrepancy on the items and otherwise.

| GREEN | ordered item = scanned item |
|---|---|
| RED | ordered item < scanned item |
| YELLOW | ordered item > scanned item |
MAKING CHANGES
Orders can be edited before uploading an order back to the accounting package
To edit an order just select the order from the Sales Order window. On the Order review window just click on the section the you plan to edit and after making the changes the order can be uploaded back to the accounting package.
UPLOADING THE ORDER BACK TO BV
To upload the order back to the accounting package , select the completed order that you wish to upload.
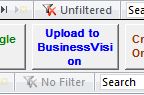
Click on the Upload to Business Vision button
Click on OK when prompted.

After the upload is done. We can now go back to BV to print the invoice and at the same time we can also check if the item(s) has been omitted from the inventory.

BarcodeApps © 2016
Post your comment on this topic.