
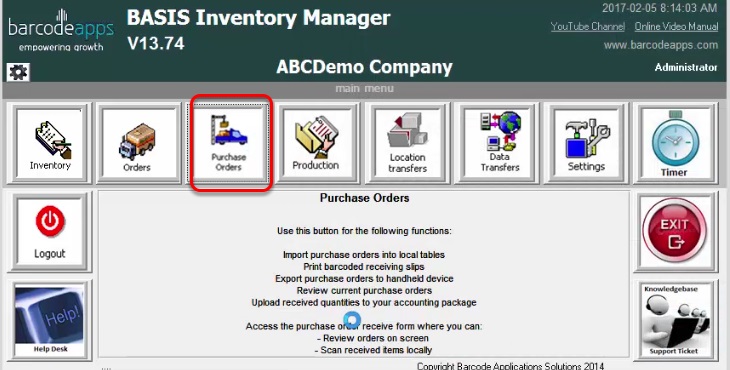
This knowledge base article will guide users on how to import a purchase order to the BASIS DESKTOP.
IMPORTING SINGLE PURCHASE ORDER
To import a single order , click on the Import Single P.Os button
Type in the Purchase Order Number then click on Import P.Os

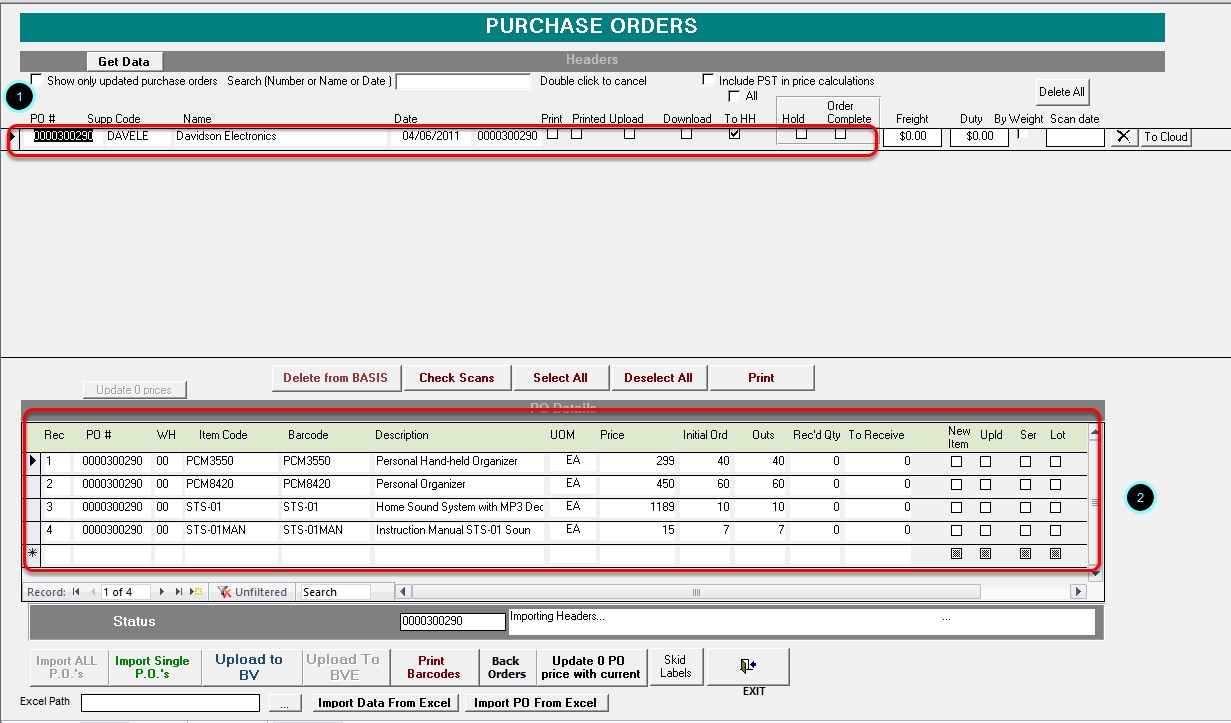
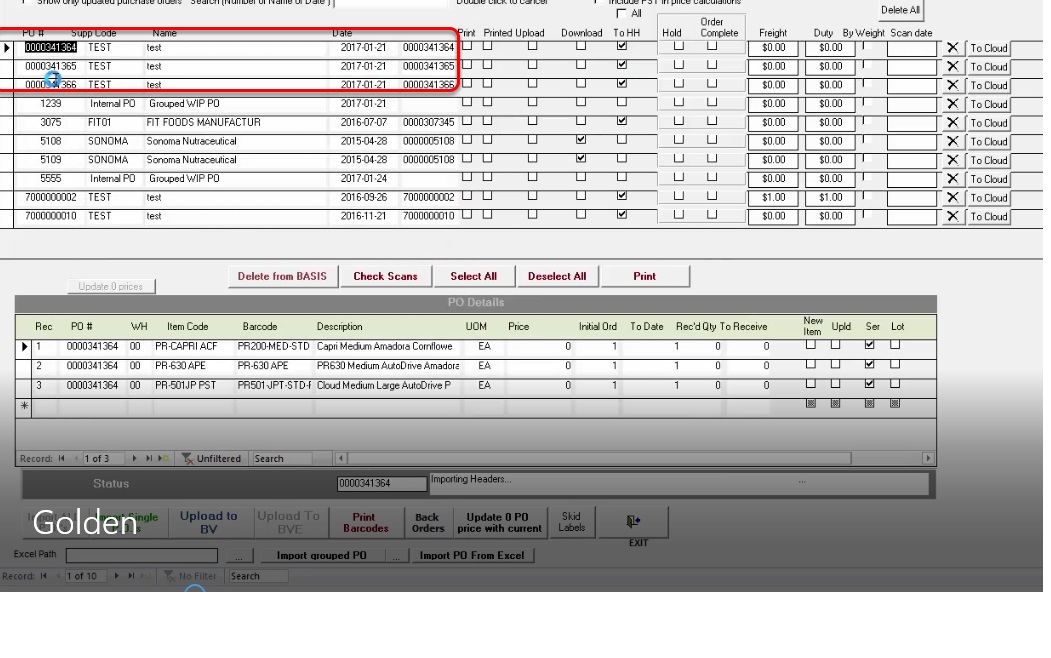
The Purchase order should show now on the Purchase Order window. CLicking on the order will show the details on the purchase order details window.
IMPORTING ALL PURCHASE ORDER
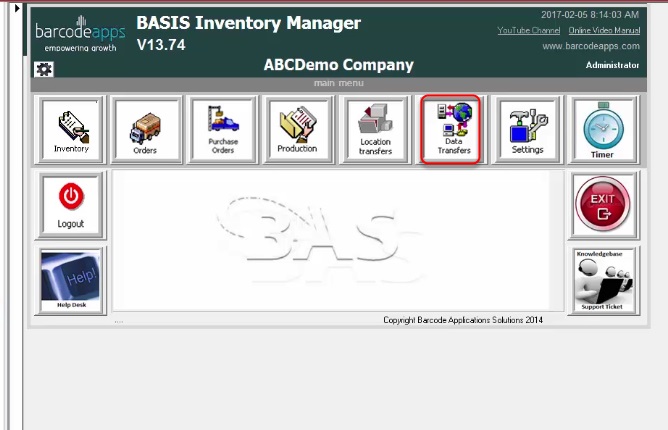
To import all purchase order click on the data transfer module from the main basis window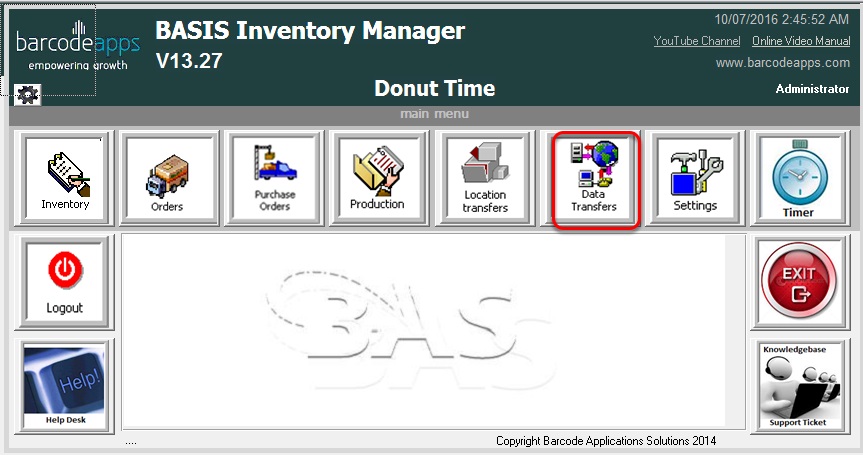
Tick on the Purchase Orders and then click on Imports.

The total number of items should show once the import is completed

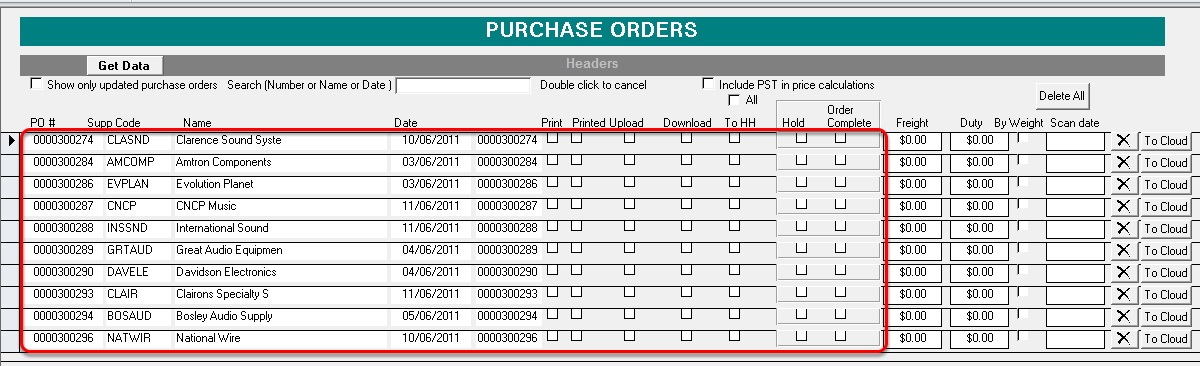
To check the results just go bak to the Purchase Order module and the results should be showing on the main screen.
AUTO IMPORT FEATURE
Basis has an auto import feature that is configured during the initial set up which by default configured to retrieve
the orders automatically every 10 minutes and uploads completed order back to the accounting package every
15 minutes.
IMPORTING GROUP PO (FOR BV USERS ONLY)
Another feature for BV user is the Group PO functionality . Where you can combine multiple PO using an excel sheet. This allows users to group purchase orders making receving items more efficient and organize.
Before getting started. we have to make sure that the excel file has the correct format.
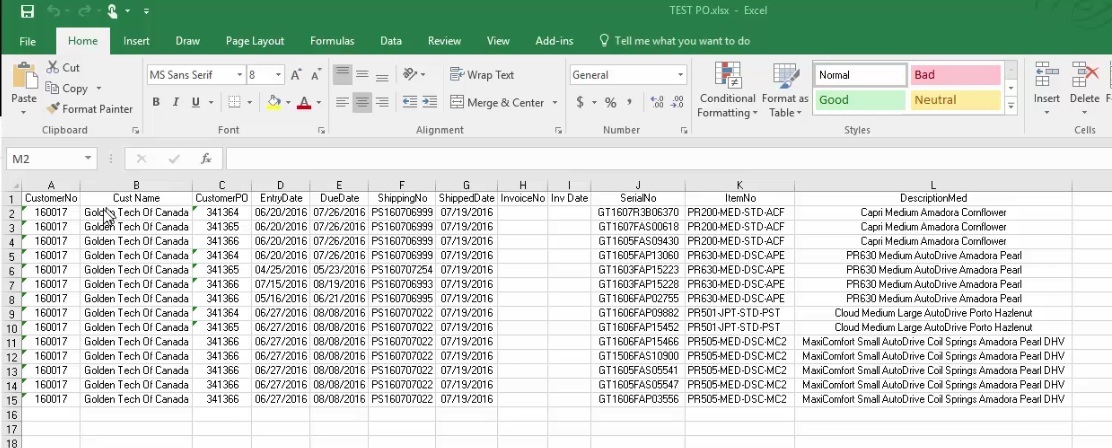
Here is a sample group excel file that have three PO ( 341364,341365,341366) listed on it. we named this as TESTPO.xls
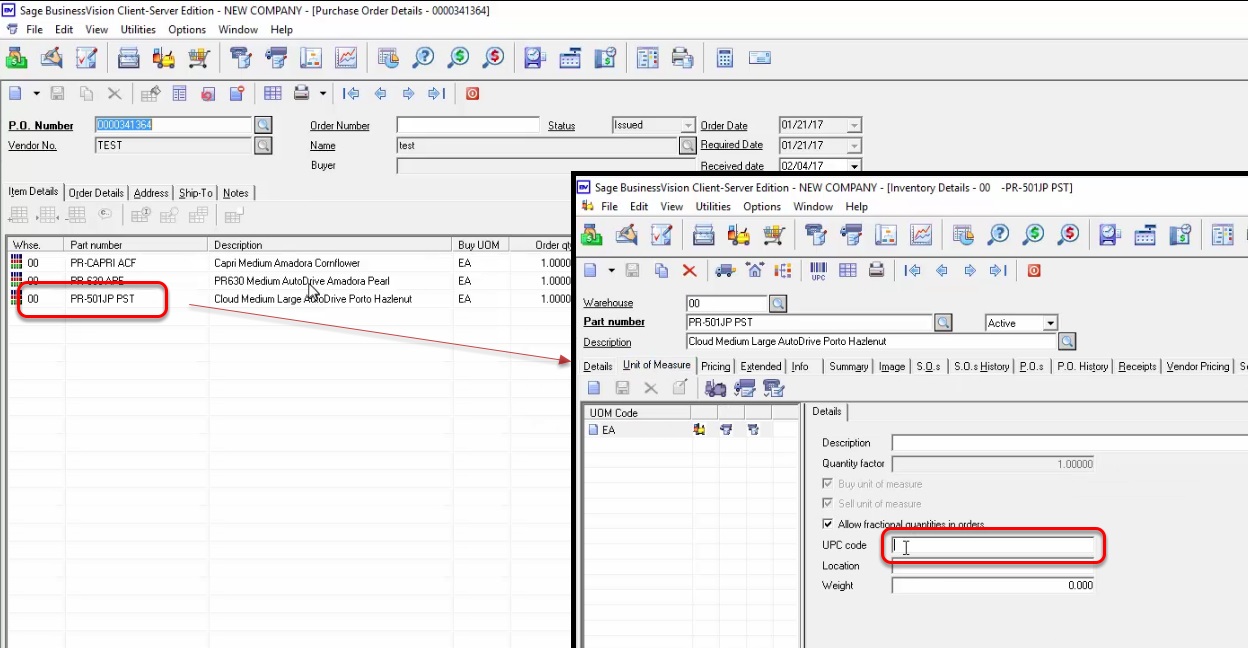
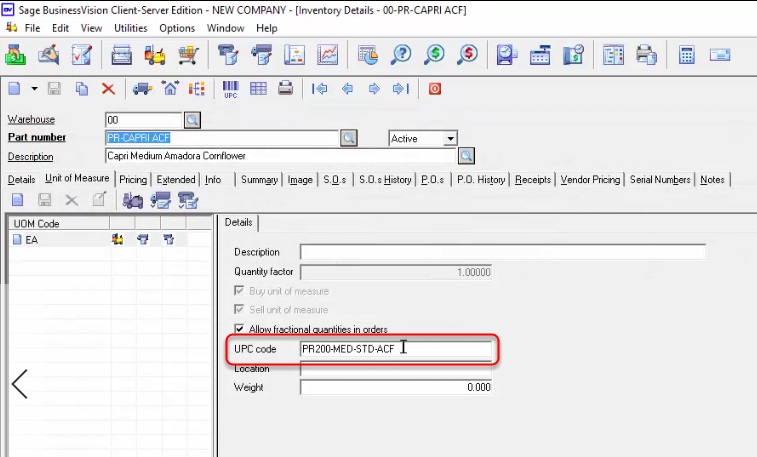
Sample screenshot of the Purchase order that is included in the group po. As you will see there are no UPC code on the item.
First step is to make sure that the part number are imported to basis. We can do this by clicking on Data transfer
Select the warehouse, check on Products and then click on Import
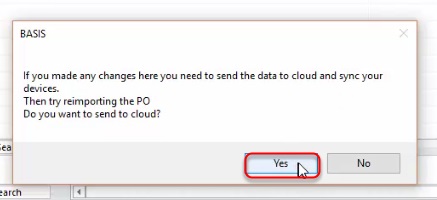
Click on yes to sync all part numbers to cloud

Second step is to import the PO’s.

Note: This process is also automated (see auto import)
Once all import have completed we can begin the process of importing group PO
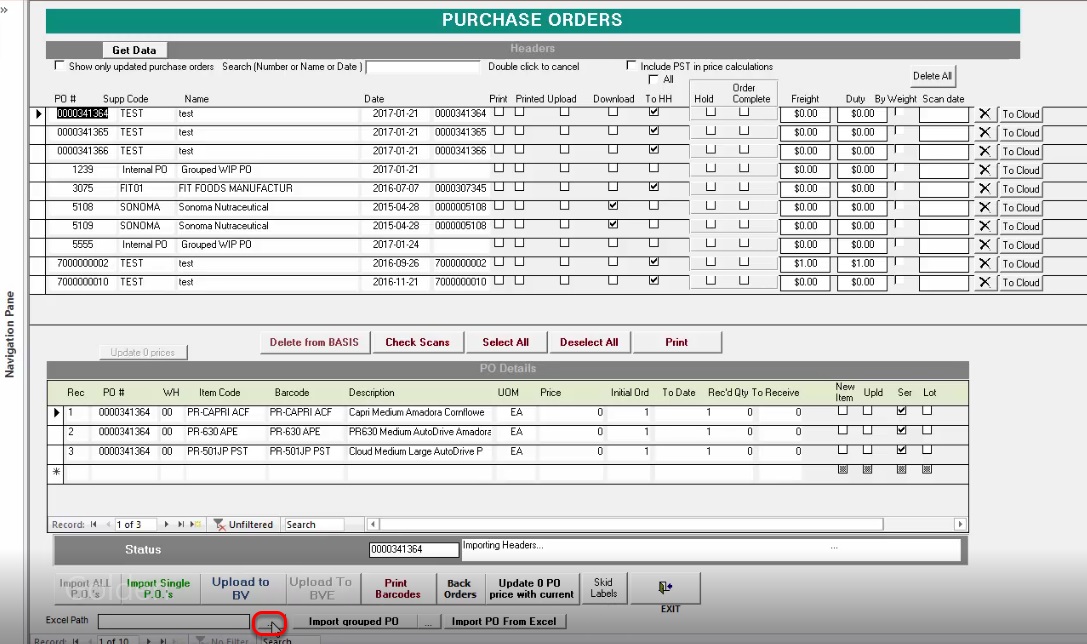
To begin the import click on the browse button.
Navigate to the location on where the excel file that contains the PO details is saved and then open the file.

The excel path section should be filled now with the path location. we can now click on Import Grouped PO.

Click on Yes.

You will get a prompt that basis did’nt recognize the items that is in the excel file. To match those items with the PO’s that where imported in basis click on YES

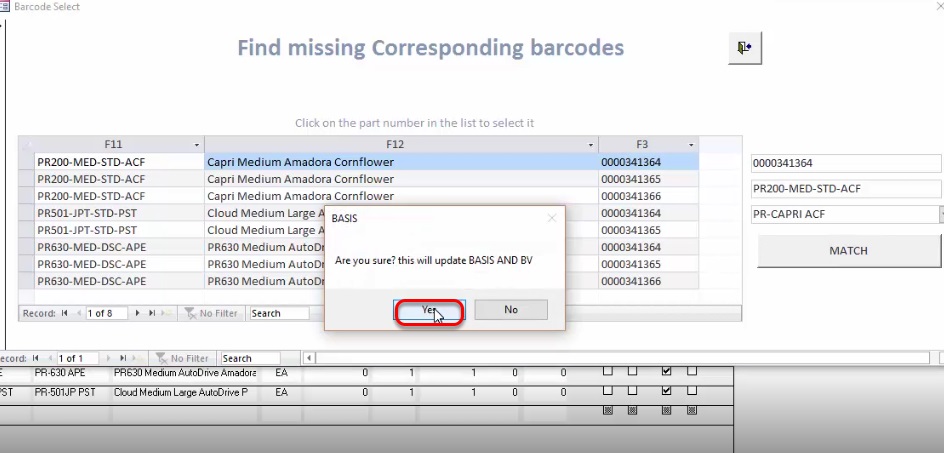
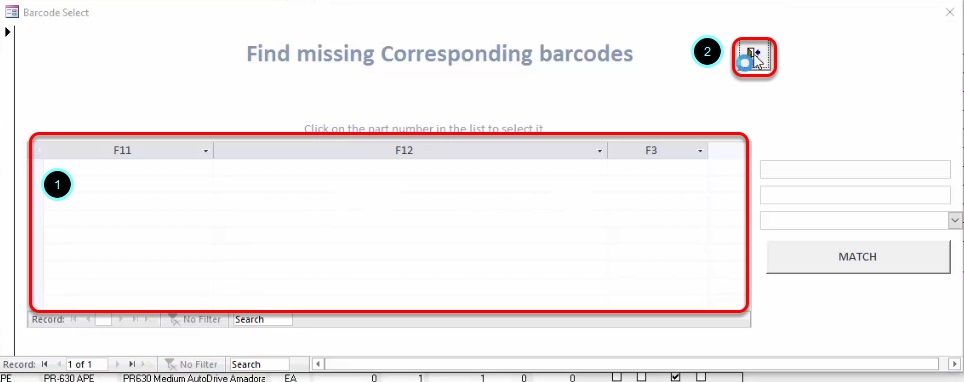
This will show a window that has the list of Items that was recognize from the PO that is inside the excel file.

| Definition |
|---|
| F11 – Part number |
| F12 – Product description |
| F3 – PO number |
To start matching the part number select a Part number and then select on the drop down menu to show all items that are in the Excel file.
Select the item that matches the description of your item.

note: 1 means that the item is active.
click on Match

Click on yes to sync the items
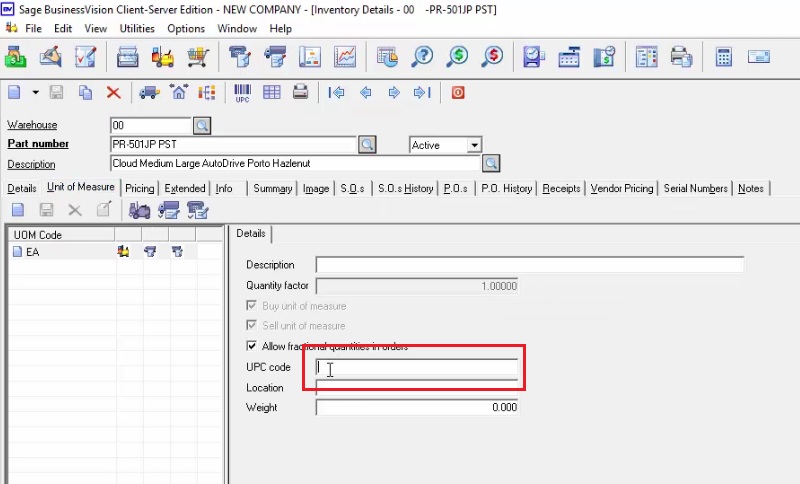
To check the results we can go back to Business Vision and we should now see that the item has a UPC code
Repeat the same procedure till all items are matched.


The table should now be empty once finish. To end the process click on Exit.
Click on Yes to apply the changes to the cloud.
Third step is to create the group PO, To get started . click on Import group PO

Enter the Group PO number and then click on OK
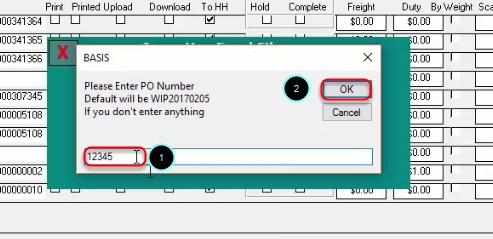
Note: If you wish to leave it blank it will be defaulted to a system value (WIP20170205)
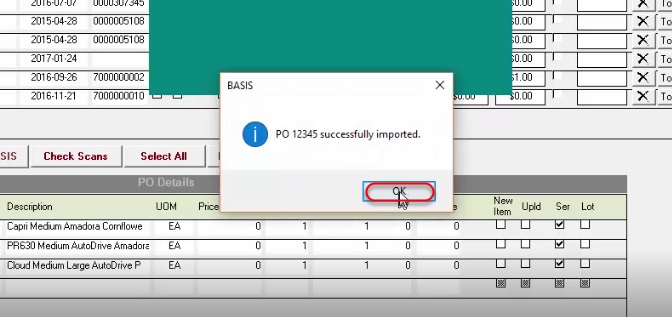
Click on OK
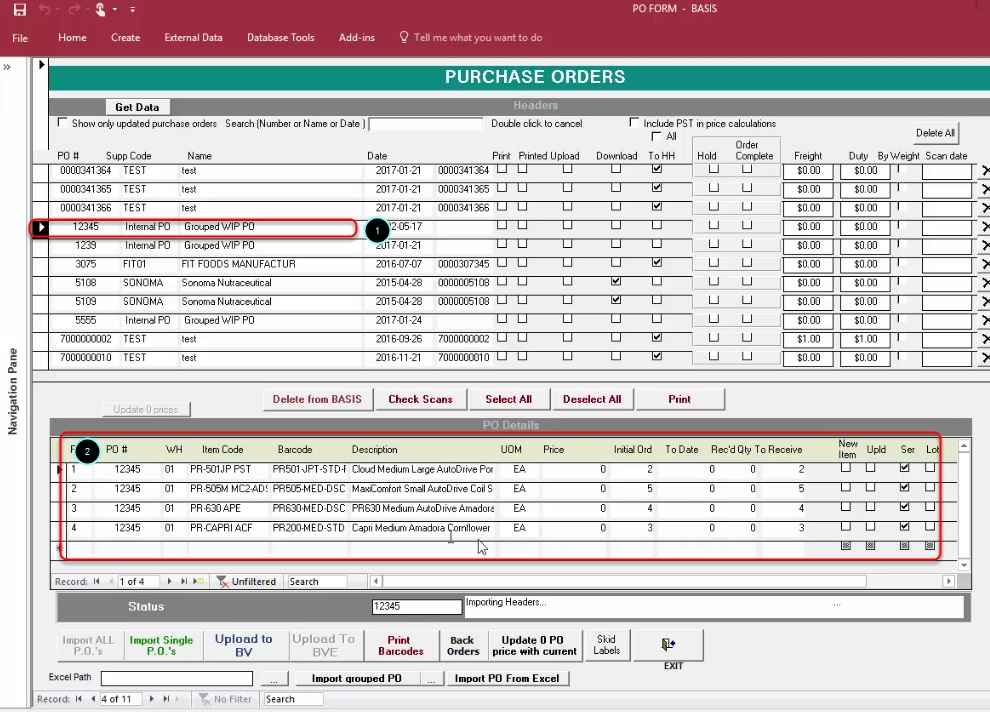
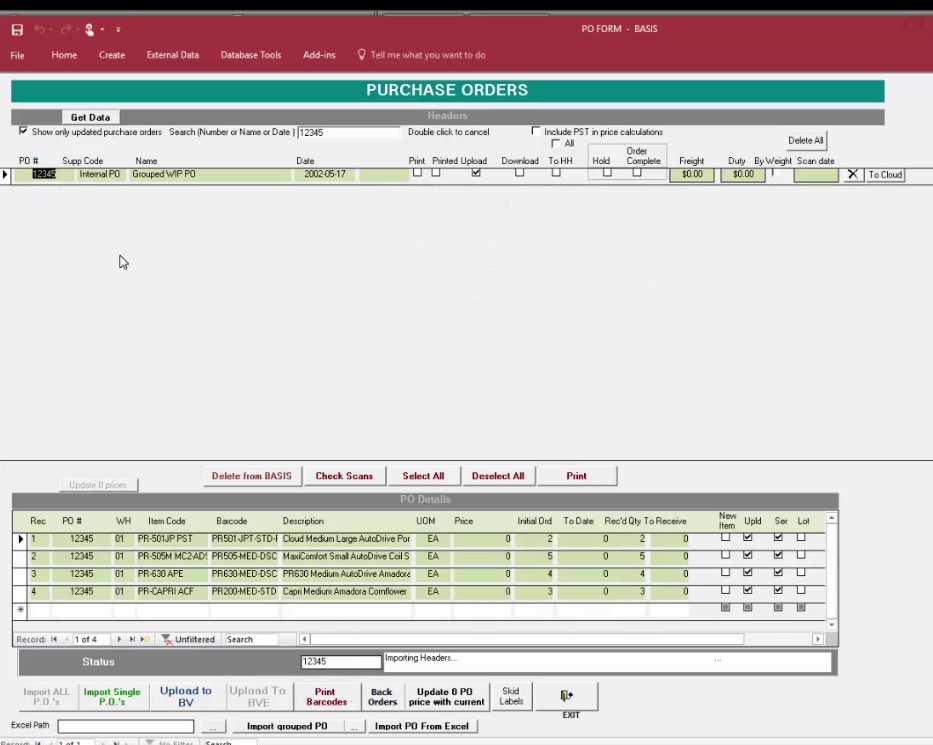
Now we have a group purchase order (12345) Select the group po and check if all items are included.
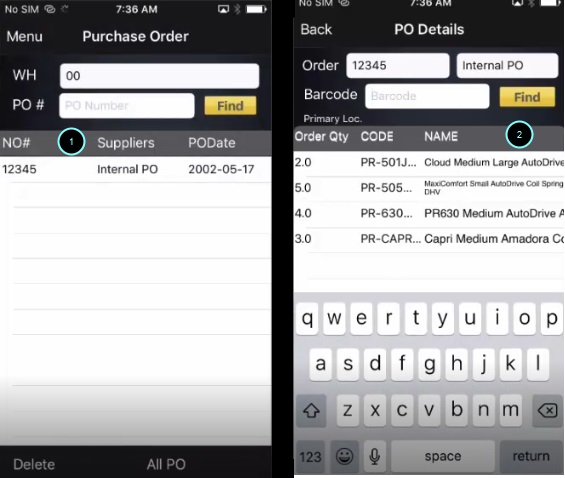
Group PO should now be available on the BASIS App for items to be received ( see scanning po)
Once all items are received. we can now go back to the basis desktop to complete the sync
BarcodeApps © 2017
|_.
Post your comment on this topic.