
Once the Correct the Issue with Actions form has been submitted, the assigned user will receive a notification in their Pending Tasks informing them that they have to check the issue correction.

They will also receive an email notification informing them of the assigned task.
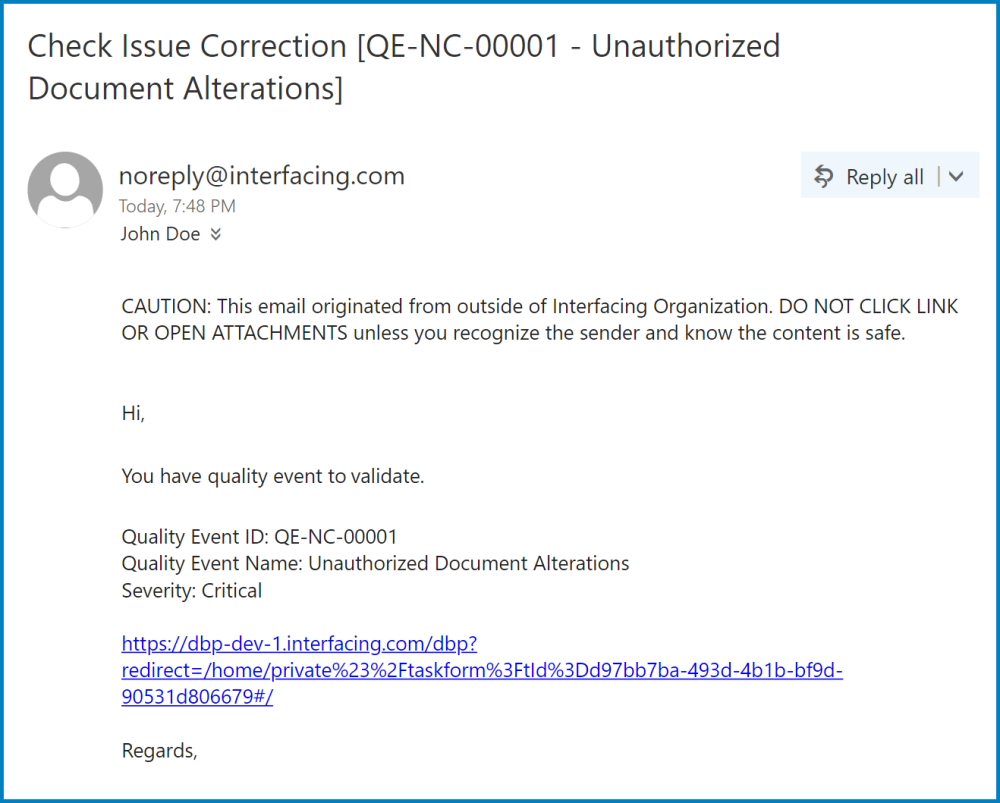
Clicking on either the subject in Pending Tasks or the link in the email will direct the user to the Check Issue Correction form. Users cannot make any direct modifications in this form. For reviewing purposes, however, users are allowed to export grids to Excel and download any attached files. To avoid unnecessary repetition, only the notable aspects of the Check Issue Correction form will be listed below.
- Actions
Users can make direct modifications in this section of the form.

- Edit: This button allows users to edit an action item.
- To edit, select the action item that you want to edit from the grid and click on the Edit button. It will open a pop-up window with the form Edit Quality Event Action Item. It will look like the Add Action Item to Quality Event form, except all the fields will be populated with the information previously inputted by the user. These fields can all be modified. To save your changes, click on the Apply button at the bottom of the form.
- Export to Excel: This button allows users to export the grid to Excel.
![]() : This button allows users to view the full contents of the action description.
: This button allows users to view the full contents of the action description.
- If selected, it will open a pop-up window with the information.
- Submit
At the bottom of the Check Issue Correction form, there is the following button:
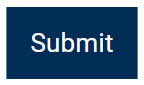
- Submit: This button allows users to submit the form.
- Once this form has been submitted, the Quality Events workflow will end.
Post your comment on this topic.