- Download the latest RVI 9.x viewer from the RVI Website
- Click Support, Support Resources, enter the password provided by RVI in the Login field, click GO, select Version 9.0 tab, click RVI PC Installation Version 9.x to download the zip file.
- Unzip the file to the local pc.
![PC Viewer Zip to Extraction]()
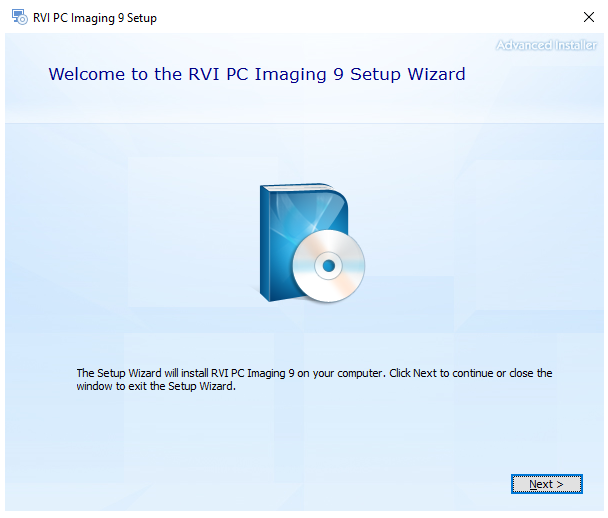
- Double-click RVIPC9xxxx.EXE from the unzipped folder. (This will begin the installation.)
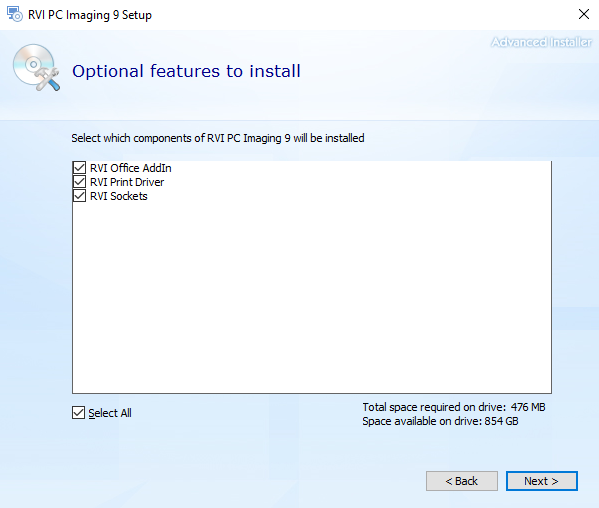
- During the RVI PC installation, the user will be prompted to continue with the default install which includes the RVI Office AddIn, RVI Printer Driver, and RVI Sockets. (The user has the option to uncheck the item(s) they do not wish to install. The RVI Socket is needed for scanning.)
- If RVI Office Add-In is enabled, it will automatically install without prompting.
o Will install a “Send to RVI” button on the standard toolbar of Microsoft Word, Excel and Outlook. Choosing this option will place the document in the BC/OCR window of the RVI PC Viewer for indexing and upload into an RVI Imaging System.
o Will install a “Send To RVI PC Imaging“ printer driver that will appear in the Print/Printer Name dropdown box. Choosing this driver will place the document in the BC/OCR window of the RVI PC Viewer for indexing and upload into an RVI Imaging system.
- If Printer Driver is enabled, it will prompt the user to install.
o Will install resident windows print drivers into the RVI PC viewer for faster printing to your attached printer.
- If RVI Socket is enabled, it will automatically install without prompting.
o Will install the RVI Socket for scanning and DataQue configuration.
- If Microsoft .NET is missing or out of date (Ver.4.6.1 or later required), the user will be prompted to install.
!Scanning in Google Chrome requires RVI PC viewer 8.1.1389 or newer.


Post your comment on this topic.