Creating a Routing Profile
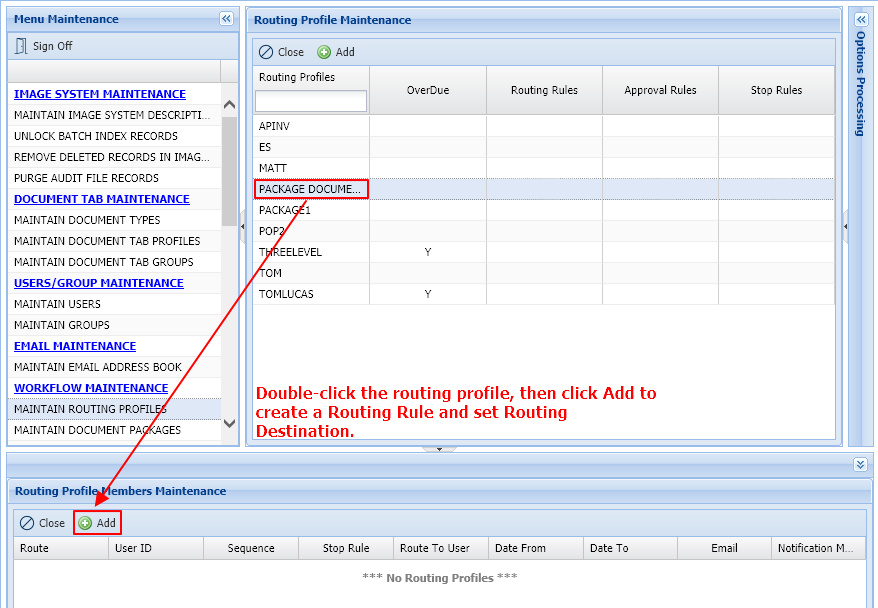
- Click Menu, Maintenance, Maintain Routing Profiles.
- Maintain an existing routing profile by double-clicking the record or click Add to create a new routing profile.
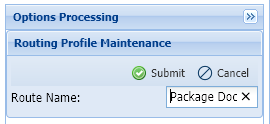
- Enter a Route Name then click Submit.
The route will be Saved and added to the list of available routing profiles.
- Double-click the Routing Profile the click Add to create Routing Rules.
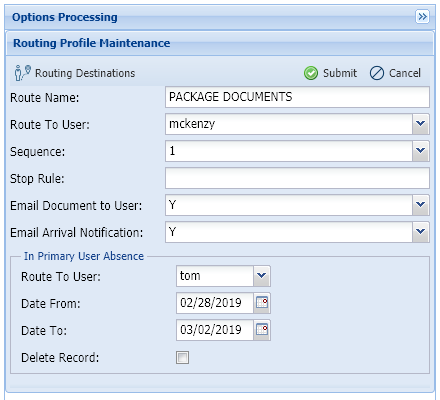
- Complete the Routing Profile Maintenance fields.
Route Name: Automatically loaded with the Routing profile name. (Required Field)
Route to User: User’s defined to this routing profile (Required Field)
Sequence: The arrival sequence of documents.
Stop Rules: Rules associated with this profile.
Email Document to User: Send an email notification which will include the image. The image will NOT be routed to the user’s workbasket. This option can not be used with the approval/disapproval process since the image is not sent to a workbasket.
Email Arrival Notification: Send an email notification which will include a link to the workbasket to view the routed/approved/disapproved image. This message can be customized using control parameters.
In Primary User Absence
Route To User: The user defined here will have access to the documents between the specified dates.
Date From/Date To: Specify a date range for routing to an alternate user when the primary user is unavailable.
Delete Record: Delete this profile.
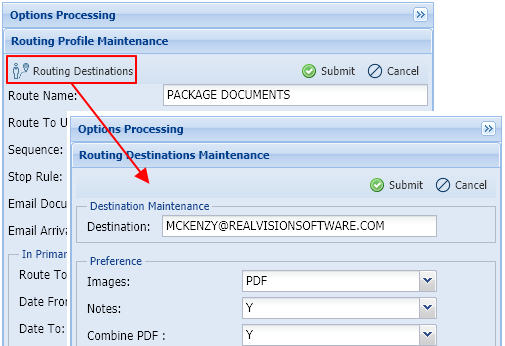
If Email Document To User = Y, click Routing Destinations.

Destination: Email address for the user account.
Images: Email documents as PDF or OEM.
Notes: Include notes related to the routed document(s).
Combine PDF: Combine documents into a single PDF when possible.


Post your comment on this topic.