The Print To RVI printer driver is included in the RVI PC Viewer install. The RVI PC Viewer must be installed for this function to work. Once the RVI PC Viewer is installed, use the steps below to successfully use Print To RVI to move file from the pc or network to RVI.
This example shows printing to RVI from Adobe, but the RVI printer driver can be used from any pc application.
Example:
- Open the PDF in Adobe
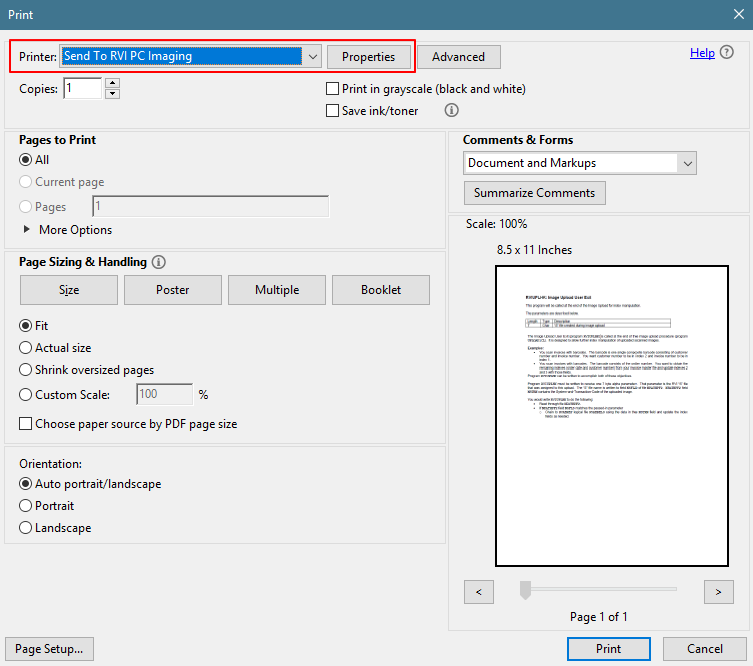
- Click File, Print
- Set the Printer to Send to RVI PC Imaging
- Click Properties
 |
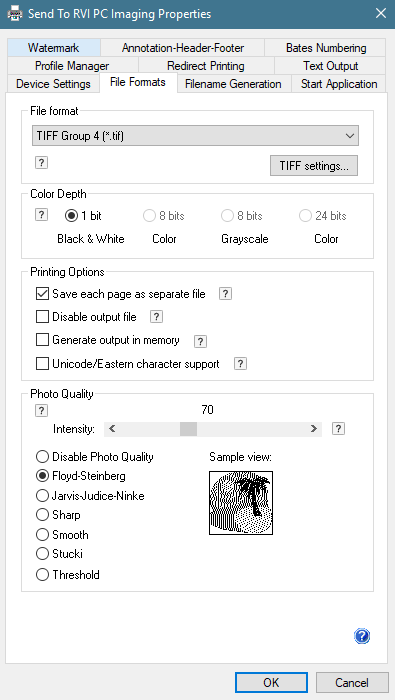
- Select File Formats tab
- Set File Format to TIFF Group 4
- Set Options to enable Save each page as separate file
 |
- Click OK to print the file into the RVI PC Viewer.
NOTE: The RVI PC Viewer must be open and connected to One Look. Do not close the PDF until you’ve confirmed it was sent to the RVI PC Viewer. Closing the PDF while it is still being moved to RVI will cause corrupted images.
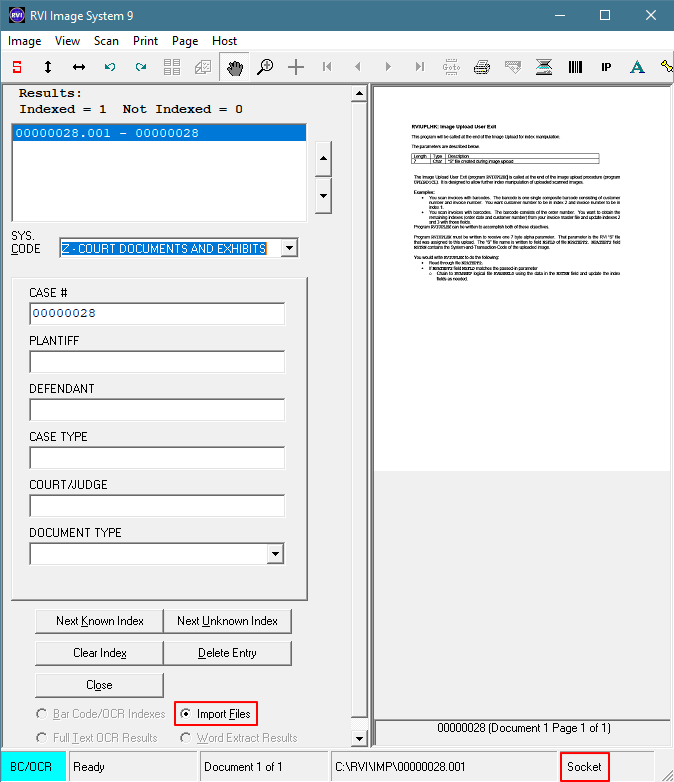
Once the pages are moved to the RVI PC Viewer, the 
- Click
, make sure the Import Files radial button is selected.
There will be 1 entry for each page because Save each page as separate file is enable. If you want to store the document as a single file, you must disable Save each page as separate file.
- Select the system code and set the appropriate indexes.
- Click Close when indexing is complete. (See Index Options for additional indexing options.)
Upload the file(s) from the RVI PC Viewer to the server using One Look.
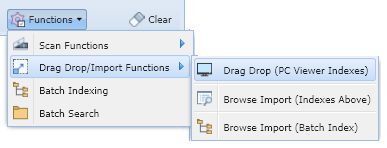
- Navigate to Functions, DragDrop/Import Functions, Drag Drop (PC Viewer Indexes)
 |
When the move is completed, the user will see a summary.
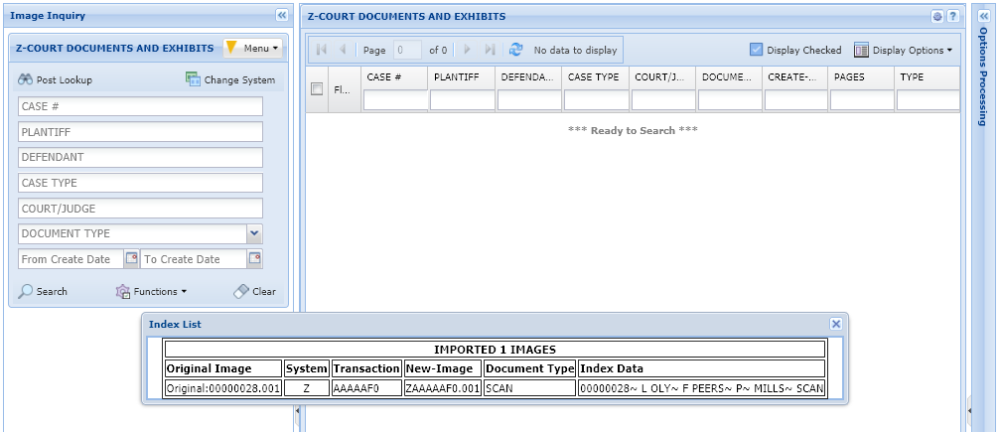 |
Now an index search through One Look will find the record and allow for downloading and viewing.
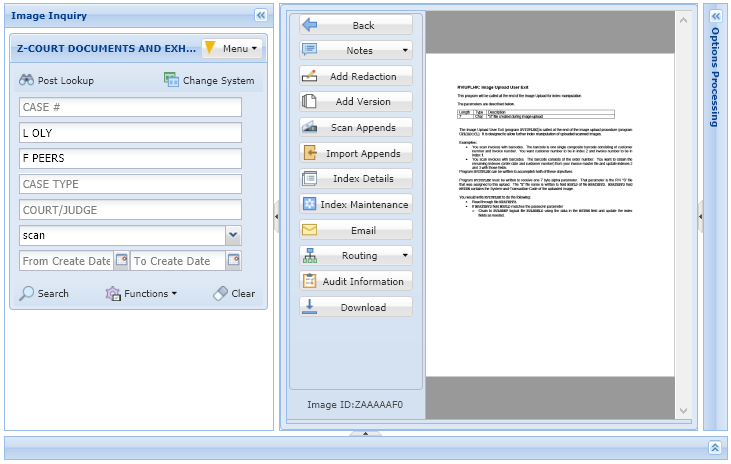 |
NOTE: All image files are displayed inside the One Look pane while all other file types allow for downloading and viewing in their native application.


Post your comment on this topic.