
Creating a grid listing all instances / A grid external to the main form
1. Under the side menu form, Go to “List of form”
2. Create a new form “List”, with the entity field empty
3. Answer YES to the question “Do you want to Design this form?”
4. From the Quick Forms tab, Drag & drop the Grid control
5. In the control properties section of the right side of the screen, change the server Id to the name of the application followed after _ by Name of the amin form entity for example: “Audit_AuditPlan”
6. Save the form
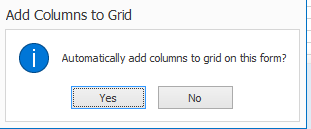
7. Answer YES, to the questions “Automatically add columns to grid on this form?” and “Generate a link in the main menu for this form?”
a. The first question, will add all attributes of the Audit Plan form as a column
8. Click on OK
Personalize the grid
9. Reopen the List form
10. Click on the grid control (Make sure the “Attribute” and “Server Id” are not empty)
11. Click on the … of Control Properties
12. Go to second tab “Grid”
a. Here, you can add/edit/remove columns; Change the width of each column and determine the order of the column in the Position Field
13. After the grid design is done, Click OK
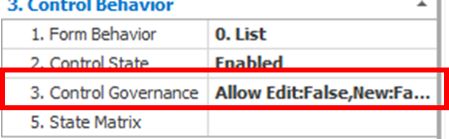
14. Under the “Control Behavior” section, click on the … of Control Governance
15. Check: Enable View
16. Click on [+] of Enable View to create the form behavior
17. Enter Name and Title (Name: View_List ;Title: View Form )
18. Click Ok on both windows
19. Save the form
20. Close Designer Tab
21. Deploy app
To add a behavior, click on the  , it will open the form behavior form.
