The Resting Duration defaults to 30 seconds and the Scan Duration defaults to 5 minutes. This can be changed in the scan settings box at the top of the scan screen.
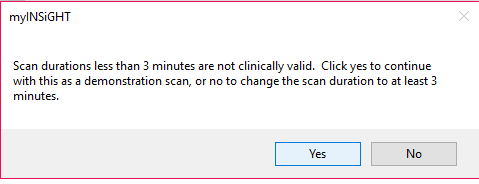
To be consider a Clinically Valid scan, the Scan Duration cannot be set to less than 3 minutes. If the Scan Duration is set to less than 3 minutes, the following window will display.
The Resting Duration set below 30 seconds is considered clinically invalid and the following error message will appear:

If you select Yes to either of these messages, you will be able to perform the PWP Assessment, however, it will not be considered Clinically Valid.
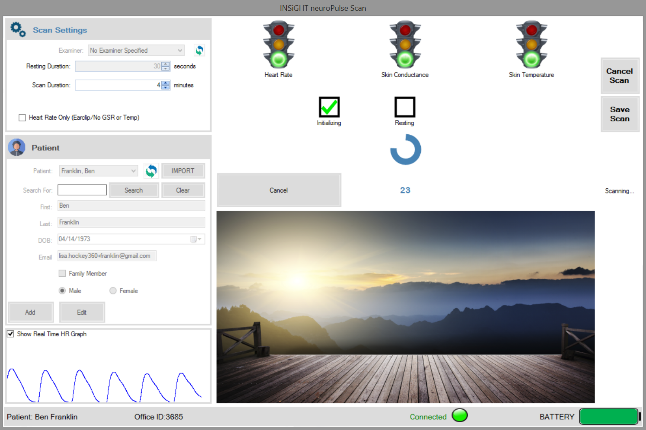
Once you hit Start Scan each of the signals is evaluated for signal integrity. As each signal is verified, the corresponding traffic signal will turn from red to green once all three signals are Green, click next and the scan can begin.
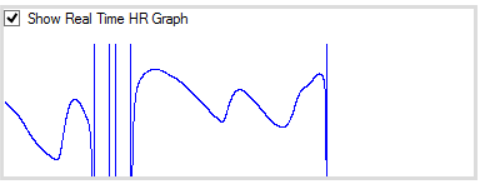
Prior to pressing the Next button, discuss the details of the protocol with the patient. Remind them to relax, clear their mind and not to wiggle their left fingers. It is VERY IMPORTANT that there be no finger motion whatsoever. Using the real-time graph on the bottom left of the page, show the patient what happens when they move their fingers even slightly:
Show them what a valid scan looks like when there is no finger motion:

Be sure the graph remains steady like this throughout the scan. You can (and should) leave the graph on during the entire scan so that the patient can see that they are sitting quietly and not moving their fingers.
To begin the rest period, press the Next button. At this point, the patient should be left in the room to complete the protocol.
The first screen the patient will see is the Countdown for the Rest Period, shown below.
The Seconds Remaining Counter starts at the Resting Duration and counts down. This defaults to 60.
Once the acclimation period has completed, the protocol will automatically continue into data collection stage. The timer counts down from the time specified in the Scan Duration.
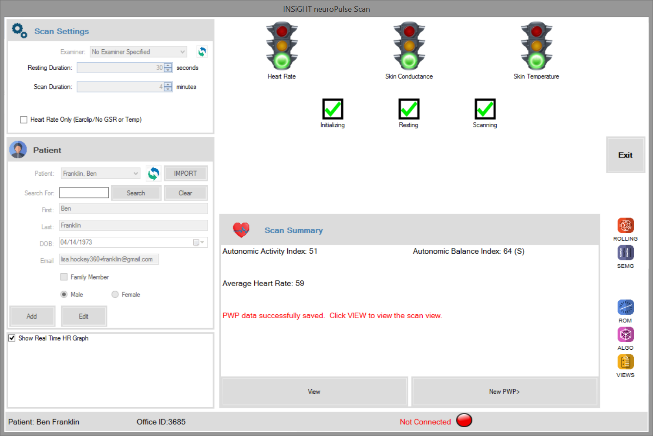
After the data collection stage has completed, the data will be automatically saved by the myINSiGHT™ program.
At this point you can:
View the scan by clicking the View Button which will take you to the Office Portal to view the scan online and perform a new PWP Assessment.
 |
 |


