
The Seam Tool simplifies the process of adding and creating seams, making it faster and easier than ever before. With this tool, users can easily define and create seams by using a single reference line.
How to use the seam tool
- Ensure that your seam line is connected to the borders.
- Select the ‘Seam’ tool from the change ribbon in FlexiCAD.
![]()
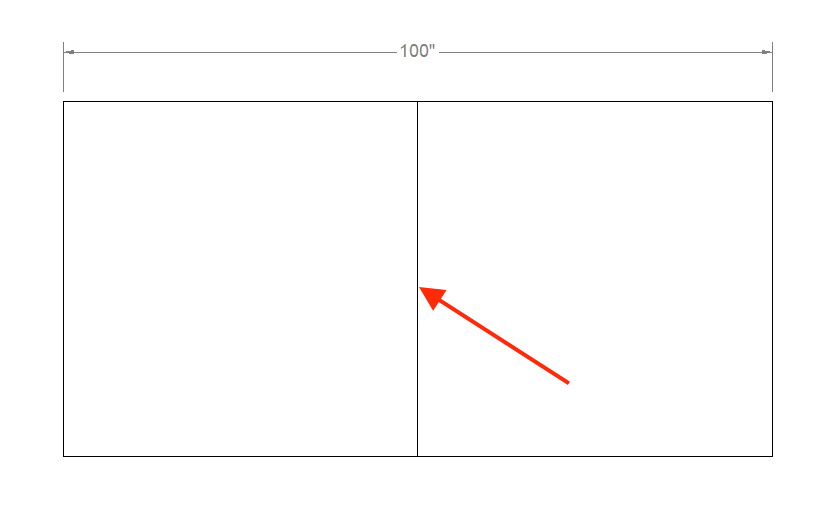
- Click on the line where you want to add the seam.
![]()
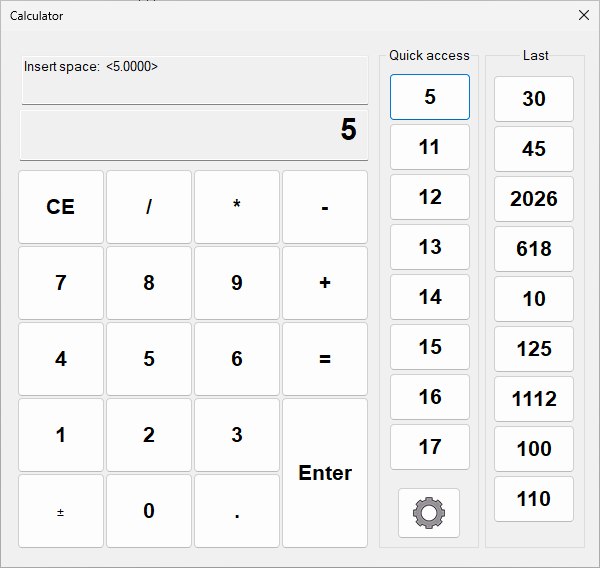
- Enter the desired space between the pieces.
![]()
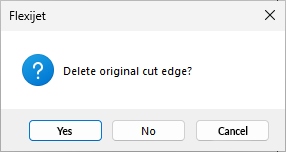
- Select if you want to delete the reference line or not.
![]()
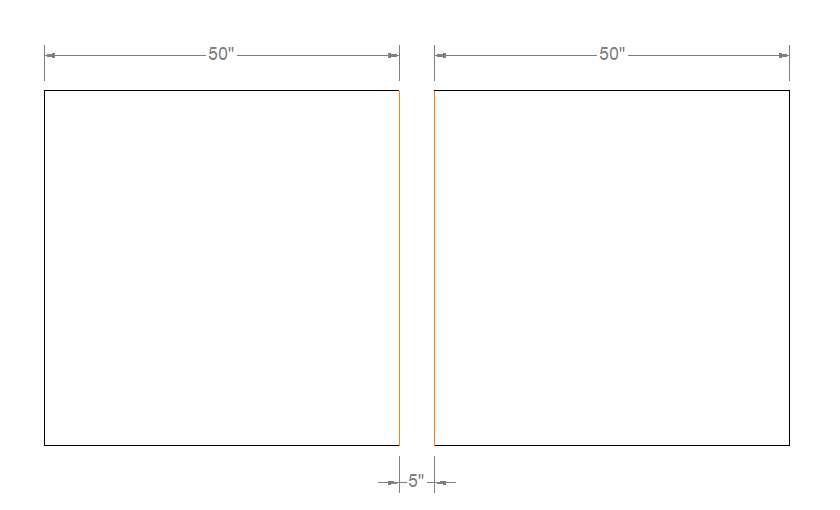
- The seam tool will separate the pieces and change the color of the seam lines to orange to indicate that a seam was added.
![]()
- This function remains in a loop so that you can add more seams. But you can also select multiple seams and make them all at once.

Note: The seam color can be changed from the general preferences window/CAD preferences/Seam/Color.
Example gif
Feedback
Copyright © 2025 Flexijet GmbH
—
Powered by 
Post your comment on this topic.