
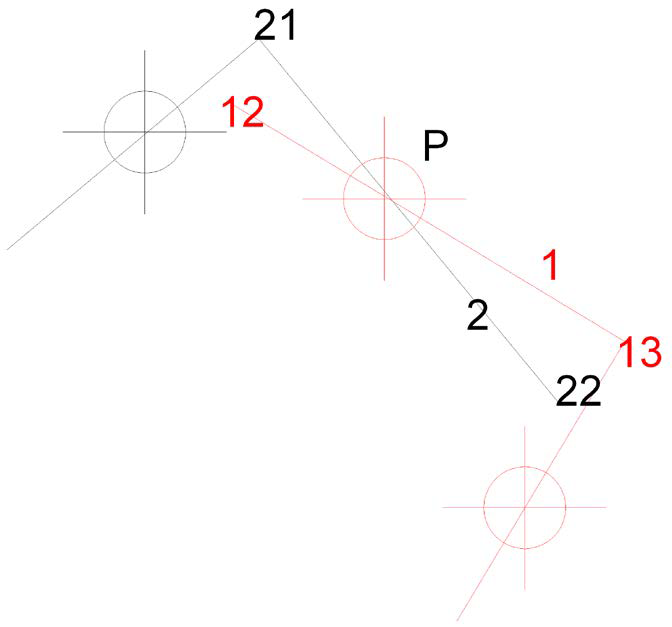
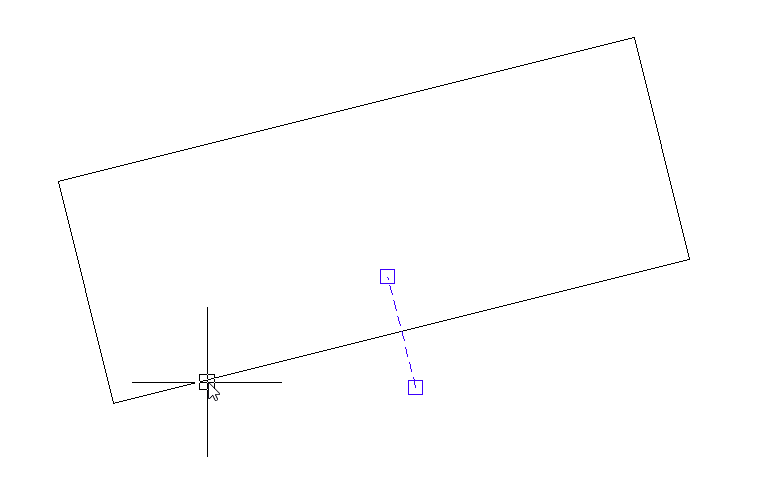
With ‘Align an object,’ existing drawing elements are rotated so that they are parallel to a specified line.

In this example, the red elements of line 1 should be made parallel to the black line (2). P21 and P22 are base points, P12 and P13 are points of the object to be rotated. Point P is to be selected as point of rotation. After that, select the objects that should be rotated.
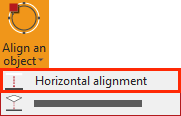
Horizontal Alignment
The ‘Horizontal Alignment’ tool allows you to rotate the view of the canvas of your entire project.
- Select the function and click on the left side of the line to reference it as if looking at it from the front.
- If you click on the right side of a line, the software will interpret this as the ‘left’ side as viewed from the other direction.
- Note: This function can only be used on lines, not polylines or other elements.
- To align before beginning to measure, use “Align to Object.”
This tool is not recommended if you have set a location and plan to resume that location, as the reference to the location may be lost.
Align a single folder
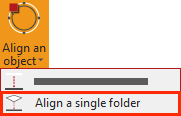
The Align a single folder function is an editing function that efficiently changes the alignment of all elements in a folder to a line that will be referenced horizontally on the page. This function should only be used in the editing phase of a project.
To use the ‘Align a Single Folder’ function
- Click on the ‘Align a single folder’ button and click on the left side of the line that you want to be perfectly horizontal, as if you are looking at it from the front.
![]()
- If you click on the right side of a line, the software will interpret this as the ‘left’ side as viewed from the other direction. To correct this, simply use the function again.
Note: this function can only be used on lines, not polylines or other elements.
Post your comment on this topic.