
Hindle Health System screens allow the user to test ATevo to ensure it is operating correctly. Screens permit the user to simulate alarm conditions, check set points and parameters, exercise relays, and verify indicators are working as designed. Step-by-step guidance is provided through the testing process. To start the Hindle Health System, press the Hindle Health Button.
![]()
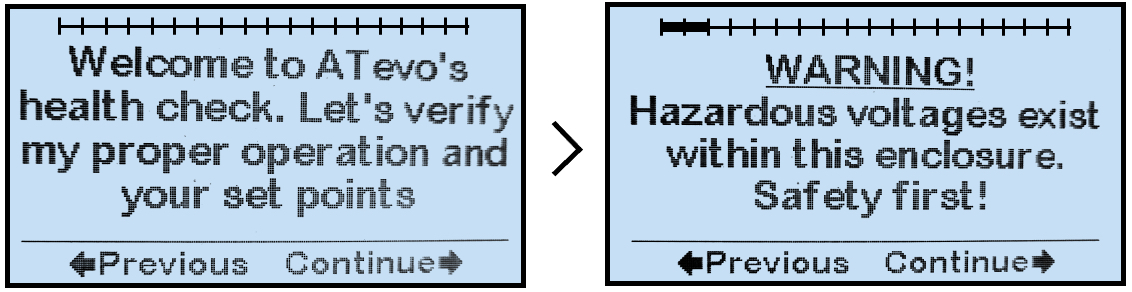
8.3.1 Introduction & Warning Screens
The first few health screens inform the user of how to navigate through the testing process and how to track progress. The next screens warn about any hazardous conditions and identify any tools required. To exit testing at any point, press ESC.
8.3.2 Test Selection
After the initial introduction and safety screens, a screen prompts the user to select the tests to run.
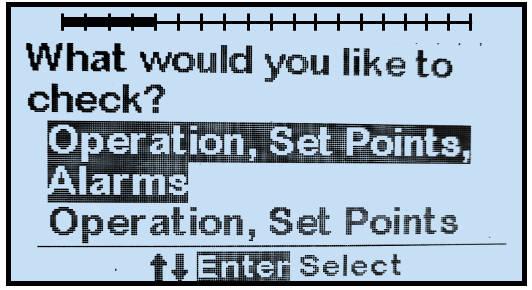
There are two (2) test selections. The second will not test alarms or
relays:
- Operation, Set points, Alarms
- Operation, Set points
8.3.3 Test Screens
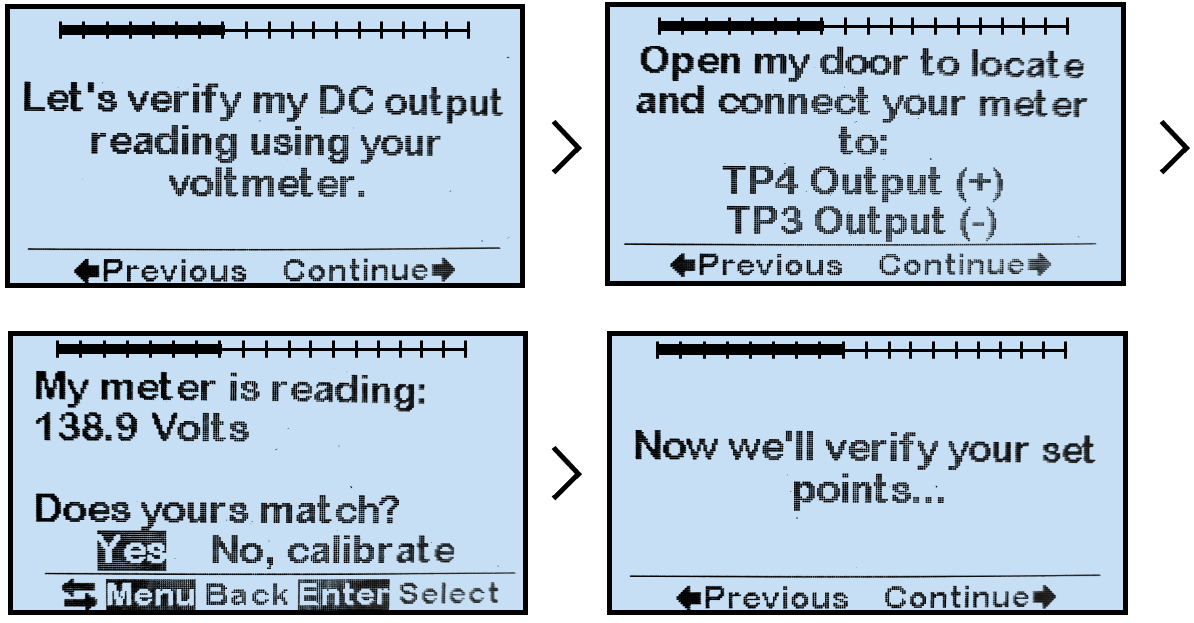
The remaining screens are test screens. They prompt the user through an interactive process to verify ATevo’s operation. The process will:
- Require the user to confirm that LED indicators are lit, that relays change state, and that the set points are correct.
- Simulate alarm conditions and prompt the user to verify the alarms operate and are confirmed by any connected SCADA devices.
- Explain how to verify ATevo calibration and automatically enter calibration mode if required.
After the Hindle Health System completes testing, ATevo will return to the Home Screen. An event will be added to the log file along with a time and date stamp. The results of each test are included in the log file. The result status will indicate that each test PASSED, FAILED, or was NOT RUN. The resulting log file can be used to prove NERC compliance requirements for things such as verifying correct float voltage.