
Object Attributes provide an extra layer of classification for items, making it easier to organize and analyze objects. While EPC comes with pre-loaded attributes for each object, System Administrators can create and customize these attributes as needed. This flexibility is particularly valuable because it allows to create custom classifications or data entry fields that reflect your unique needs.
How to Assign Attributes
- Navigate to the What are the Attributes? accordion in the General tab of the Edit or Create form.
- Input the desired value in the various attribute fields. There are 8 attributes types that can be filled out in different ways:
Currency
Enter a numerical value and choose the appropriate currency by clicking on the default currency and selecting the desired currency from the drop-down menu.

Duration
Specify the time duration required. Ensure the value reflects the correct format of DAYS HH:MM:SS (e.g. 0000 03:00:00 = 3 hours) or you’ll encounter an error message when saving the form.

Number
Input numerical values for fields such as quantitative data. Letters and symbols are disabled in this field.

Text
Enter alphanumeric data for fields like product names. This can include both letters and numbers.

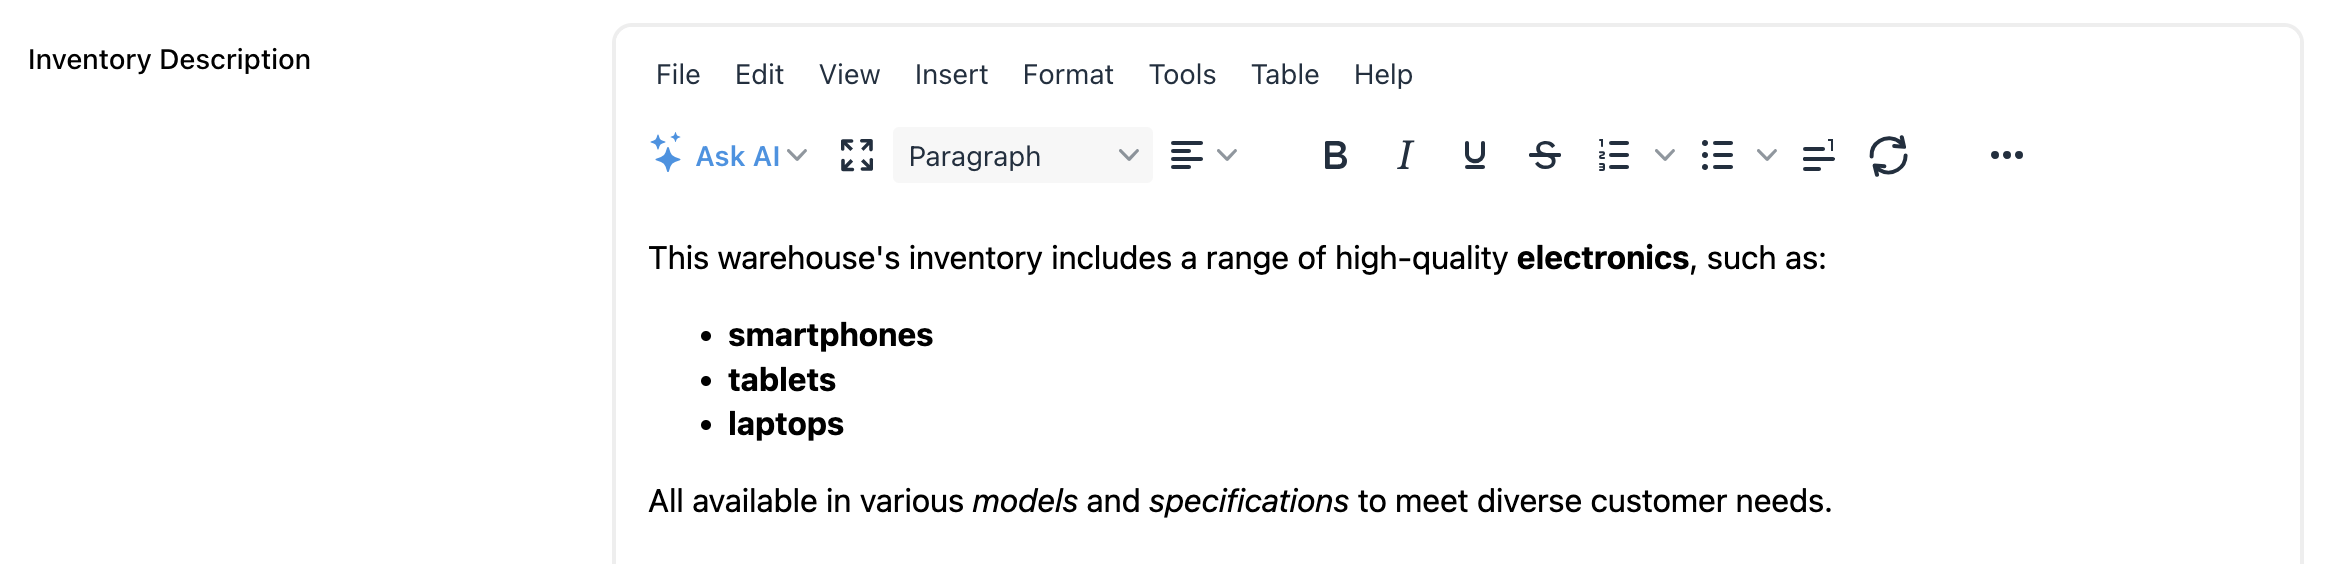
Rich Text
Format text using the Rich Text Editor, with advanced options like bold, italics, colors, tables, and more.
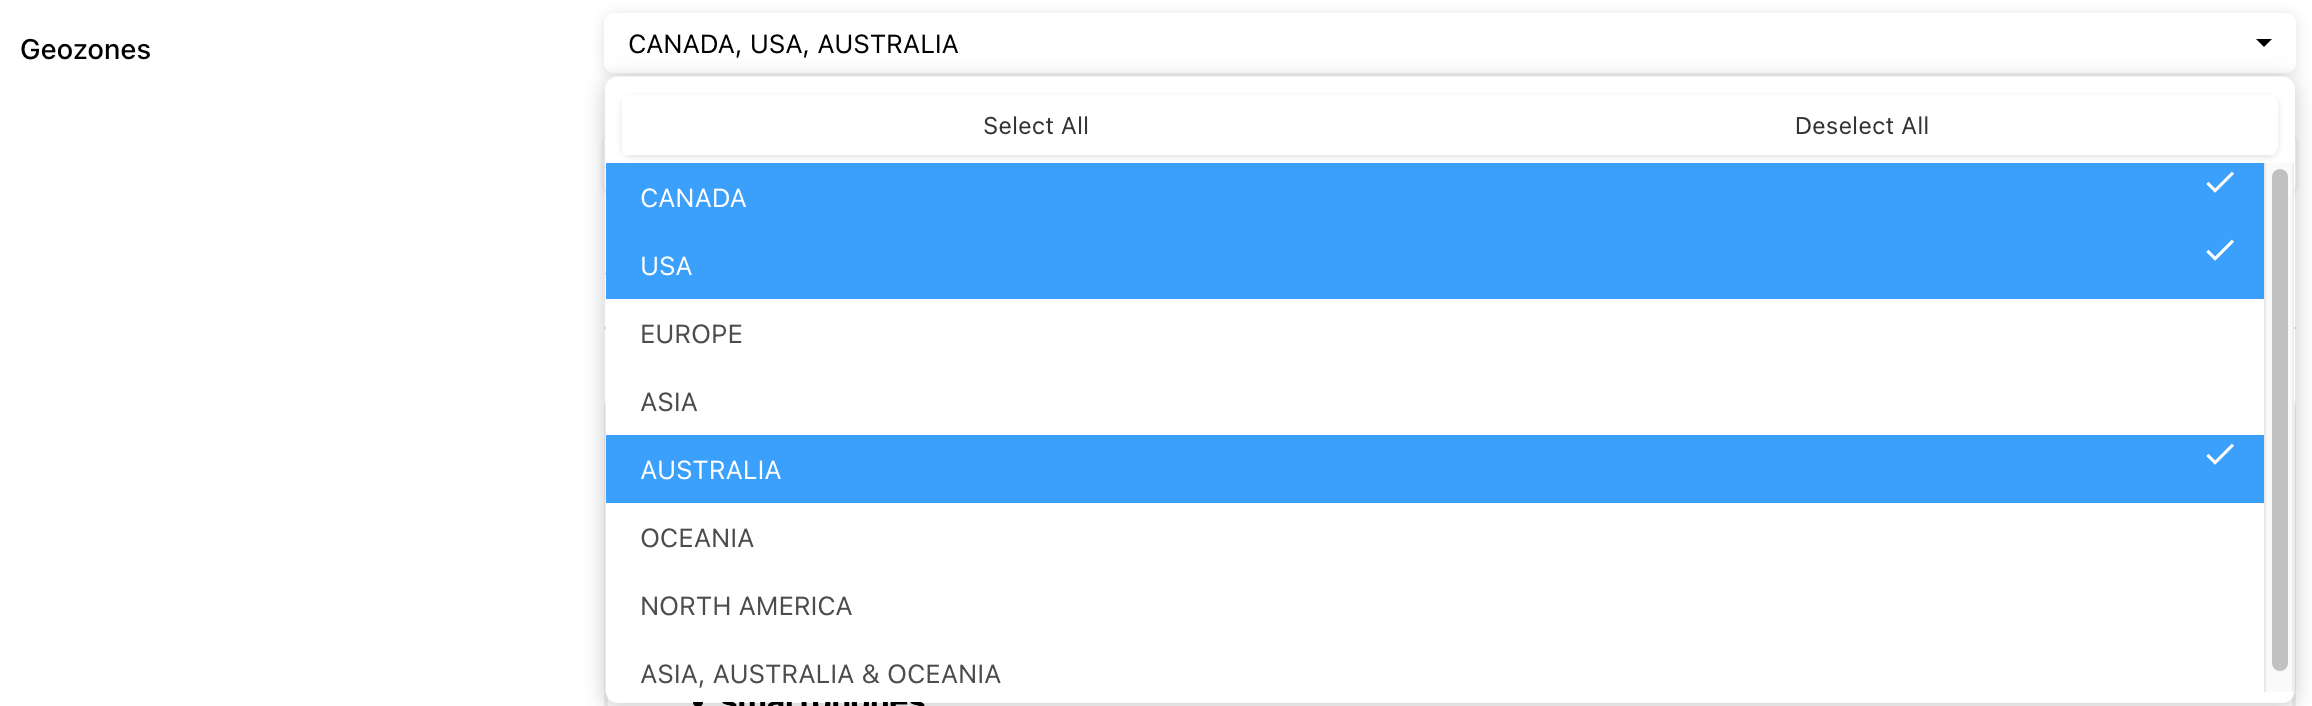
Drop-Down – Multi-Select
Select one or more values from a predefined list, or use “Select All” to pick everything. Click on “Deselect All” to deselect all options.
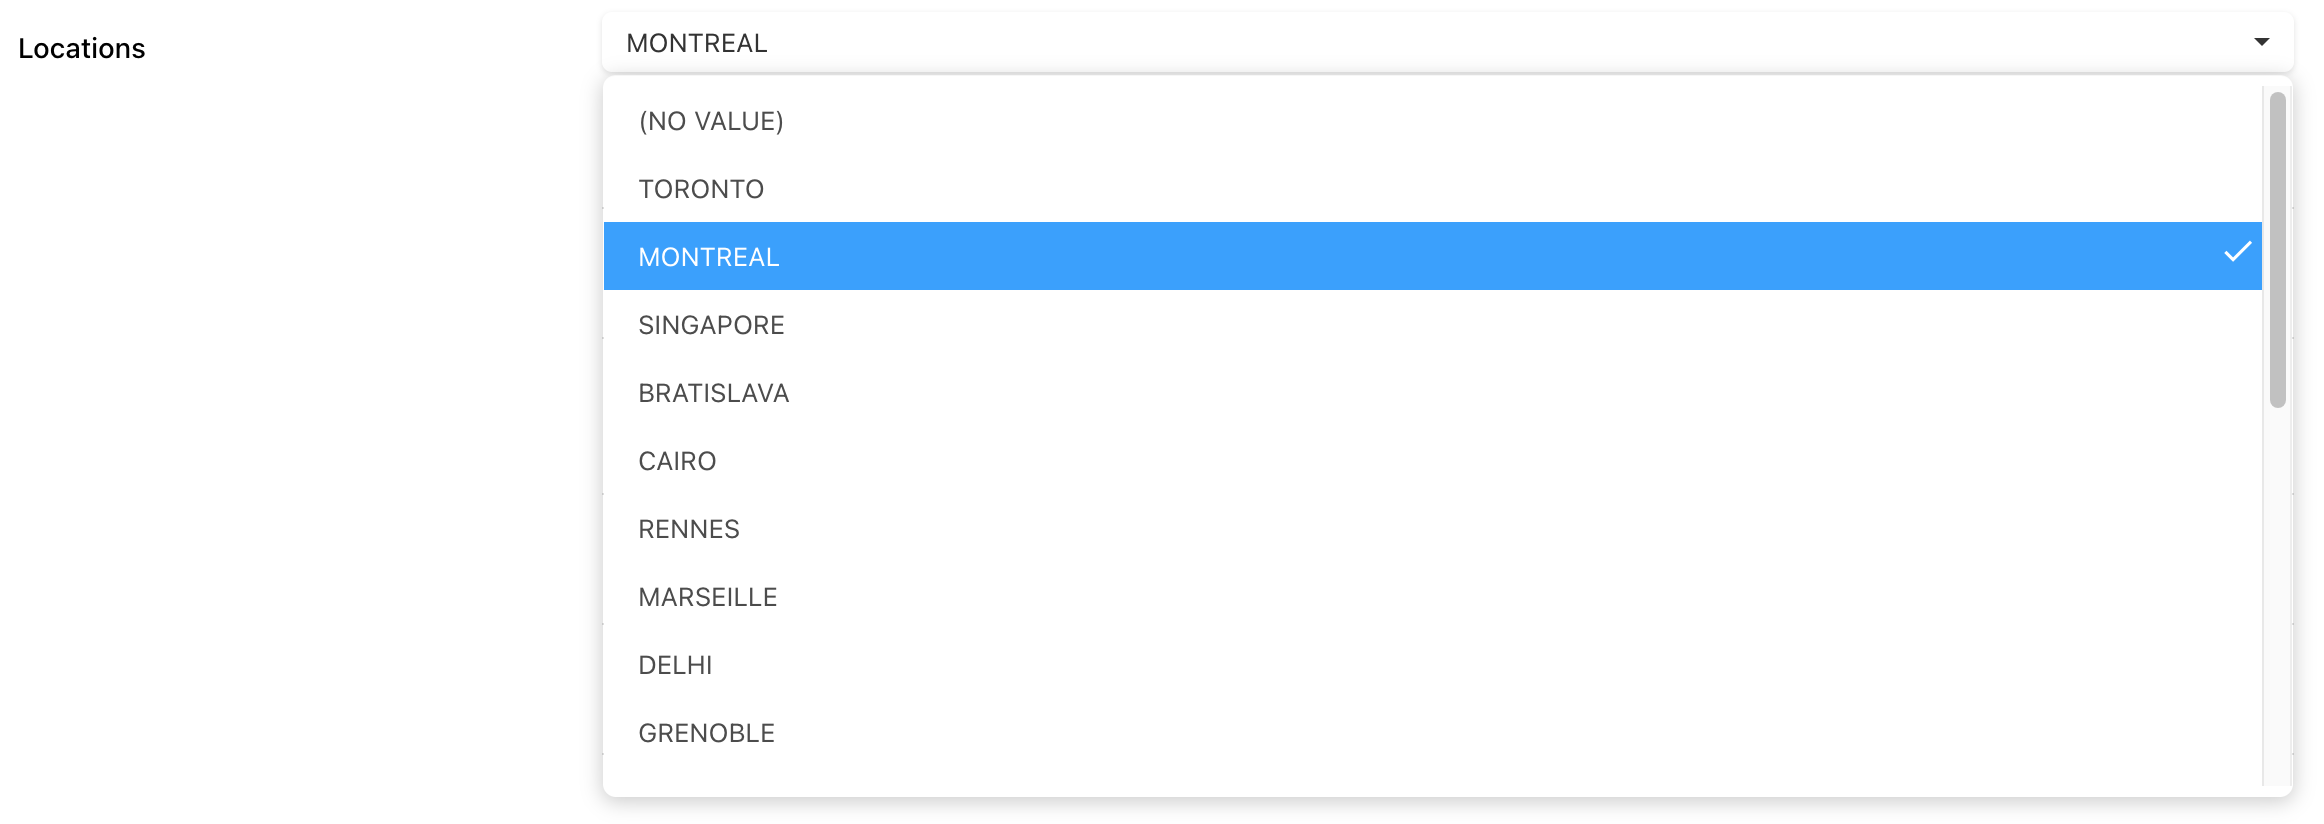
Drop-Down – Single-Select Attribute
Select a single value from a predefined list. Click on the value you selected to deselect it.
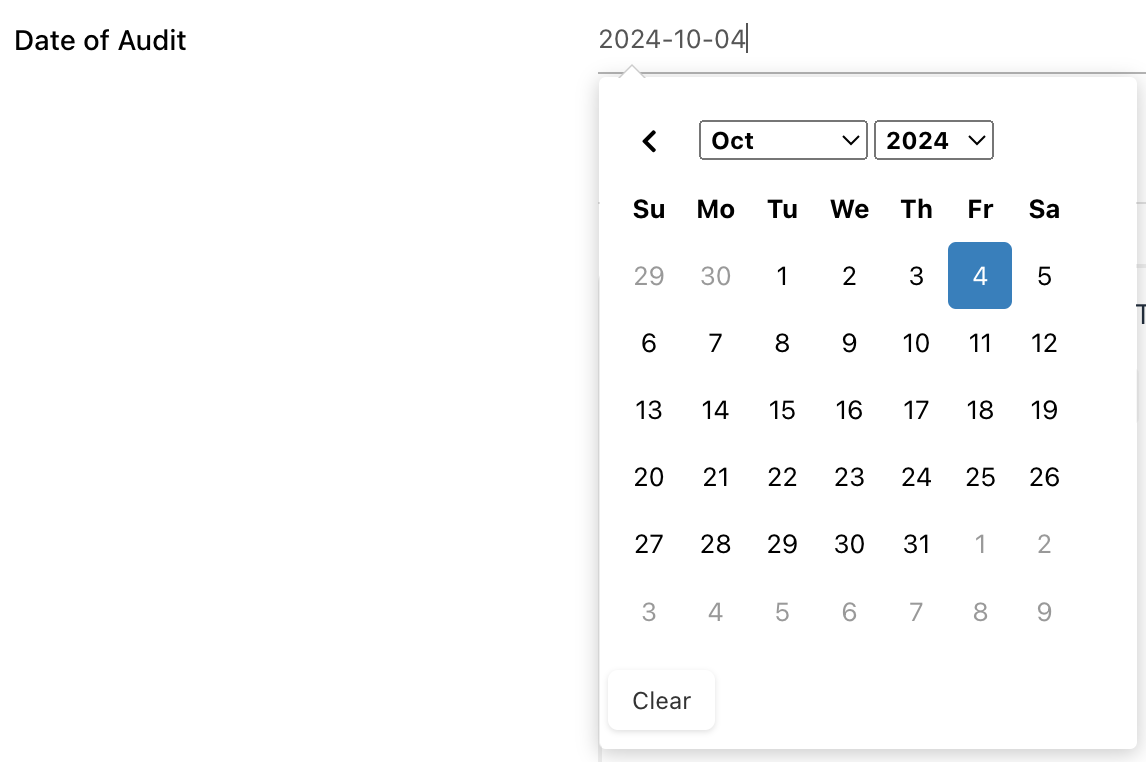
Date Type
Choose a specific date in the format YYYY-MM-DD. Click on the blank field to open the calendar picker. Select the desired date by navigating through the calendar.
Rules & Limitations
If the DELAY_REQUIRED_CUSTOM_ATTRIBUTES setting is enabled in the system settings, users can create or update objects without being blocked by incomplete mandatory attributes. However, all mandatory fields must be validated and completed before approval or publishing; otherwise, the process will be blocked.
Please note that validation will not occur in the following scenarios:
- An attribute becomes mandatory only after the approval cycle is completed, and before publishing.
- The object was unpublished and then republished.
- When importing users.
- Files are imported with the publish checkbox enabled. In this case, validation happens during the next publishing event.
- Materials that are automatically published bypass validation, as they do not have associated attributes.
Endorsement does not require mandatory attribute validation, providing flexibility during editing cycles.
Need more help with this?
Visit the Support Portal