
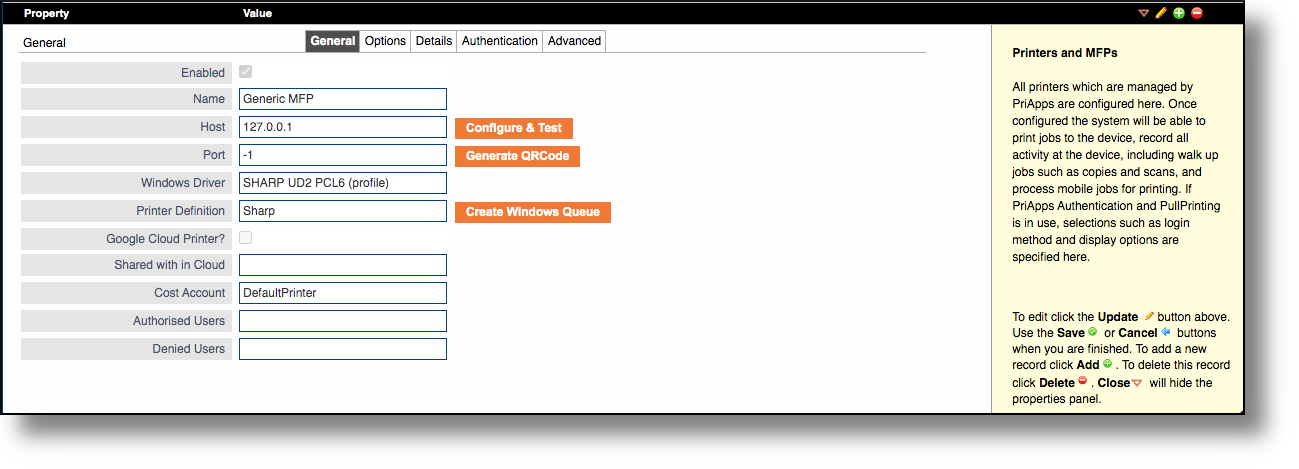
- Name – The Name of this printer. This name must be unique. It is used for job submissions and all management functions that reference the printer. For example, it is used when creating groups of printers for reporting or security functions. If a Windows Queue has been created for this printer it will be identified by this name followed by (PriApps)
- Host – The IP Address or DNS Name of the printer. Network printing must be enabled on the device for PriApps to function properly. If a name is used, it is essential that the DNS server is up to date at all times or printing will fail. For this reason static IP addresses or fixed DHCP leases are recommended.
- Port – The Port number on which the printer listens for print data. By default this is 9100, but it can be changed if the printer is configured to use a different port for direct printing.
- Windows Driver – The correct Windows Driver for the printer. This is not used directly by PriApps for printing but is required for direct printing from Windows desktops, and for mobile printing where it is used to render jobs into a printable format. The driver may be selected from a list of all the drivers installed on the server by clicking the Set Windows Driver button, choosing the required driver and clicking the Configure button. The driver must have previously been installed on the PriApps Application server. Once you have selected the driver, the printer settings will be automatically saved. To continue editing and complete your configuration click the Update button again.
- Printer Definition – The pre-defined Printer Definition for this device. Printer definitions specify the commands that may be sent to the printer to override settings such as Duplex and Color mode. Generally Printer Definitions are named after the manufacturer of the device. A pull down list of Printer Definitions will be displayed for this setting.
- Google Cloud Printer? – if this option is checked the device will be available as a Google Cloud Printer
- Shared within Cloud – If a Google Share group is specified here, all the members of the group will have the printer shared with them automatically. This means the printer will immediately become available to them on publication. Google Share groups may be created and managed by selecting Groups under Users & Security in the sidebar. A pull down list of Google Share groups will be displayed for this setting.
- Cost Account – Specifies the default Cost Account for the device if applicable.
- Authorized Users – Only users in this selected Group are allowed to use the device.
- Denied Users – Users in this Group are not allowed to use this device.
- Configure & Test button – The Configure & Test button will automatically configure a printer based on the built-in PriApps database of supported MFP platforms. The only information that needs to be manually entered is the IP Address or DNS Name of the printer, and a unique name for it. This function uses SNMP to query the printer so SNMP needs to be enabled on the printer, and allowed within the network otherwise all options need to be configured manually.
- Generate QR Code button – The Generate QR Code button will automatically create a QR Code for the Managed Printer, which can be used to login to the device and/or release print jobs using a PriApps Mobile app. This options is required for devices that do not have a suitable control panel on which the QR Code can be displayed automatically. In these cases it is necessary to print a label that can be stuck to the printer and scanned by the PriApps Mobile app to sign-in. Once a QR Code has been generated, an icon will appear for it that can be downloaded and printed.
- Create Windows Queue button – The Create Windows Queue button is used to generate a Windows print queue on the PriApps Application server, which enables applications to print directly to the specified printer through PriApps. The printer will be identified by the Name field above, followed by (PriApps). It will be automatically shared so any user can connect and use it. The name generated will be displayed after the printer is created.
Last modified:
16 June 2022
Need more help with this?
Contact PriApps Support