
Labels
The color labels used to identify or organize timeline items can be edited here. In addition to being able to change the name or color associated with each label, you can also set defaults in the Options, if you wish to label media by type.
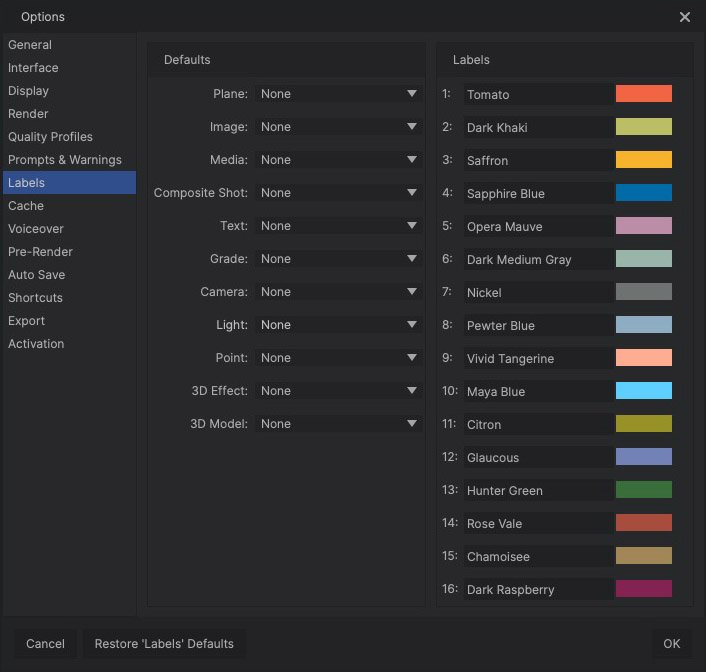
Defaults
If you want to use labels to identify specific kinds of media in your projects, you can setup defaults here, so you don’t need to apply labels individually to each timeline item. There is a listing for each kind of timeline item, so you can customize each one to your own preference.
To set a default:
- Locate the kind of item you want to apply a label to.
- Open the menu next to that item.
- Select the color label you wish to use.
- Click OK at the bottom right of the Options window to apply your changes.
Once this is done, each time you add a new item to any timeline of that kind, it will automatically receive your chosen color label.
Labels
Each of the 16 color labels has a name and a color swatch. If you want to use your own customized names or colors, you can easily do so.
- Name: To edit the name of a label, double-click the existing name, then type in the new name you want to use.
- Color: To edit the color of a label, double-click the color swatch to open the color picker. Select the new color you want to use, and click OK to close the color picker.