Completing the Recipient Transfer Request
After the center has been contacted and the transfer has been discussed, the recipient transfer request can be completed in FormsNet3. The center where the recipient is transferring TO, will need to complete their section of the transfer first.
A new grid, Transfer Tasks, has been created in FormsNet3 on the My Work/Messages page. A row will appear within the Transfer Tasks grid anytime a CRID is either transferring from your center or being transferred to your center.
If the row appears in YELLOW, this means that completion of the transfer is required at your center. There will also be an icon available in the left-most column. If the row appears in LIGHT GREY, the transfer is pending completion from the other center, and if the row appears in BLUE it is pending completion from CIBMTR.

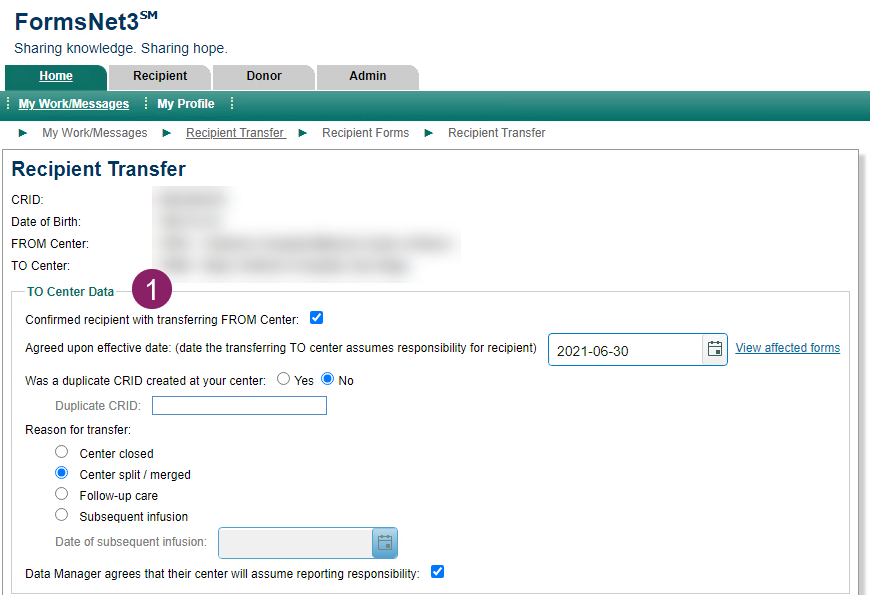
When the transfer is pending completion from your center, select the icon to open the transfer request. There are two sections to the transfer request:
| 1) TO Center Data, completed by the center the recipient is transferring TO. |  |
| 2) FROM Center Data, completed by the center the recipient is transferring FROM. |  |
The section that is applicable for your center will be enabled and the other section will appear greyed out and the user will not be able to edit it.
Complete all questions within the section and select the ‘Submit’ button. There are validations built into the tool to ensure data quality. Instructions for how to complete the questions are available within the Data Management Guide.
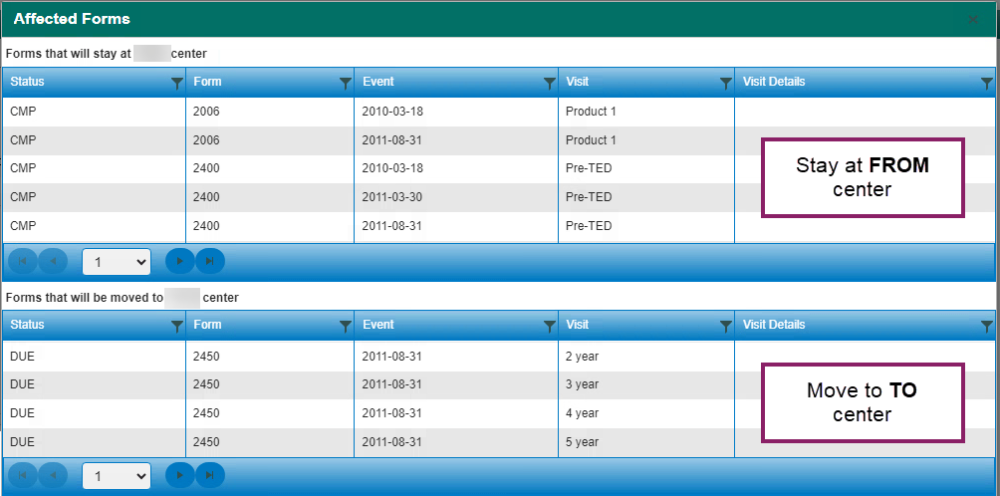
View Affected Forms
There is a hyperlink ‘View affected forms’ that will display for both centers once an effective date is reported. This allows users at both centers to view which forms will stay at the initial center and which forms will move to the new center based on the effective date reported.


If the Centers Do Not Agree
Once the transferring TO center completes their section, the request will move to the transferring FROM center. If the transferring FROM center does not agree with the information reported by the transferring TO center, that can be indicated, and the request will be sent back to the transferring TO center. The request will move back and forth between the centers until both centers agree on the information reported for the transfer.
After Both Centers Complete Their Section
After both centers have completed their sections the transfer will occur immediately in FN3, if a duplicate CRID has not been reported. If a duplicate CRID has been reported the transfer request will move to a status of ‘Pending CIBMTR Confirmation’. CIBMTR staff will review the transfer request and handle the duplicate CRID before the transfer is processed. In either case, once the transfer has been completed an email will be sent to both centers’ primary data managers, as well as any other user that submitted information during any part of the transfer.
Transferred CRIDs
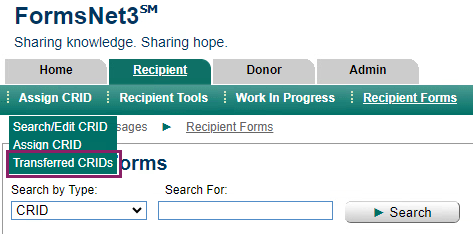
Once the transfer has been completed, the CRID will be removed from the Transfer Tasks grid and will be available within a new page, ‘Transferred CRIDs’. (Select Recipient tab > Assign CRID > Transferred CRIDs)

This grid will show all CRIDs that have been transferred, either TO or FROM your center, as well as any CRIDs that had their transfer cancelled.

On the ‘Transferred CRIDs’ grid, the user will be able to select the magnifying glass icon to view the information of the transfer, if needed, any time after the transfer has been completed. There is also a hyperlink available on the CRID, that when clicked will bring the user to that recipient’s forms due grid.
On the recipients form page, if a CRID is currently in the process of being transferred there will be a hyperlink ‘Status of Transfer’. Clicking this hyperlink will bring the user to the Transfer Tasks grid for that recipient.

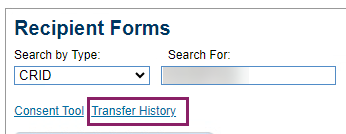
If the CRID has previously had a transfer completed or canceled , a hyperlink ‘Transfer History’ will appear. Clicking this hyperlink will bring the user to the Transferred CRIDs grid for that recipient.


