If you are currently using the Lightning Conductor Add-In and wish to convert your existing configuration into the Lightning Conductor SPFx Client Site Web Part, you will need to first export the configuration of the Add-In, and then import it into your SPFx web part.
Export Lightning Conductor Add-In Configuration
- Navigate to your site containing the Lightning Conductor Add-In Web Part.
- Click on the Actions menu, and choose Export configuration data.
- If you only want to export the current view, click OK. If you want to export ALL views, then UNCHECK the box Export settings for current view, and the click OK.
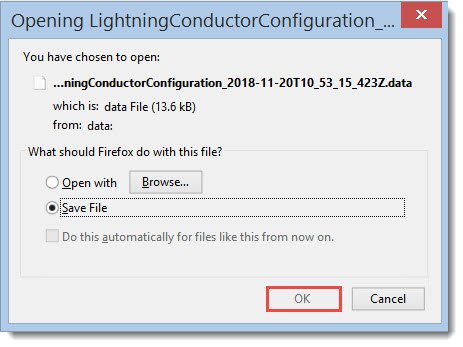
- A dialog box will appear asking if you want to open or save the file. Click OK to save the file.
Import the Configuration into the Lightning Conductor SPFx Client Side Web Part
- Navigate to the site where you have added the Lightning Conductor SPFx Client Side Web Part. If you have not already deployed and/or added it to a site, follow the relevant instructions for deploying the SPFx web part or adding the SPFx web part to a site.
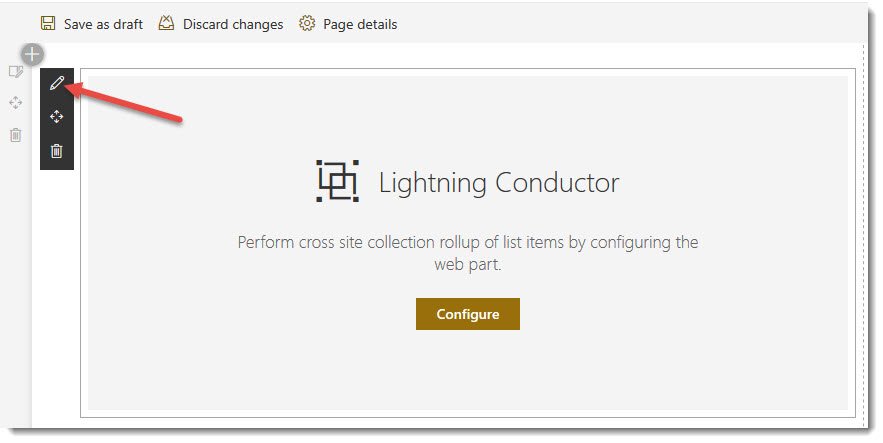
- On the site where your Lightning Conductor SPFx client side web part is added, click on the Edit page button.
- Hover your mouse over the web part, and click on the Edit web part button on the left to open the Edit web part pane.
- Depending on whether you want to import multiple views (all views configuration), or a single (current) view, follow the relevant steps below.
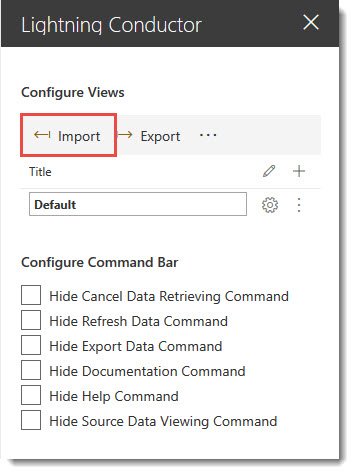
- For importing an all views configuration, click on the Import button at the top of the Configure Views section in the Edit web part pane.
- For importing a single view, do one of the following:
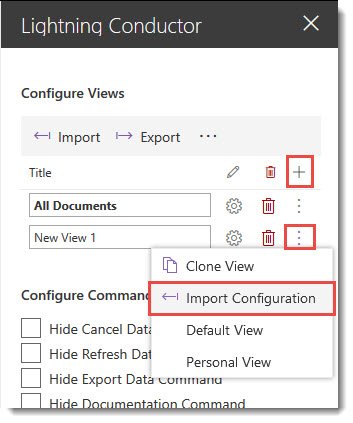
- Click on the ellipses button to the right of the view you want to import the configuration (this will overwrite the existing configuration), and choose Import Configuration.
OR
- Click the + to add a new view, followed by the ellipses and Import Configuration.
- Click on the ellipses button to the right of the view you want to import the configuration (this will overwrite the existing configuration), and choose Import Configuration.
- An Import configuration dialog window will appear. Click Browse, then locate and open the configuration file you saved earlier.
- Click Import.
- Close the Edit web part pane by clicking the X in the upper right corner.
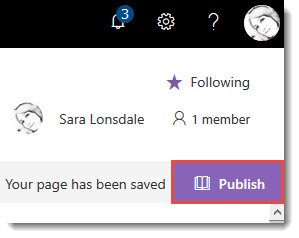
- Click Publish to save the settings of the page.







Post your comment on this topic.