

Dry Fit of Bulkheads- Dry fit the bulkheads in the boat. The bottom edges of Bulkhead 3 and Bulkhead 4 will need to be trimmed to fit around the bottom doublers. It is better to have the bulkheads fit a bit loose than to have them too tight. If they are too tight they can print through and create hard spots in the final hull finish making the boat look like a hungry horse. It is ok to trim and bevel the edges a bit to get them to fit easily. Again, these do not need to fit perfectly like fine joinery—it is actually beneficial to have small gaps that are easier to sweep epoxy into. The temporary bulkheads (T1) can have masking tape applied to their edges to help ensure they do not get inadvertently glued in place. Note that the Ballast Tank Beams and the V-Berth Beams are also zip tied in place to help with bulkhead alignment.
Zip Tie Bulkheads- Once you have dry fit the bulkheads it is time to zip tie them in place. Do not overtighten the zip ties— use just enough pressure to hold them in their desired location. Double check the alignment of all the bulkheads and the seam between the bottom panels and the the second panels. Sight down their edge to make sure their edges are fair and the panels are not pulled or kinked.
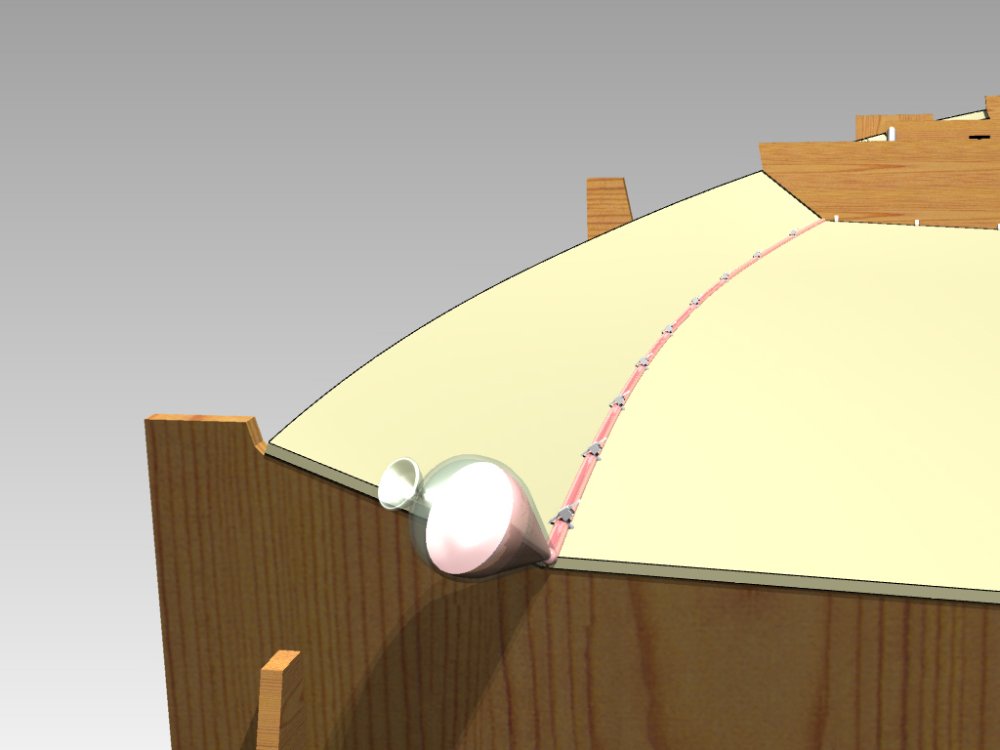
Glue and Tape- Once you have everything in position, use thickened epoxy and a squeezy bag to apply stitches of thickened epoxy between the zip ties. Do not epoxy in the T1 – temporary bulkheads- or the v-berth beams. Let the epoxy fully cure, then pull out the zip ties. Sand any rough spots and to scuff up all the epoxy surfaces. Sweep a nice/clean 1/2” radius fillet along the seams. Apply one layer of 2” 6oz glass tape over the fillets with 1” of overlap onto each side of the fillet onto the flat panels.
Post your comment on this topic.