This section details how to install the Data Viewer App from Lightning Tools so it can be used on Office 365™ sites to display aggregated SharePoint® content. The Data Viewer App can also be used in SharePoint Server 2013/2016 on-premises, however, the preferred tool for SharePoint Server 2013/2016 is the Data View Web Part. By completing the steps on this page, the Data Viewer app appears on the Your Apps page, under Apps you can add, for all sites within an Office 365™ tenant.
You install the app by getting the app from the SharePoint Store where it is provided as a free Unlimited user 14 day trial. You can then use the Data Viewer app by adding the app to a site, adding the Data Viewer App Part to a page, and then configuring the Data Viewer App Part. You can purchase a Data Viewer app license from Lightning Tools and then activate the license.
Use the following steps to install the Data Viewer app from the SharePoint Store:
For Office 365
- Navigate to your SharePoint admin center
Note: If you are unsure where your SharePoint admin center site is:
- Click the Apps Launcher
icon in the top left and then click Admin to display the Office 365 admin center.
- At the bottom of the Quick Launch, expand Admin and then click SharePoint to display the SharePoint admin center.
- Click the Apps Launcher
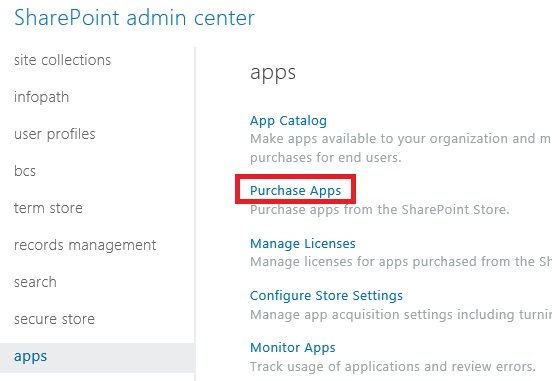
- On the Quick Launch click apps, and then click Purchase Apps.
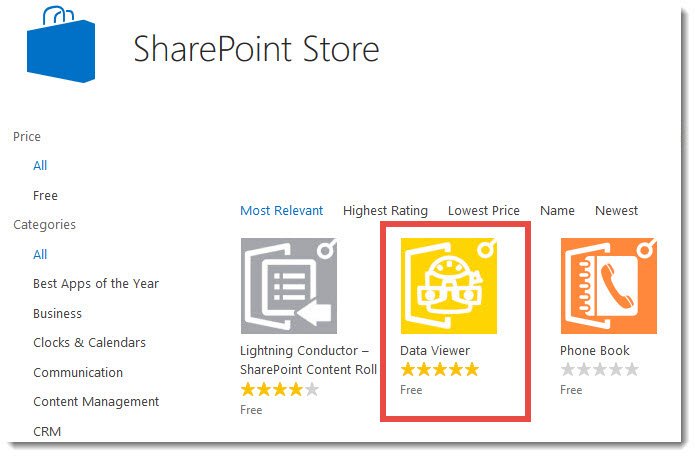
The SharePoint Store is displayed.
- In Find an app search box, type Data Viewer and press ENTER.
- Click Data Viewer.
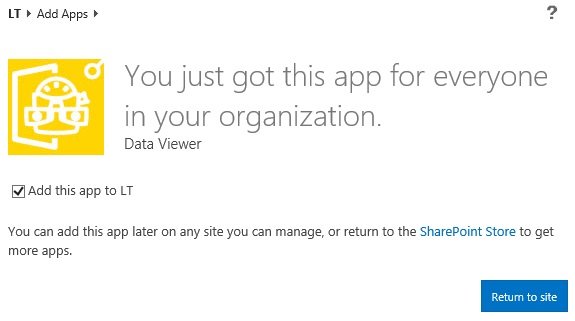
- Click Add It, which will display You just got this app for everyone in your organization.
You may be asked to Confirm, for security reasons, before the App will be added.
- Click Return to site.
The Data Viewer app is now available for users to add to their Office 365™ site, and then subsequently can be added to a page within that site.
The app will appear under the Manage Licenses on the SharePoint admin center, which displays information of the free, Unlimited users SharePoint Store license. You can monitor the Data Viewer app on the Monitor Apps page.
For SharePoint Server 2013/2016
- Click on the Settings icon and choose Add an app
- From the left menu, select SharePoint Store
- Browse the store to locate the app, click on the logo and then click Add It
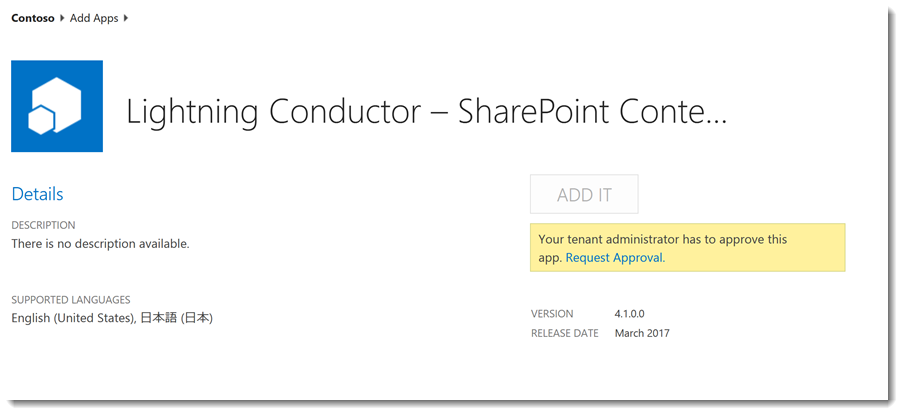
Depending on the App settings defined by the Farm Administrator, you may need to request access to add it. If approval is needed, complete the dialog form with a justification and click Request. The Farm Administrator will then either approve or reject the request.
- If no approval request is required, next confirm that you wish to add the app by clicking Continue
- You will receive a message that says “You just got this app for everyone in your organization.” Uncheck the box for “Add this app to the “ if you do not want to add it at this time. Then click Return to site.
- A dialog box may appear asking if you trust the Data Viewer. Click Trust it
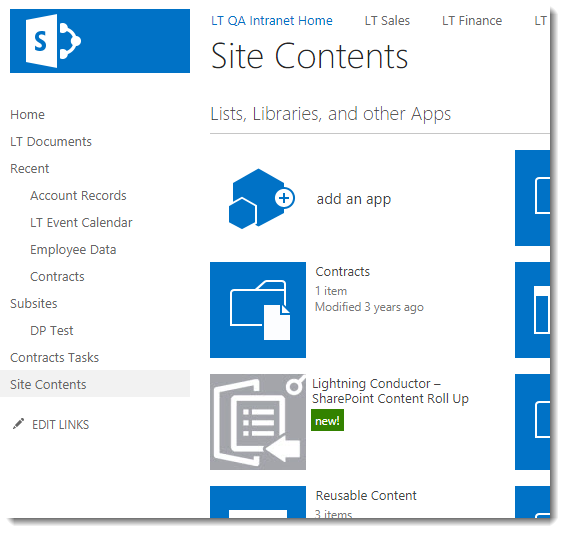
The app is now added and should appear in the Site Contents of your site collection, for which users can display on a page if they have the relevant permissions to add content.


 icon in the top left and then click Admin to display the




Post your comment on this topic.